Mastering Your Nintendo Switch OLED
Advanced Tips
Power User Tips
You've mastered the basics of your Nintendo Switch OLED Model. Now it's time to unlock its full potential. These advanced tips will help you optimize performance, customize your experience, and get the most out of every gaming session.
First, let's talk about speed. Where you store your games matters. The console's internal storage is the fastest option, leading to quicker load times compared to a microSD card. For your most-played games, installing them on the system memory can provide a noticeable boost. You can manage this in System Settings > Data Management > Move Data Between System / microSD Card.
Running low on space? Instead of deleting a game and losing your save data, archive it. Archiving removes the game data but keeps your save file and the game icon on your HOME Menu. You can re-download it later without losing progress.
If a game starts to feel sluggish or glitchy after a long session, try closing the software completely. Press the HOME button, highlight the game, press X, and select "Close." Relaunching the game can clear temporary issues. A full system reboot (holding the POWER button and selecting Power Options > Restart) can also help refresh the system's performance.
Hidden Features and Shortcuts
The Switch has several useful shortcuts hidden in plain sight. For instant access to key settings, press and hold the HOME button. This brings up the Quick Menu, where you can adjust screen brightness, manage volume, and toggle Airplane Mode without leaving your game.
Ever misplaced a Joy-Con in the couch cushions? Navigate to the Controllers menu from the HOME screen and select "Find Controllers." This feature makes the selected controller vibrate, helping you locate it by sound and feel.
For text-heavy games or for users who need a closer look, the Switch has a built-in zoom function. Enable it in
System Settings > System > Zoom. Once on, you can double-press the HOME button at any time to zoom in on a portion of the screen.
Personalize Your Experience
Your console should feel like your own. One of the most powerful customization tools is button remapping. Go to System Settings > Controllers and Sensors > Change Button Mapping. Here, you can change the function of any button on your Joy-Cons or Pro Controller. This is great for accessibility or simply matching a control scheme you prefer from another console.
You can save your custom mappings as presets, making it easy to switch between different layouts for different games or users. You can create up to five presets for each type of controller.
Tired of notifications popping up during a critical moment in a game? You can manage them in System Settings > Notifications. Turn off friend notifications or software update alerts to keep your gameplay immersive and distraction-free.
Enhance Your Gameplay
While the Switch is a complete package out of the box, a few key accessories can significantly improve your experience. For long gaming sessions in TV mode, the Nintendo Switch Pro Controller offers a more traditional and ergonomic feel than the Joy-Con Grip.
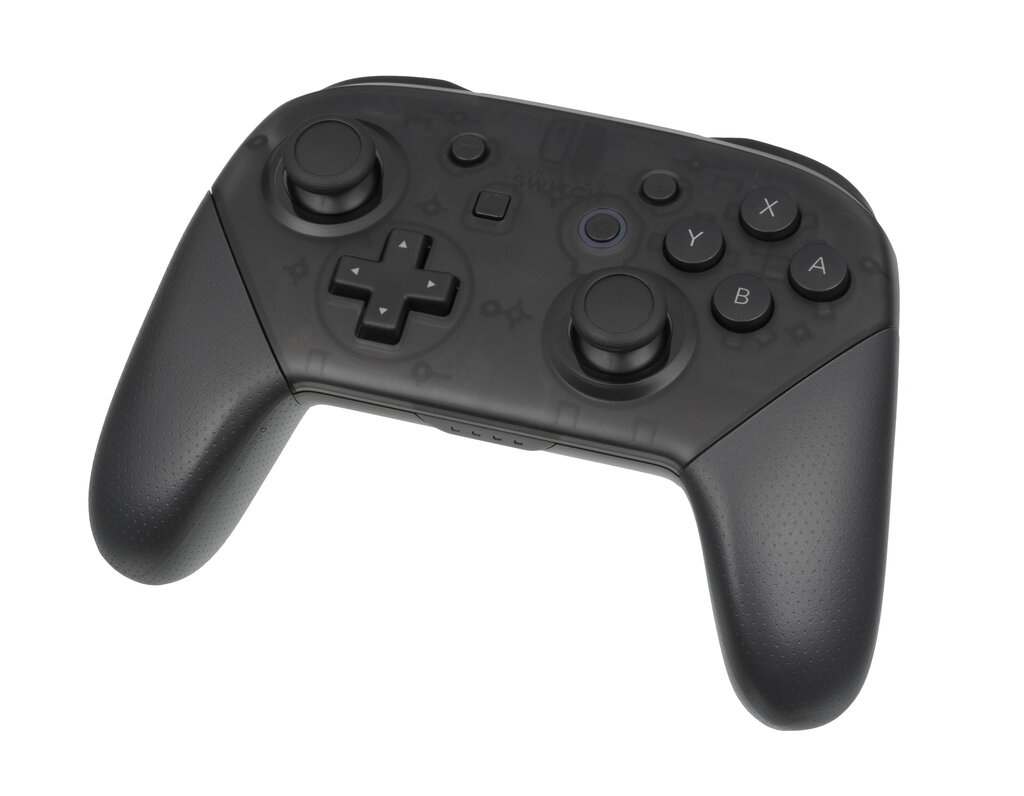
For handheld players, third-party grips can make the console much more comfortable to hold for extended periods. And of course, a high-quality tempered glass screen protector is essential for keeping that beautiful OLED display safe from scratches.
Finally, don't skimp on storage. A high-speed microSD card is a must-have for anyone who prefers digital games. Look for a card with a fast read speed (UHS-I U3 is a good benchmark) to ensure your load times are as short as possible.
Let's review these advanced tips.
Now, test your knowledge.
For the fastest loading times, where should you install your most frequently played games?
What is the quickest way to access settings like screen brightness and Airplane Mode without leaving your game?
By using these tips, you can tailor your Switch to your exact preferences and ensure it's always running at its best.