Excel Formatting for EndNote Data
Data Analysis Preparation
Preparing Your Data for Analysis
Your data is now in Excel, neatly organized and formatted. The next step is to prepare it for analysis. This involves transforming your range of data into an official Excel Table, which unlocks powerful tools for managing your information.
Think of an Excel Table as a smart container for your data. It automatically manages formatting, formulas, and filtering, making your work much more efficient.
To create a table, select any cell within your data range. Go to the 'Insert' tab on the ribbon and click 'Table'. Excel will automatically detect the boundaries of your data. A dialog box will appear asking you to confirm the range and to specify if your data has headers. Since you added headers in the previous step, make sure the 'My table has headers' box is checked, then click 'OK'.
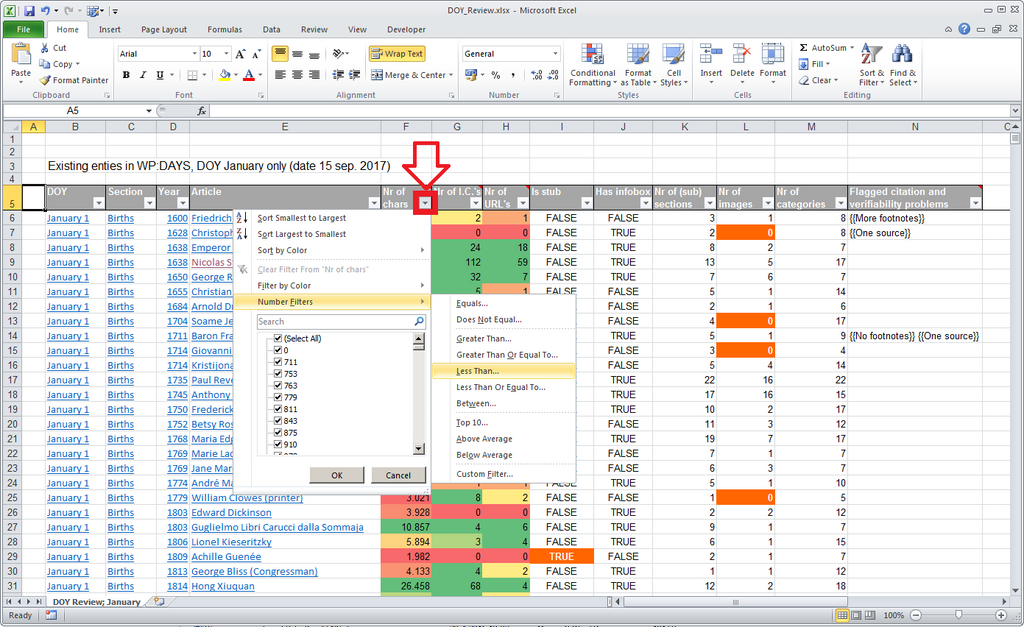
Your data will instantly be formatted with alternating colored rows, and filter buttons will appear on your headers. This isn't just a cosmetic change. Now, when you scroll down a long list, the table headers will replace the column letters (A, B, C), so you always know what data you're looking at.
Ensuring Data Integrity
Data integrity is about maintaining the accuracy and consistency of your data. In bibliographic research, you might want to ensure certain columns only contain specific values. For example, you might want a 'Status' column with options like 'To Read', 'Reading', and 'Read'.
Data cleaning is the cornerstone of effective data analysis, and Microsoft Excel is a powerful tool for the job.
Excel's Data Validation tool is perfect for this. It lets you create rules for what can be entered into a cell. Let's create a dropdown list for a 'Publication Type' column.
First, select the entire 'Publication Type' column (excluding the header). Then, go to the 'Data' tab and click 'Data Validation'.
In the dialog box, under the 'Settings' tab, choose 'List' from the 'Allow' dropdown. In the 'Source' box, type the allowed values, separated by commas. For example: Journal Article,Book,Conference Paper,Thesis.
Click 'OK'. Now, each cell in that column will have a dropdown arrow, allowing you to select from your predefined list. This prevents typos and ensures every entry is consistent.
Using Basic Formulas
Formulas are the engine of Excel. They can help you manipulate text, perform calculations, and extract information. A common task with bibliographic data is to combine information from multiple cells.
For instance, you might want to create a concise 'Author-Year' citation key by combining the author's last name and the publication year. If the author's name is in column D and the year is in column G, you can use the CONCATENATE function or, more simply, the ampersand (&) operator.
Let's say the author's name is in cell D2 and the year is in G2. The formula would be:
=D2&"-"&G2. This will join the value from D2, a hyphen, and the value from G2 to produce a result likeSmith-2021.
Because you're using an Excel Table, you only need to enter this formula in the first cell of your new column. The table will automatically fill the formula down to all the other rows, a feature called 'calculated columns'. This saves time and ensures consistency.
Here are a few other useful formulas for text manipulation:
| Formula | Description | Example |
|---|---|---|
=LEFT(text, num_chars) | Extracts a specific number of characters from the beginning of a text string. | =LEFT(A2, 4) returns the first 4 characters of the text in cell A2. |
=RIGHT(text, num_chars) | Extracts a specific number of characters from the end of a text string. | =RIGHT(A2, 2) returns the last 2 characters of the text in cell A2. |
=TRIM(text) | Removes extra spaces from text, leaving only single spaces between words. | =TRIM(A2) cleans up messy data with accidental double spaces. |
=LEN(text) | Returns the number of characters in a text string. | =LEN(A2) counts how long the text is in cell A2. |
By transforming your data into a structured table, validating inputs, and using formulas to create new information, you've made your dataset robust, reliable, and ready for deeper analysis.
Time to check your understanding of these data preparation techniques.
What is the primary step to convert a range of data into an official Excel Table?
True or False: When you scroll down a long Excel Table, the table headers automatically replace the column letters (A, B, C) at the top of the worksheet.
With these foundations in place, you are now equipped to handle your bibliographic data with confidence and precision.