Web Application Image Uploads
HTML File Input
Letting Users Choose Files
Websites often need to get files from a user's computer. Think about adding a profile picture, attaching a document to an email, or sharing photos. To make this possible, HTML provides a specific input type that lets users select local files.
The magic happens with the <input> tag, but with its type attribute set to "file".
<label for="file-select">Choose a file:</label>
<input type="file" id="file-select" name="user-file">
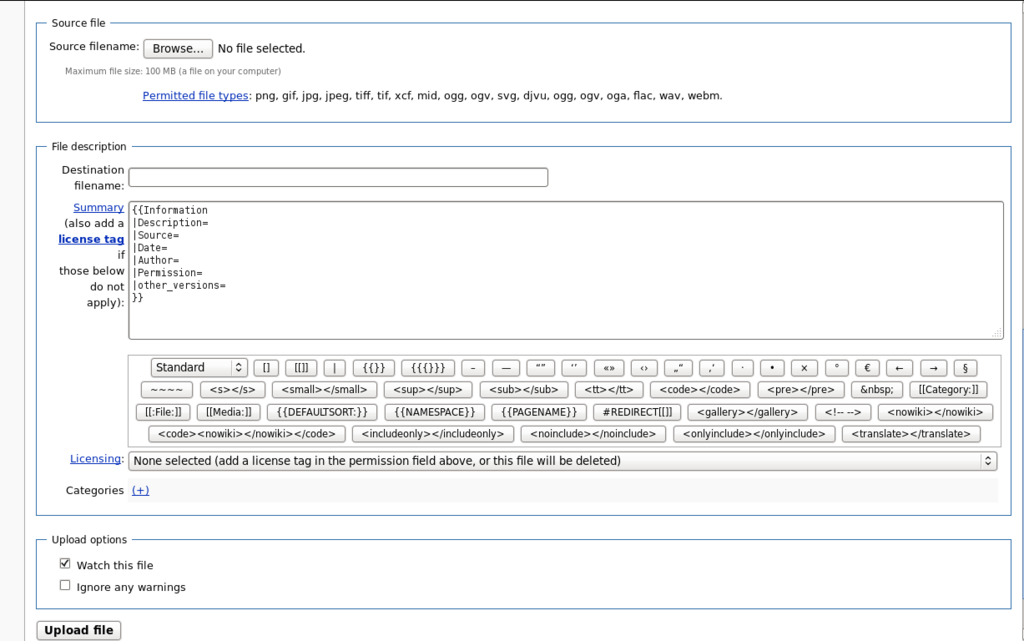
This simple line of code creates a special button on the webpage. When a user clicks it, their computer's file browser opens, allowing them to navigate their folders and pick a file. The text on the button might say "Choose File" or "Browse...", depending on the web browser.
Controlling File Selection
Sometimes you don't want users to upload just any type of file. If you're asking for a profile picture, you probably want an image file, not a spreadsheet. You can guide the user by specifying which file types are acceptable using the accept attribute.
<!-- Allow any type of image file -->
<input type="file" accept="image/*">

<!-- Allow only PDF and Word documents -->
<input type="file" accept=".pdf, .doc, .docx">
The accept attribute doesn't prevent users from selecting other file types, but it does filter the view in their file browser, making it easier to find the right kind of file.
What if you want to let users upload more than one file at once? You can add the multiple attribute. It's a boolean attribute, meaning you just have to add the word itself to the tag.
<!-- User can select multiple files -->
<input type="file" multiple>
With multiple, a user can select several files at the same time by holding down the Shift or Control (or Command on Mac) key.
Building the Upload Form
A file input on its own doesn't do anything. It needs to be part of a <form> to send the selected file to a server. A complete, basic form for a file upload includes the <input type="file"> and a submit button.
Use Forms – Understand form elements like ,
Here’s how you’d put it all together. Notice the <form> tag wraps around the inputs. The enctype attribute is crucial for file uploads, but we'll dive into that in a later lesson. For now, just know that it has to be there for files.
<form action="/upload-file" method="post" enctype="multipart/form-data">
  <label for="profile-pic">Choose your profile picture:</label>
  <input type="file" id="profile-pic" name="avatar" accept="image/png, image/jpeg">

  <button type="submit">Upload</button>
</form>
Remember, this HTML only creates the user-facing part of the upload process. It allows a user to select a file, but it doesn't handle what happens next. A server-side language is needed to actually receive and save the file.
Now, let's test your understanding of setting up a file input.
What is the correct HTML for creating an input that allows users to select a file?
Which attribute allows a user to select more than one file at a time?
That's the foundation of file inputs in HTML. You now know how to create a button for file selection, suggest specific file types, and allow for multiple selections.