Wall Shelf Calculation
Understanding Room and Wall Measurements
Measure Twice, Install Once
Before you can even think about what your shelves will hold, you need to know your space. Accurate measurements are the foundation of a successful project. A few minutes with a tape measure now will save you hours of frustration later.
Grab a retractable metal tape measure, a pencil, and some paper. A digital app or notebook works too. The goal is to create a simple map of your wall space.
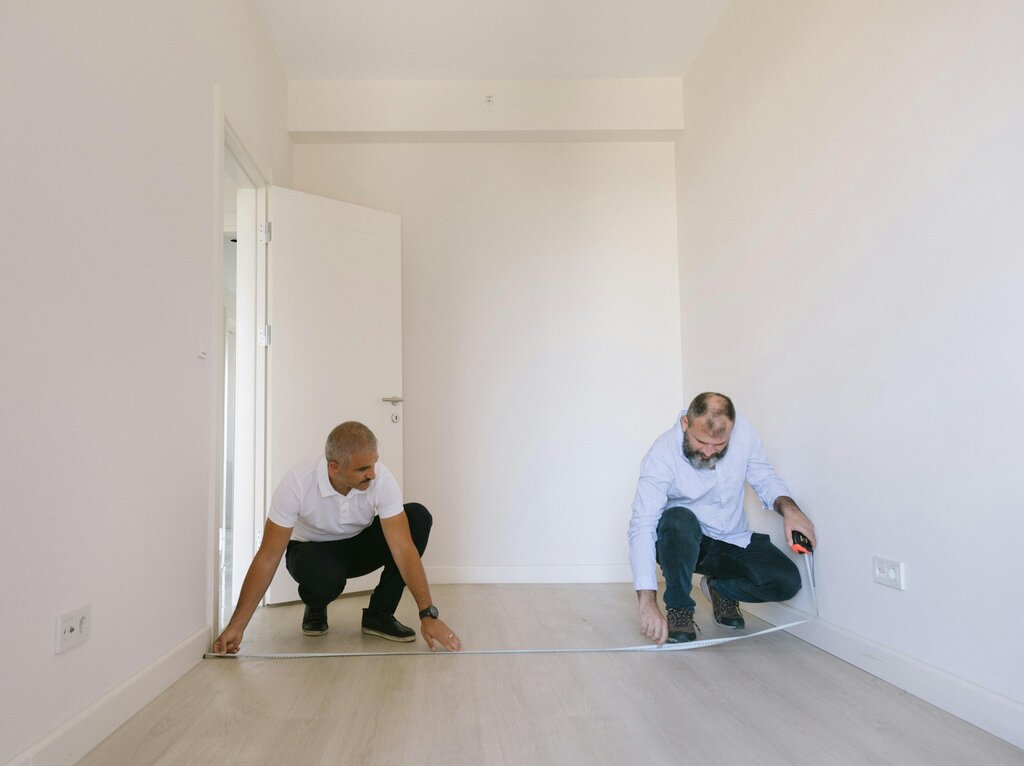
Mapping Your Walls
Let's start with the basic dimensions of the wall you plan to use. You'll need its height and width.
For the width, measure horizontally from one corner of the wall to the other. Do this at the top, middle, and bottom of the wall. Walls, especially in older homes, are rarely perfectly square. Writing down all three measurements might seem like overkill, but it exposes any tapering.
For the height, measure vertically from the floor to the ceiling. Again, do this on the left side, in the middle, and on the right side. Ceilings can sag and floors can be uneven. When you're planning your shelves, you'll want to use the smallest of these measurements to ensure everything fits.
Always record the smallest measurement for both height and width. This is your safe, usable dimension.
Next, consider the depth. How far can your shelves stick out from the wall? Measure from the wall to the nearest obstacle, like a doorway swing or a piece of furniture. This measurement determines how deep your shelves can be without getting in the way of daily traffic.
Accounting for Obstacles
Your walls are not blank slates. They have light switches, outlets, windows, doors, and vents. You need to map these, too.
For each obstacle, measure its distance from the floor, the ceiling, and the nearest walls. For something like a window, you'll need four measurements: from the top of the frame to the ceiling, from the bottom of the frame to the floor, from the left side to the nearest wall, and from the right side to the nearest wall. This creates a “no-go zone” on your wall map.
Don't forget about things that aren't flat against the wall. A thermostat, for example, sticks out a bit. Note its location and depth. You need to make sure your shelf and its contents won't cover or bump into it.
Putting It All Together
Once you have all your numbers, create a simple sketch of the wall. It doesn't need to be a work of art. A rectangle for the wall with smaller rectangles for the obstacles is perfect.
Label your sketch with the measurements you took. Mark the total height and width (using the smallest figures you recorded). Then, draw in the windows, outlets, and other features, labeling their positions clearly. This visual guide is your blueprint. It shows you exactly how much clear, usable space you have for your shelving project.
Accurate measurements are a crucial first step in any tile project, but especially in the likely awkward layout that is your cramped bathroom.
With this map in hand, you're ready to plan the size, number, and placement of your shelves with confidence.
Why is it recommended to measure the width of a wall in three different places (top, middle, and bottom)?
You measure your wall's height and get the following: 244 cm on the left, 242 cm in the middle, and 243 cm on the right. What height should you use when planning your shelving unit?