VS Code Copilot and Vibe Coding for App Dev
VS Code Setup
Your Development Hub
Before you can write code, you need a place to do it. Think of a code editor as your workshop. It’s where you'll build projects, fix problems, and bring ideas to life. While there are many options, Visual Studio Code (VS Code) is a fantastic choice. It's free, powerful, and works on Windows, macOS, and Linux.
VS Code is more than just a text editor. It has built-in support for things like debugging, version control with Git, and smart code completion. Best of all, it's highly customizable. You can tailor it to fit your exact workflow, which helps you code faster and more comfortably.
Installation
Getting VS Code is simple. Head over to the official website and download the installer for your operating system.
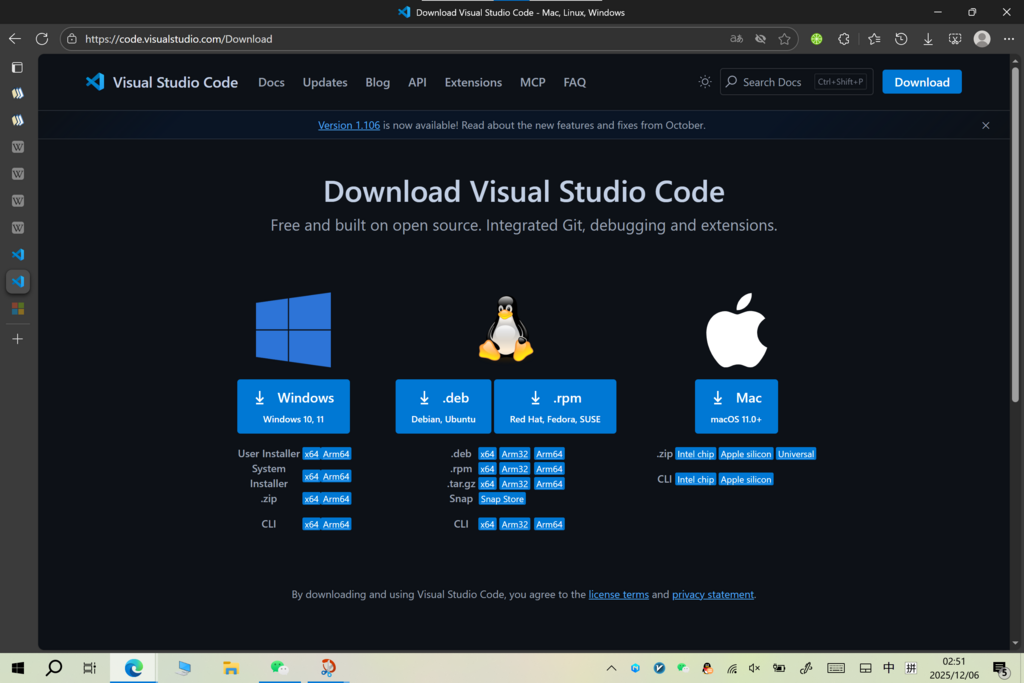
Run the installer and follow the prompts. During installation on Windows, make sure to check the boxes for "Add to PATH" and "Open with Code." This lets you open files and folders in VS Code directly from your terminal or file explorer, which is incredibly convenient.
Power Up with Extensions
A fresh installation of VS Code is great, but its real power comes from extensions. These are add-ons that give the editor new features, support for more programming languages, and connections to other tools. Think of them like apps for your phone, but for your code editor.
Extensions add new languages, tools, and features right into your editor.
You can find and install extensions from the Visual Studio Marketplace. Just click the Extensions icon (it looks like a set of stacked squares) in the sidebar on the left. From there, you can search for whatever you need.
Here are a few essential extensions to start with:
| Extension | Purpose |
|---|---|
| Prettier - Code formatter | Automatically formats your code to keep it clean and consistent. |
| Live Server | Launches a local development server for web projects with a live reload feature. |
| Material Icon Theme | Adds helpful icons to your files and folders, making them easier to identify at a glance. |
To find one, just type its name into the search bar in the Extensions view and click the "Install" button on the one you want.
Make It Your Own
You'll be spending a lot of time in your code editor, so it's worth making it comfortable. VS Code offers many ways to customize its appearance and behavior. You can access settings by pressing Ctrl + , (or Cmd + , on Mac) or by going to File > Preferences > Settings.
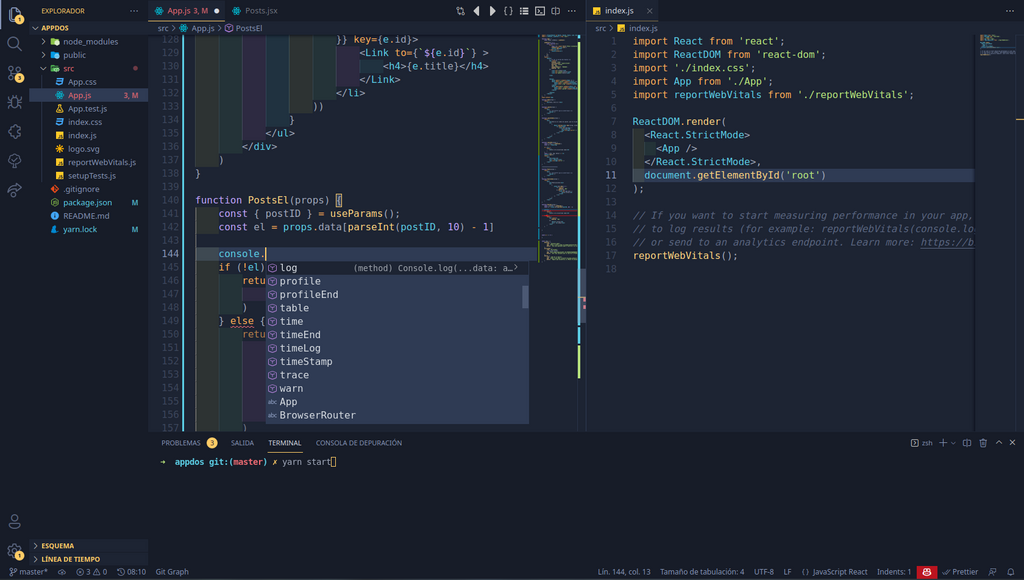
Here are a few common settings you might want to change:
- Color Theme: Change the look of your editor. Go to
File > Preferences > Color Themeto browse and select from installed themes. Dark themes are popular for reducing eye strain. - Font Size: Adjust the text size for better readability under the
Text Editor > Fontsettings. - Word Wrap: Automatically wrap long lines of code so you don't have to scroll horizontally. You can set this to
onin the settings (editor.wordWrap). - Auto Save: Tired of constantly hitting
Ctrl + S? Setfiles.autoSavetoafterDelayto have VS Code save your files automatically after you stop typing.
To customize VS Code with your own settings, you can edit a file called settings.json. You can open this file by using the Command Palette (Ctrl+Shift+P or Cmd+Shift+P) and typing "Preferences: Open User Settings (JSON)". Here's an example of what it might look like:
{
  "editor.fontSize": 16,
  "editor.wordWrap": "on",
  "files.autoSave": "afterDelay",
  "workbench.colorTheme": "Default Dark Modern"
}
With your editor installed and configured, you now have a powerful and personalized environment ready for any coding project.