Vibe Coding for Designers
Vibe Ecosystem Setup
Your Vibe Coding Cockpit
Traditional development often feels like a series of handoffs. A designer finishes a mockup, a developer translates it into code, and back-and-forth ensues. Vibe coding collapses this process. It's about maintaining a creative flow state where your ideas, designs, and code exist in a tight, continuous loop, powered by AI.
To achieve this, you need more than just a text editor and a terminal. You need a synchronized environment where your design assets become live context for your AI coding partner. This setup is your command center for building at the speed of thought.
Cursor, Your AI-Native IDE
First, let's get your primary tool set up: Cursor. Think of it not as a simple code editor, but as an Integrated Development Environment (IDE) built from the ground up for AI collaboration. While it might look like VS Code (it's a fork), its core philosophy is different. Traditional editors assist you; Cursor partners with you.
The goal is to maintain your 'Flow State'. Instead of just getting line-by-line code completion, you engage in agentic interactions. You direct an AI that understands your entire project's context, capable of building, debugging, and refactoring entire features based on your conversational prompts.
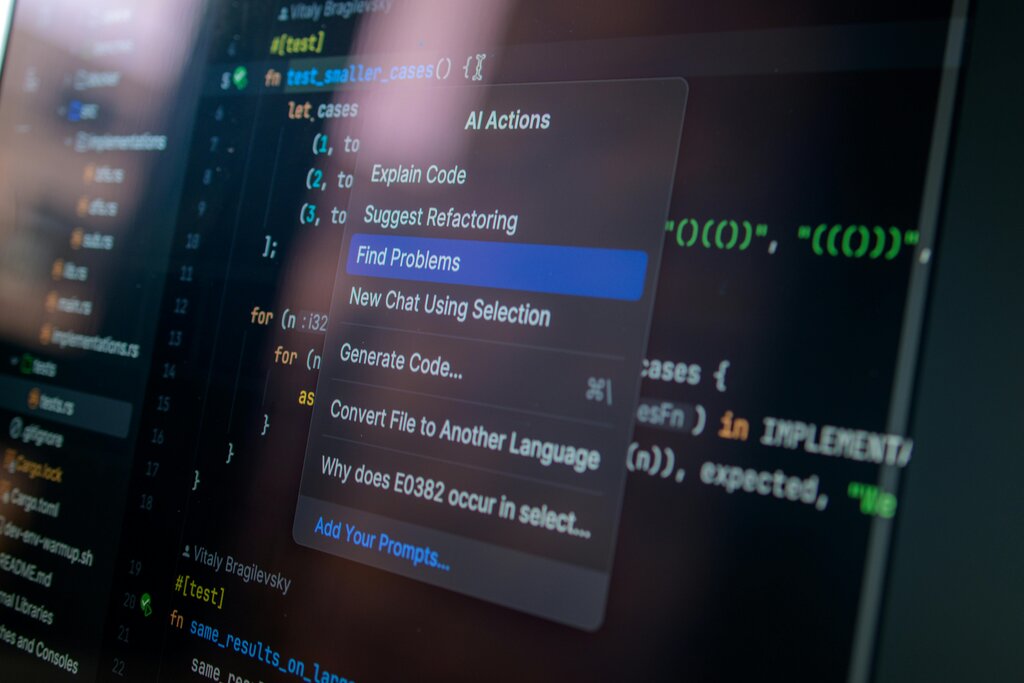
After installing Cursor, the key step is configuring your AI agent. In the settings, you can connect your OpenAI or Anthropic accounts and choose your preferred models, like GPT-4o or Claude 3 Opus. This model becomes your coding partner.
Once configured, you can start giving it commands directly in your code. You can highlight a block of code and ask the AI to refactor it, or start from scratch in a new file.
// @AI
// Create a React component named UserProfileCard.
// It should accept props for avatarUrl, name, and username.
// Use Tailwind CSS for styling to create a modern, clean look with a subtle shadow and rounded corners.
This isn't just a suggestion. It's a command. Cursor's AI will generate the entire component, boilerplate and all, directly in your editor.
Bridging Design and Code
The classic bottleneck in development is the gap between design and code. A developer stares at a Figma file, measuring pixels and copying hex codes. This manual translation is slow, tedious, and a prime source of bugs and inconsistencies.
Model Context Protocol (MCP) is the bridge. It's a standard that allows tools like Cursor to read design files directly. Your Figma components, styles, spacing tokens, and layout instructions become part of the context your AI partner uses to write code. No more manual exporting of assets or redlining.
Setting this up in Cursor involves using its built-in features to connect to your Figma account. You can point the AI to specific Figma components or entire pages using a simple @ mention. For example, @MyDesignSystem/Buttons/Primary tells the AI to look at that exact component in your Figma file and use its properties—color, padding, font size, border radius—to generate the corresponding code.
Rapid Prototyping Tools
Sometimes, you need to build something incredibly fast, moving from a vague idea to a working prototype in minutes. For these moments, specialized browser-based tools are essential components of the vibe coder's toolkit.
v0.dev is a generative UI tool that focuses on component-first creation. You describe a user interface element in plain English, and it generates the React code (using Next.js and Tailwind CSS) for you. It excels at creating isolated UI components that you can then copy and paste directly into your project. It's perfect for when you know what a button or a form should look like, but don't want to write the boilerplate yourself.
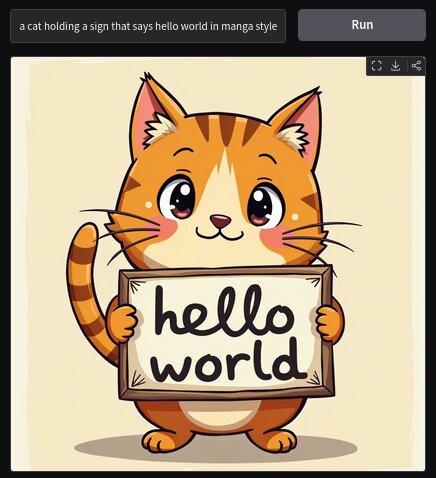
Bolt.new takes this a step further. It's a playground for full-stack rapid prototyping. You can describe not just the UI, but the backend logic as well. For example, you could prompt it to "create a to-do list application where users can add and delete tasks, connected to a database." Bolt will scaffold the entire application, frontend and backend, giving you a shareable, working URL instantly. It's the ultimate tool for one-shot prototyping, allowing you to test a full-fledged idea without ever leaving your browser.
With these tools configured, your workflow becomes a simple, powerful loop: Describe, Run, Refine.
- Describe: Articulate your intent in plain English, either as a comment in Cursor, a prompt in v0, or a description in Bolt. Reference your Figma designs directly using MCP.
- Run: Let the AI generate the code, the component, or the entire application.
- Refine: Review the output. If it's not quite right, provide feedback. "Make the button larger." "Add an error state." "Change the color to our brand's primary blue." This iterative dialogue is where the magic happens.
Your environment is now set up to support this cycle. You've minimized friction and created a direct path from imagination to implementation.
What is the primary goal of "vibe coding" as described in the text?
What is the function of the Model Context Protocol (MCP)?