Unreal Engine C++ AAA Game Development
Unreal Engine Setup
Getting Started with Unreal Engine
Your journey into Unreal Engine begins with the Epic Games Launcher. This is the central hub where you'll download, manage, and launch different versions of the engine. Head to the official Unreal Engine website, download the launcher, and install it.
Once the launcher is running, navigate to the 'Unreal Engine' tab on the left. From there, go to the 'Library' section. You'll see an option to install a new version of the engine. Click the plus icon and choose a recent, stable version from the dropdown menu. The download can be large, so make sure you have enough disk space and a good internet connection.
Setting Up Your Code Editor
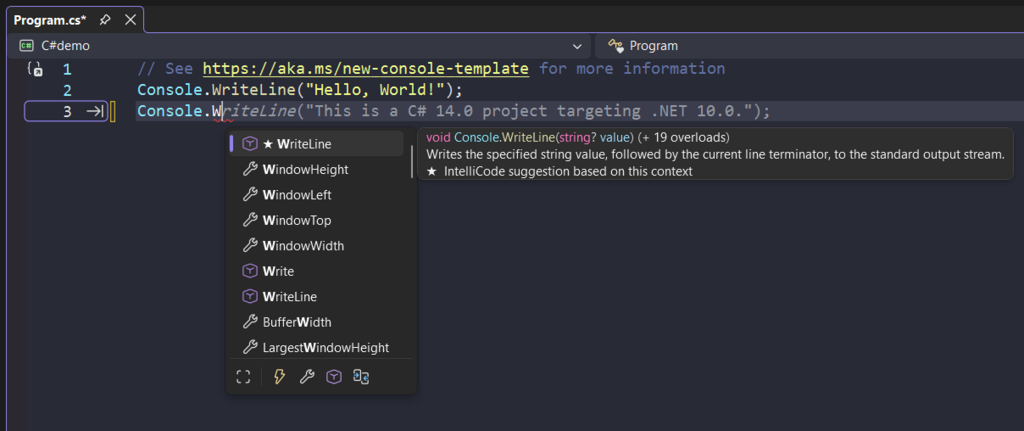
While Unreal's Blueprint system is powerful, writing game logic in C++ gives you maximum performance and control. To do this, you need a code editor, known as an Integrated Development Environment (IDE). The standard choice for Unreal Engine on Windows is Microsoft's Visual Studio.
You can download the free 'Community' edition from the Visual Studio website. During installation, you'll be presented with a list of 'Workloads'. It is essential that you select Game development with C++. This package includes all the necessary tools and compilers that Unreal Engine needs to build your C++ code. After this is installed, Unreal will automatically detect it and use it as the default code editor.
Creating Your First Project
With the engine and IDE installed, you're ready to create a project. Go back to the Epic Games Launcher, head to your Library, and launch the engine version you installed. This will open the Unreal Project Browser.
Here, you'll choose a template for your new game. The templates give you a great starting point with pre-built assets and code. For now, select the 'Games' category and then the 'Third Person' template. Most importantly, make sure you select C++ as the project type, not Blueprint. Give your project a name and choose a location to save it, then click 'Create'.
The engine will take a few minutes to create the project and compile the initial C++ code. Visual Studio might open in the background. Once it's done, the Unreal Editor will open, displaying your new world.
Navigating the Interface
The Unreal Editor interface can seem complex at first, but it's organized around a few key panels. Let's break down the most important ones you'll use every day.
The central area is the Viewport, your window into the game world. You can fly around in this 3D space to place objects, design levels, and see what your game looks like. Think of it as your digital movie set.
The World Outliner lists every single object currently in your level, from characters and lights to invisible game-logic triggers. It's a hierarchical list, like a table of contents for your scene. If you want to find something in your level, this is the place to look.
When you select an object in the Viewport or the World Outliner, its properties appear in the Details panel. Here, you can adjust everything about that object: its location, rotation, scale, material, and any special C++ variables you've exposed. This is where you'll fine-tune the actors that make up your game.
Finally, the Content Browser is your project's file explorer. It holds all the assets for your game: 3D models, textures, sound files, materials, and your C++ code. You can drag assets from the Content Browser directly into the Viewport to add them to your level. Keeping this organized is key to managing a large project.
What is the central hub used to download, manage, and launch different versions of Unreal Engine?
When installing Visual Studio for Unreal Engine C++ development, which specific 'Workload' is essential to select?
With these basics down, you're set up and ready to start building. You know how to create a project and navigate the essential windows of the editor.