Unity Game Development for Beginners
Unity Installation
Your Unity Development Environment
Before you can start building games, you need to set up your workshop. For Unity development, this involves installing a few key pieces of software. We'll install Unity Hub to manage your projects and different versions of the Unity Editor. Then, we'll install the Editor itself, which is the main environment where you'll create your games. Finally, we’ll set up a code editor for writing scripts.
Install Unity Hub
Think of Unity Hub as your command center. It's a small application that manages all your Unity projects and Editor installations. If you work on multiple projects or need to use different versions of Unity for different reasons, the Hub keeps everything organized.
First, head over to the official Unity website and download Unity Hub. Once the download is complete, run the installer and follow the on-screen instructions. It's a straightforward process, similar to installing any other application. You'll also be prompted to create a Unity ID, which is free and necessary for using the software.
Install the Unity Editor
With Unity Hub installed, it's time to get the main tool: the Unity Editor. This is where you'll design levels, import assets, and build your game.
Open Unity Hub. On the left side, you'll see a section called "Installs." Click on it, then find the "Install Editor" button. You'll be presented with a list of Unity versions. It's best to choose one of the versions marked with "LTS," which stands for Long-Term Support. These versions are the most stable and receive support from Unity for an extended period, making them ideal for most projects.
Select the latest LTS version and click "Install." The Hub will ask you to add modules. For now, you can just proceed with the default settings. The download and installation might take a while, as the Editor is a large piece of software.

Set Up Visual Studio Code
While you can do a lot in the Unity Editor by dragging and dropping, you'll need to write code to create custom game logic. Unity uses the C# programming language. To write C#, you need a good code editor. We'll use Visual Studio Code (VS Code), a popular and free editor from Microsoft.
Go to the Visual Studio Code website, download the installer for your operating system, and run it. The installation is simple and quick.
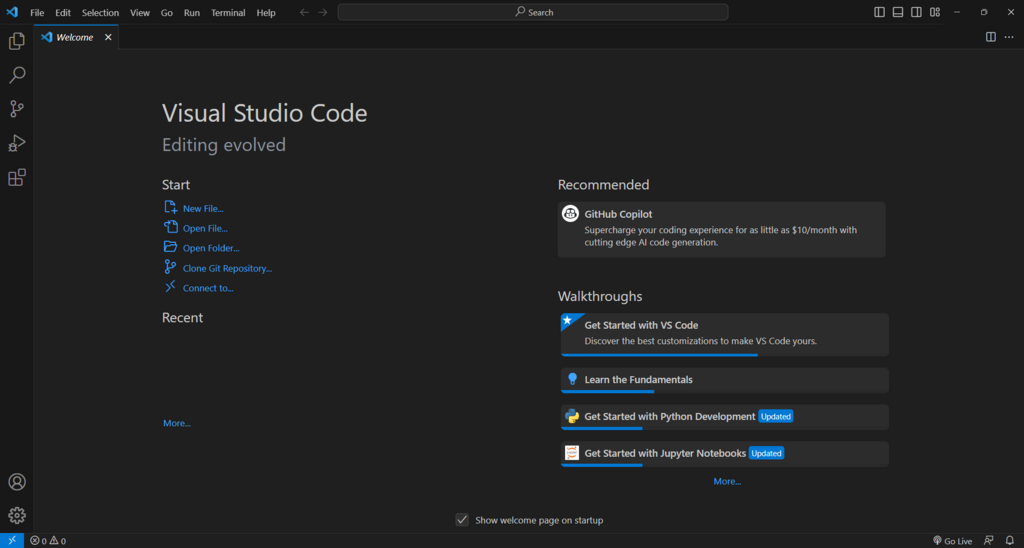
Once VS Code is installed, you need to tell Unity to use it. Open the Unity Editor (you can launch it from a new project in Unity Hub). In the top menu, go to Edit > Preferences. A new window will pop up.
In the Preferences window, select the External Tools tab. At the top, you'll see a dropdown menu for External Script Editor. Click on it and select Visual Studio Code from the list. If it's not listed, you can browse for it manually.
That's it! Now, whenever you double-click a C# script in your Unity project, it will automatically open in VS Code, ready for you to edit. Your development environment is now fully set up.
Unity Hub manages your projects, the Editor builds your worlds, and VS Code brings them to life with code.
Let's check your understanding of these essential tools.
What is the primary role of Unity Hub?
When installing a new Unity Editor via Unity Hub, which type of version is recommended for most projects due to its stability and extended support?
With your tools installed and configured, you're ready to start creating.