Unity 2D Player Controller Mastery
Unity Setup
Creating Your Project
First, we need a blank canvas. This starts in the Unity Hub, which manages all your Unity projects and installations. When you create a new project, Unity gives you several templates to choose from. These templates pre-configure settings for common types of games.
For our purposes, the choice is simple: select the 2D Core template. This tells Unity you're building a game on a two-dimensional plane. It sets up the editor with the right tools, a 2D-friendly camera, and appropriate physics settings from the get-go. Give your project a name and choose a location to save it, then click "Create project".
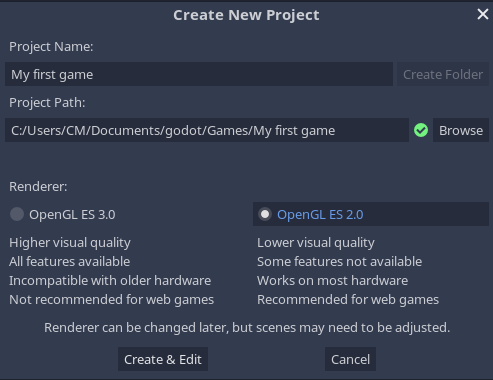
Once the project loads, you'll see the Unity Editor. It might look complex, but we'll focus on a few key windows. The editor should already be in 2D mode, which you can verify by a button at the top of the Scene view. In 2D mode, you're working with X (horizontal) and Y (vertical) coordinates, just like on a piece of graph paper. The camera is also set to "Orthographic," meaning it looks at the world head-on without any perspective distortion. This is perfect for 2D games.
Start with a simple 2D platformer or a puzzle game before diving into complex projects.
Organizing Your Assets
Every file in your game, from images to code, is called an asset. Unity stores all of them in the Assets folder, which you can see in the Project window at the bottom of the editor. A clean project is a happy project. Before you import anything, it's a great habit to create a few folders to keep things organized.
Right-click inside the Assets folder in the Project window and create these folders:
- Sprites: For all your 2D images and character art.
- Scripts: Where your C# code files will live.
- Prefabs: For pre-configured game objects you want to reuse.
- Animations: For character and object animations.
- Scenes: To save your different game levels or menus.
To import your assets, simply drag the files from your computer's file explorer directly into the corresponding folder in Unity's Project window. For example, drag your player character's image into the Sprites folder.
Building a Basic Scene
A scene is where you build your game world. Think of it as a level or a menu screen. We're going to set up a very simple one.
First, let's add a character. Find your player image in the Sprites folder and drag it into the large, central Scene view. When you do this, Unity automatically creates a new Game Object with a Sprite Renderer component attached. This component is what makes the image visible in your game.
Sprite
noun
In Unity, a sprite is simply a 2D graphic object. When you add a 2D image file (like a PNG or JPG) to your project, Unity imports it as a sprite asset.
With your player object selected in the Hierarchy window, you can use the Inspector window on the right to change its properties. Let's rename it from its file name to something clearer, like "Player". You can also adjust its position, rotation, and scale.
Next, a player needs some ground to stand on. Drag a platform or ground sprite into the Scene view. You can duplicate it to build a small floor. Select the ground object and press Ctrl+D (or Cmd+D on Mac) to make a copy, then drag the new one into place.
Your scene now has the basic building blocks: a player and an environment. You've successfully set up the foundation of your game.
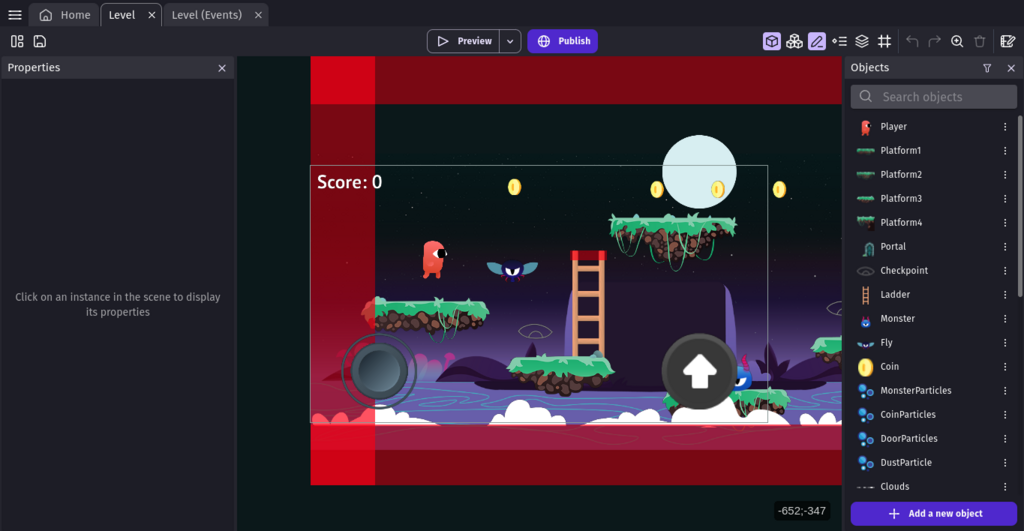
Now that you have your project structured and a basic scene laid out, it's time to test your understanding.
When creating a new game in the Unity Hub specifically for a 2D plane, which project template should you select?
What is the primary purpose of creating folders such as 'Sprites', 'Scripts', and 'Scenes' inside the 'Assets' folder?
With these steps complete, your project is primed and ready. Next, we'll bring your character to life by making it move.