Ubuntu Server Setup for Frigate NVR
Ubuntu Installation
Get the Installer
First, you need the Ubuntu Server installation file. This comes as an ISO file, which is a complete copy, or image, of an installation disk. You'll download this file and then use a special tool to write it to a USB drive.
Always download from the official Ubuntu website to ensure the file is secure and unmodified.
Look for the latest LTS version. LTS stands for Long Term Support. These versions are released every two years and receive free security and maintenance updates for five years. For a server that you want to be stable and secure, an LTS release is the best choice.
Create a Bootable USB Drive
Now that you have the ISO file, you need to write it to a USB drive. You can't just copy and paste the file; you need a tool that makes the USB drive bootable, meaning the computer can start up from it.
A great, simple tool for this is Balena Etcher. It's free and works on Windows, macOS, and Linux. The process is straightforward:
- Select image: Choose the Ubuntu Server ISO file you downloaded.
- Select drive: Pick your USB drive from the list. Be very careful to select the correct one, as this process will erase everything on it.
- Flash!: Click the button to start. It will take a few minutes to write and verify the data.
Install Ubuntu Server
With your bootable USB drive ready, plug it into the computer where you'll be installing Ubuntu Server. You'll need to boot the computer from this USB drive. To do this, you might need to press a specific key during startup (often F2, F10, F12, or DEL) to enter the BIOS or UEFI settings and change the boot order.
Once you boot from the USB, the Ubuntu installer will load. Here’s a walkthrough of the key steps:
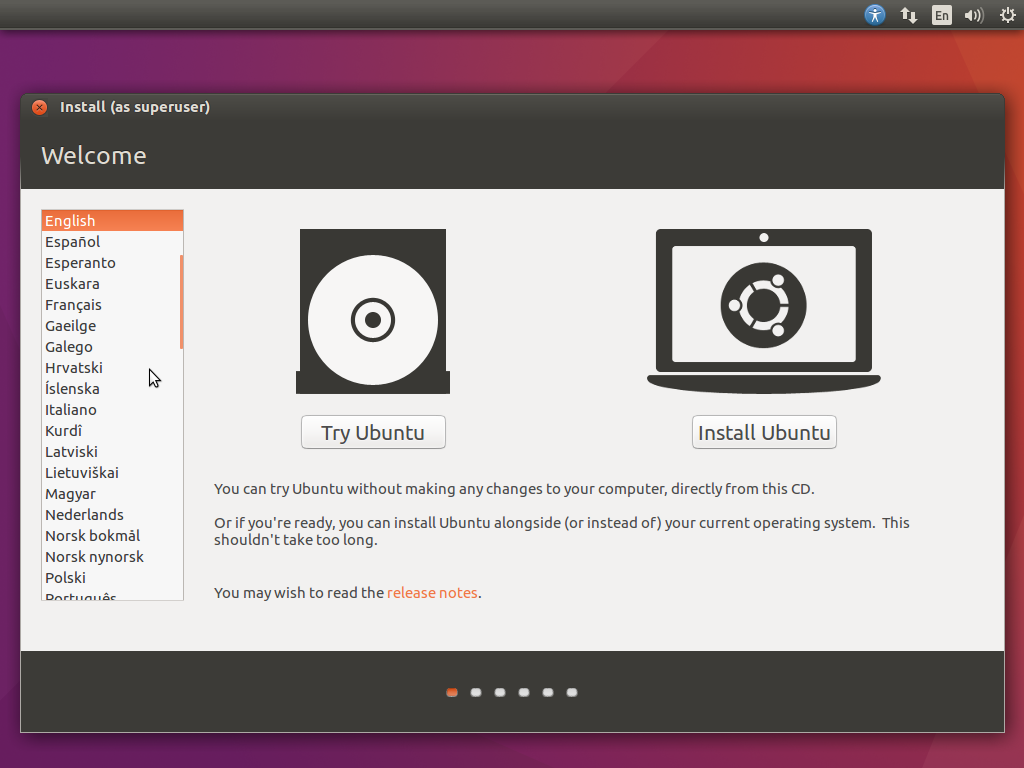
- Language and Keyboard: Choose your preferred language and keyboard layout.
- Network: Connect to your network. Using a wired Ethernet connection is usually easiest, as it will likely configure itself automatically using DHCP.
- Storage: The installer will ask how you want to partition the disk. For a dedicated server, the simplest option is to select "Use an entire disk." This will erase everything on the selected hard drive and set up the necessary partitions for you.
- Profile Setup: Create your user account. You'll set your name, a name for the server (like
frigate-nvr), a username, and a strong password. - SSH Setup: The installer will offer to install an OpenSSH server. Say yes to this. SSH (Secure Shell) is essential for managing your server remotely from another computer, which is how you'll interact with it most of the time.
- Snaps: You may be offered a list of popular server software packages (called snaps). You can skip this for now by selecting 'Done'. We'll install everything we need later.
After you confirm your choices, the installation will begin. Once it's finished, the installer will prompt you to remove the USB drive and reboot the system.
First Updates
After your new server reboots, log in with the username and password you created. The first thing you should always do on a fresh installation is update the system's package list and upgrade all the installed software to their latest versions.
This ensures you have the latest security patches and bug fixes. The system uses a package manager called APT (Advanced Package Tool) to handle this. Run these two commands:
sudo apt update
This first command updates the local list of available packages. The sudo part elevates your privileges to run the command as the system administrator.
sudo apt upgrade -y
The second command downloads and installs the updates for all your packages. The -y flag automatically answers 'yes' to the confirmation prompt. This might take a few minutes to complete.
Your Ubuntu Server is now installed, updated, and ready for you to build on. It's a clean, minimal base for your project.