Ubuntu Home Server Essentials
Ubuntu Server Installation
Getting the Installer
Your journey begins with downloading the official Ubuntu Server installer. This comes as an ISO file, which is a complete copy of the operating system, ready to be put onto an installation medium. You’ll want to get the latest Long-Term Support (LTS) version. LTS releases are supported with security updates for five years, making them a stable and reliable choice for a server that you don't want to constantly be rebuilding.
Head to the official Ubuntu Server website and download the latest LTS version. While it’s downloading, you’ll need a tool to create a bootable USB drive from the ISO file. Popular, free options include BalenaEtcher (for Windows, macOS, and Linux) and Rufus (for Windows). You will also need a USB drive with at least 8 GB of storage.
Using one of these tools, you'll "flash" the ISO file to your USB drive. This process will erase everything on the drive, so be sure to back up any important files first.
Installing the OS
With your bootable USB drive ready, plug it into the computer you'll be using as a server. Turn on the machine and you'll need to tell it to boot from the USB drive instead of its internal hard drive. This usually involves pressing a specific key (like F2, F10, F12, or DEL) right after you power it on to enter the BIOS or UEFI settings. Look for a "Boot Order" or "Boot Menu" option and select your USB drive.
Once it boots, the Ubuntu Server installer will launch. It's a text-based installer, but it’s straightforward. You'll navigate using the arrow keys, Tab, and Enter.
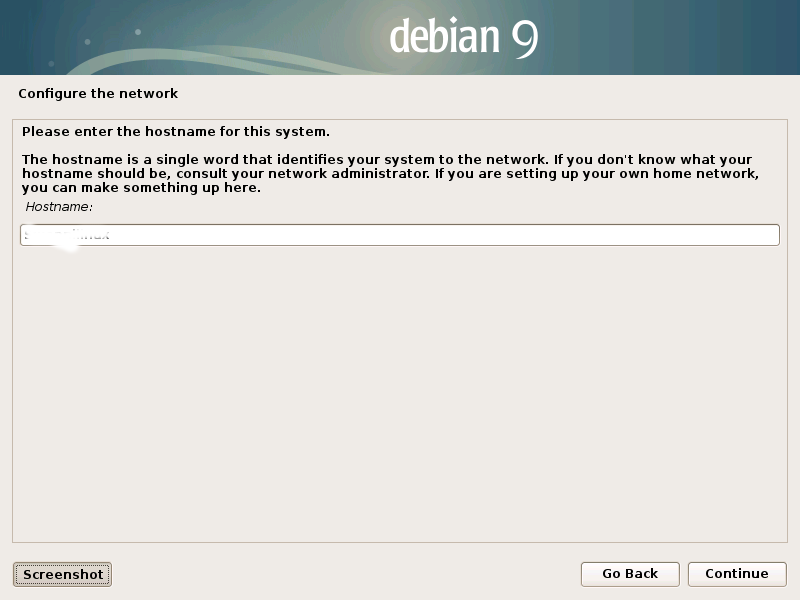
Here are the key steps you'll go through:
- Language and Keyboard: Select your preferred language and keyboard layout.
- Network: The installer will try to configure the network automatically using DHCP. This is fine for now; we'll set a static IP address later.
- Storage: For a simple home server, the easiest option is to use the entire disk. The installer will guide you through this, erasing the disk and partitioning it for Ubuntu.
- Profile Setup: You'll choose your name, a name for your server (its hostname, like
homeserver), a username, and a strong password. Write this password down! - SSH Setup: The installer will offer to install the OpenSSH server. You absolutely want to do this. Select the option to install it. This is what will let you manage your server remotely.
- Snaps: You might see a screen with "Featured Server Snaps." These are packaged applications. You can safely skip this for now by tabbing down to "Done" and pressing Enter.
After these steps, the installation will begin. Once it's complete, the installer will prompt you to remove the USB drive and reboot.
Post-Installation Setup
After rebooting, you'll be greeted with a command-line login prompt. Log in with the username and password you created during installation. The first two tasks are to update your system and configure a static IP address.
First, let's update the package lists and upgrade any outdated software. This ensures your server is secure and up-to-date from the start. Run these two commands, one after the other:
sudo apt update
sudo apt upgrade -y
Next, we'll set a static IP address. Servers need a predictable address on your network so other devices can reliably connect to them. By default, your router assigns a dynamic IP that can change. A static IP never changes.
First, find your current network information by running:
ip addr
Look for your network interface name (it often starts with en or eth, like enp0s3) and your current IP address (like 192.168.1.123/24).
Ubuntu Server uses a tool called Netplan to manage network settings. The configuration files are in /etc/netplan/. You can edit the configuration file (it will have a name ending in .yaml) using the nano text editor:
# The filename might be different on your system
sudo nano /etc/netplan/00-installer-config.yaml
Modify the file to switch from dhcp4: true to a static configuration. It should look something like this. Be careful with the indentation; it's very important. Use a static IP address that's outside the range your router uses for DHCP, but still on the same network (e.g., if your router gives out addresses from 192.168.1.100 to 192.168.1.200, you could use 192.168.1.50).
network:
  version: 2
  ethernets:
    # Use the interface name you found earlier
    enp0s3:
      dhcp4: no
      addresses:
        - 192.168.1.50/24
      routes:
        - to: default
          via: 192.168.1.1 # Your router's IP address
      nameservers:
        addresses: [8.8.8.8, 1.1.1.1]
Save the file in nano by pressing Ctrl+X, then Y, then Enter. Apply the new configuration with this command:
sudo netplan apply
Your server now has a static IP address. The last step is to make sure you can connect to it remotely using SSH from another computer on the same network. Open a terminal on your other computer (on Windows, you can use PowerShell or WSL) and connect using the username and new static IP address you set.
ssh your_username@192.168.1.50
If everything is working, you'll be prompted for your password and then see the welcome message from your new Ubuntu Server. You can now manage your server without needing a monitor and keyboard attached to it.