Tiny Whoop FPV Flight Mastery
Unboxing and Hardware Setup
Unboxing Your Gear
Let's get your new FPV drone and goggles out of the box and ready for action. We'll start by identifying all the key components for both the BETAFPV Air65 drone and the Eachine EV800DM goggles. This first step is all about getting familiar with the hardware.
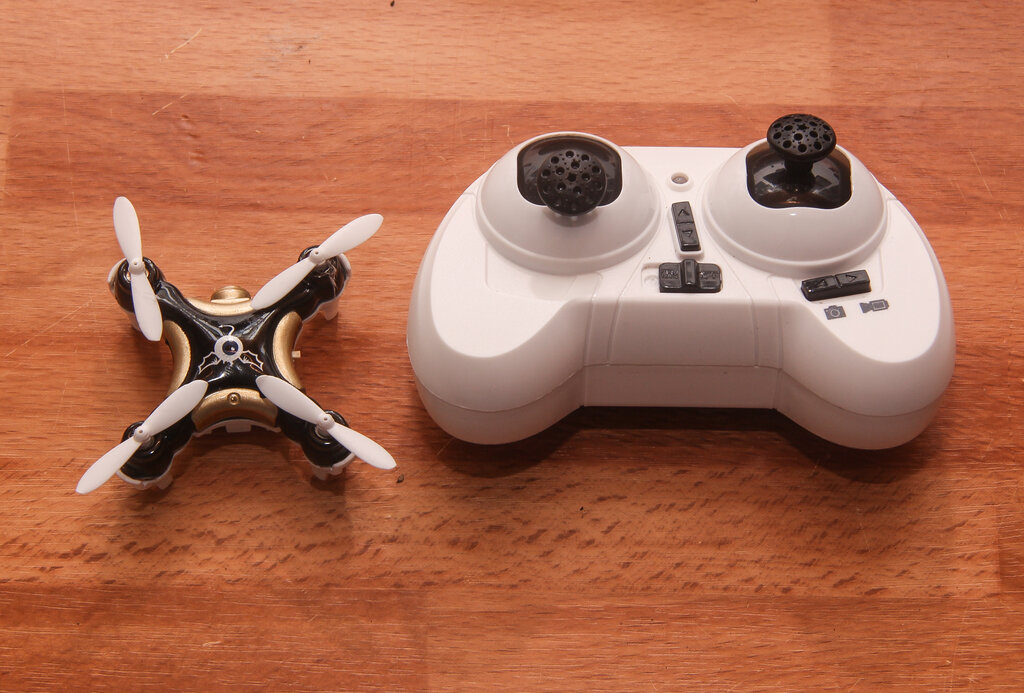
First, open the box for your BETAFPV Air65. Inside, you should find a collection of small, high-tech parts. Lay them out so you can see everything clearly.
| Component | Description |
|---|---|
| Drone Frame | The lightweight plastic skeleton that holds everything together. |
| Flight Controller (FC) | The drone's brain, with the camera and video transmitter (VTX) attached. |
| Brushless Motors | Four tiny motors that spin the propellers. |
| Propellers | You'll have a few sets. They create the thrust to lift the drone. |
| Canopy | The protective plastic cover for the flight controller and camera. |
| Hardware | A small bag with screws for mounting the motors and canopy. |
Next, let's unbox the Eachine EV800DM goggles. These are your eyes in the sky, receiving the video feed from the drone's camera.
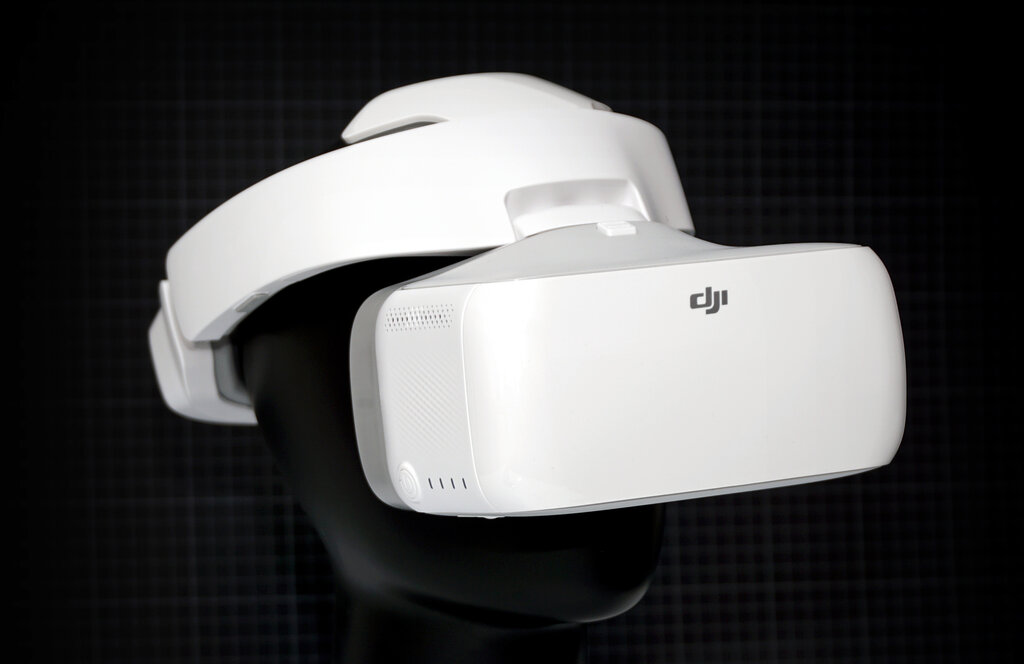
The goggle box contains:
| Component | Description |
|---|---|
| Goggle Unit | The main headset with the screen inside. |
| Antennas | Two antennas that screw onto the top of the goggles to receive the video signal. |
| Head Strap | An adjustable strap to wear the goggles comfortably. |
| Power & Video Cables | Cables for power and connecting to external video sources. |
Hardware Assembly
With all the parts identified, we can assemble the drone. The Air65 comes mostly pre-built, so this process is straightforward. The main task is attaching the motors to the frame.
-
Mount the Motors: Take the four brushless motors and notice that their wires are different lengths. The motors with longer wires are for the front, and the ones with shorter wires are for the rear. Gently press each motor into its designated slot on the frame arms. The fit should be snug.
-
Secure the Flight Controller: The flight controller (the main circuit board) rests on soft rubber dampers in the center of the frame. Make sure it's seated securely, then plug the three wires from each motor into the corresponding sockets on the flight controller. They only fit one way, so you can't get it wrong.
-
Attach the Canopy: Place the plastic canopy over the flight controller. It protects the sensitive electronics and the camera. Use the provided screws to fasten it to the frame.
-
Install the Propellers: This is a crucial step. You have two types of propellers: clockwise (CW) and counter-clockwise (CCW). The flight controller has a diagram indicating which type of propeller goes on which motor. Match them correctly and press them firmly onto the motor shafts. An incorrect propeller layout will prevent the drone from flying.
Double-check your propeller orientation. The front-left and rear-right motors get one type, while the front-right and rear-left motors get the other. This configuration is what allows the drone to stabilize itself.
Configuring Your Goggles
Setting up the goggles is much simpler. First, screw the two antennas into the SMA connectors on top of the headset. Hand-tight is fine; you don't need any tools.
Next, adjust the head strap so the goggles fit securely but comfortably on your face. A good fit blocks out ambient light and keeps the screen in the correct position.
The EV800DM goggles have a unique feature: the screen can detach from the main headset and be mounted on a tripod. For now, we'll keep it assembled as a standard headset.
Once powered on, the main adjustment you'll make is focusing the lens. There's a Fresnel lens that can be moved closer to or further from the screen. Slide it back and forth until the image on the screen is sharp and clear for your eyes. Everyone's vision is different, so take a moment to get this right.
Finally, you'll need to find the video channel your drone is transmitting on. Power on your drone (without propellers for safety) and then use the "Search" button on your goggles. The goggles will automatically scan through all the FPV channels and lock onto the one with the strongest signal, which will be your drone's camera feed.
When mounting the motors on the BETAFPV Air65 frame, how do you determine where the front and rear motors go?
What is the very first step in setting up the Eachine EV800DM goggles after unboxing them?
Your drone is assembled and your goggles are configured. You're now familiar with the physical hardware that makes FPV flight possible.