The World of Painting A Visual Journey
Introduction to Painting
Choosing Your Paint
The first decision every painter makes is what kind of paint to use. The three most common choices are oil, acrylic, and watercolor. Each has its own personality, and the right one for you depends on your goals and patience.
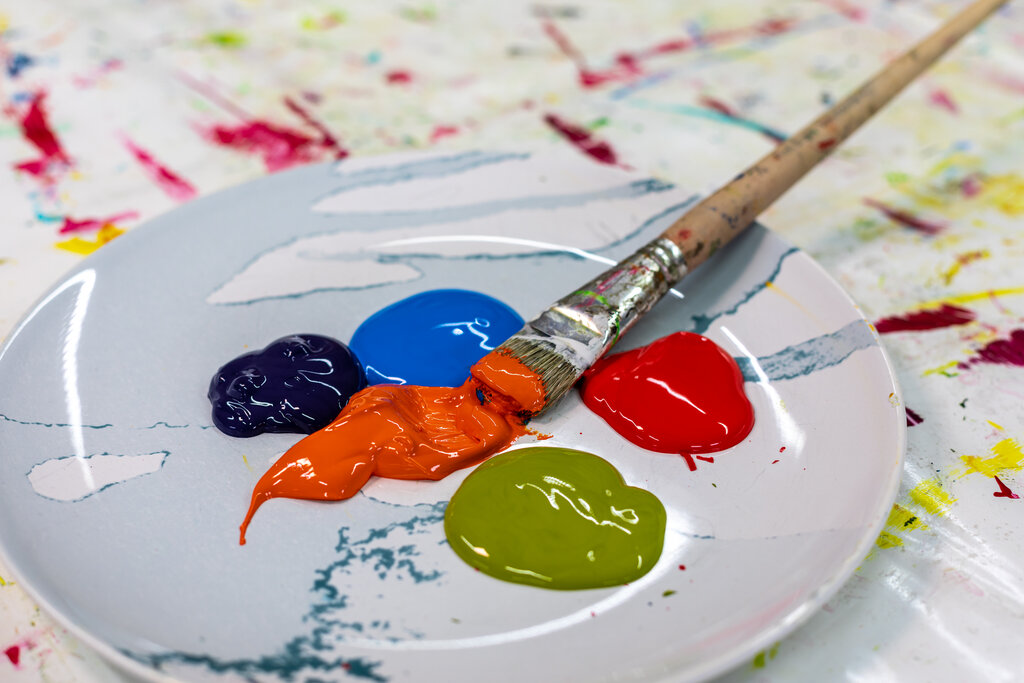
Oils are the classic choice, used by masters for centuries. They consist of pigment mixed with an oil, like linseed. They dry very slowly, which is a huge advantage for blending colors seamlessly on the canvas. However, this slow drying time means a finished painting can take weeks or even months to fully cure. They also require solvents like turpentine for cleanup, which have strong fumes.
Acrylics are a modern invention. They are water-based, dry quickly, and are known for their vibrant colors. Once dry, they are permanent and water-resistant. This speed can be a challenge for blending, but it also allows you to layer colors without muddying them. Cleanup is easy—just soap and water.
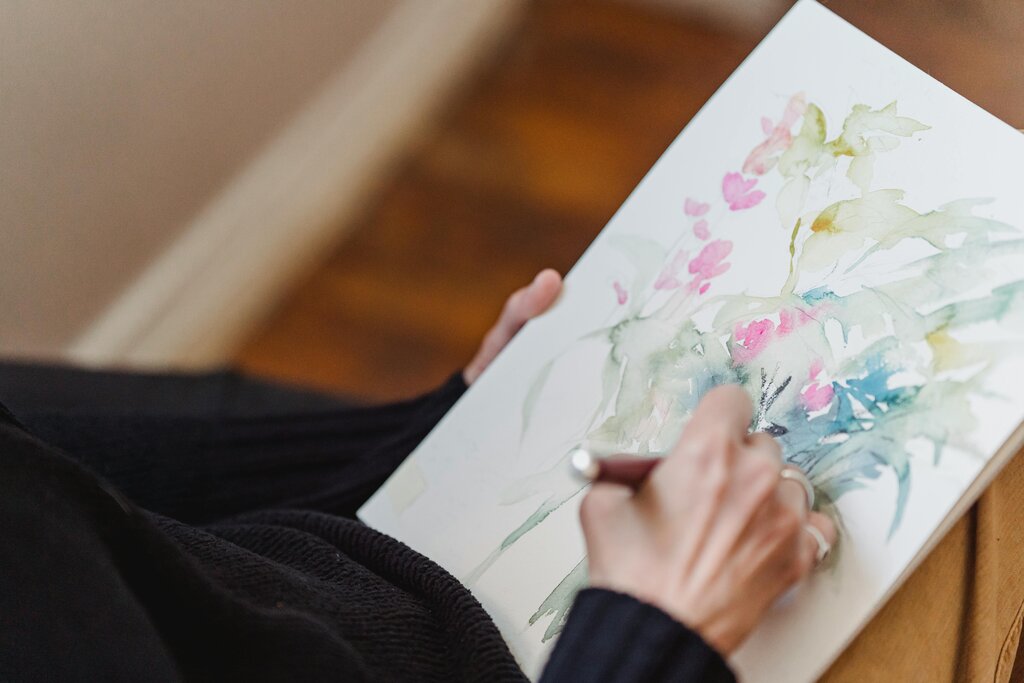
Watercolors are transparent paints that you dilute with water. They are applied to paper, and their beauty comes from their luminosity and the way light reflects off the white of the paper through the thin layers of paint. Watercolor is notoriously difficult to control, as mistakes are hard to cover up. But its spontaneous and delicate results are unique.
| Feature | Oil Paint | Acrylic Paint | Watercolor Paint |
|---|---|---|---|
| Drying Time | Very Slow (days to weeks) | Fast (minutes to hours) | Very Fast (minutes) |
| Cleanup | Solvents (turpentine) | Soap and Water | Water |
| Texture | Thick, buttery | Versatile (thick or thin) | Thin, transparent |
| Best For | Blending, rich layers | Bold colors, sharp lines | Luminous washes, gradients |
For beginners, acrylics are often the most forgiving. They're easy to clean up and you don't have to wait long to paint over your mistakes.
The Right Tools
Beyond paint, you'll need brushes and a surface to paint on. Don't feel you need to buy every tool at the art store. A few key items will get you started.
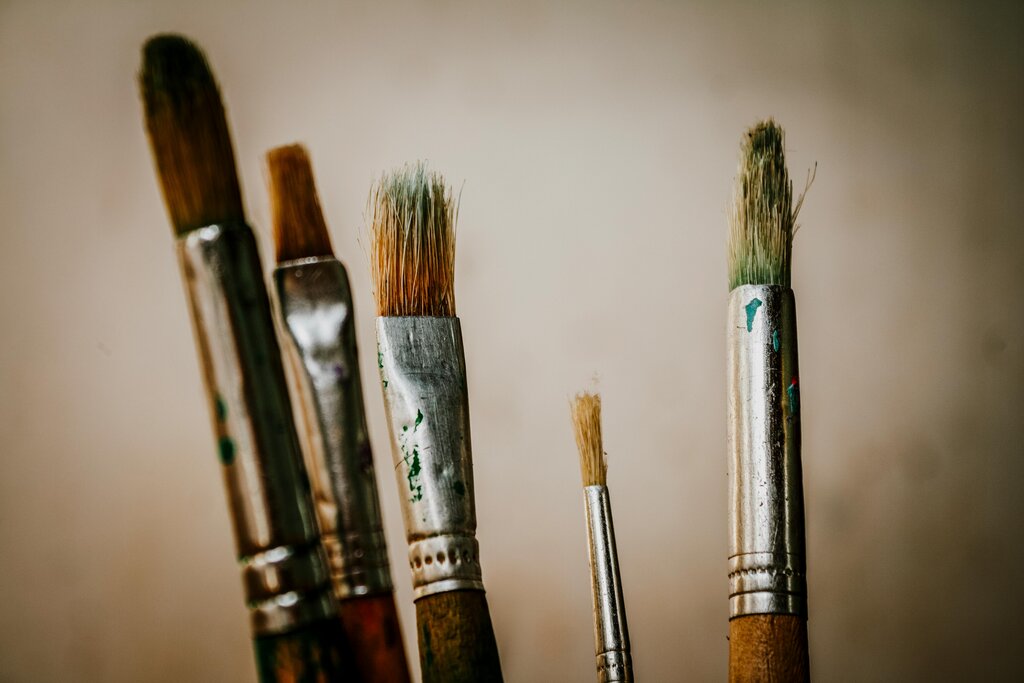
Paintbrushes come in many shapes and sizes. The bristles can be natural (like hog hair, for oils) or synthetic (great for acrylics). A good starter set includes three basic shapes:
- Round: A pointed tip for lines and details.
- Flat: A square end for broad, even strokes and filling large areas.
- Filbert: A flat brush with a rounded tip, offering the best of both worlds. It's versatile enough for both broad strokes and softer edges.
The surface you paint on is called a support. The most common support is stretched canvas, which is fabric (usually cotton or linen) stretched over a wooden frame. Most store-bought canvases come pre-primed with gesso, a chalky substance that gives the surface a slight texture, or "tooth," for the paint to grip onto. If you buy an unprimed canvas, you'll need to apply two or three coats of gesso yourself, letting it dry between each coat.
You can also paint on canvas boards, wood panels, or special paper designed for acrylics or oils.
Basic Techniques
Once your supplies are ready, it's time to put paint on the canvas. How you apply it is just as important as what you're painting. A few fundamental techniques form the foundation of all painting.
Layering is the process of building up colors, often starting with thin washes and adding thicker, more opaque layers on top. This adds depth and complexity to your work.
Think of it like building a drawing with paint. You might start with a thin, watery layer to block in the basic shapes and colors of your composition. This is often called an underpainting. Once that's dry, you can add subsequent layers to define forms, add details, and adjust colors.
Blending creates smooth transitions between two or more colors. With slow-drying oils, you can work two colors into each other directly on the canvas for a long time. With fast-drying acrylics, you have to work quickly. One method is to apply the two colors side-by-side and then use a clean, slightly damp brush to gently feather the edges together until they merge.
Finally, how you handle the brush itself makes a huge difference. The amount of pressure you apply and the angle of the brush will change the mark it makes. Practice making different kinds of strokes. Use the tip of a round brush for fine lines, and press down to make the line thicker. Use the side of a flat brush to cover a wide area, or use its narrow edge to create a sharp line.
Try this: Load a flat brush with paint and make a stroke. Now, try another stroke with less pressure. Then try one holding the brush at a different angle. Every change creates a different effect.
Now that you understand the basic materials and methods, you're ready to test your knowledge.
A painter wants to build up layers of opaque color rapidly, ensuring that new layers don't mix with the ones underneath. Which paint is the best choice for this task?
What is the primary purpose of applying gesso to a canvas?