Teenage Engineering PO-12 Beat Making
Getting Started
Unboxing Your PO-12
Your new Pocket Operator has arrived. This little device, the PO-12 Rhythm, is a powerful drum machine that fits in your hand. Before you can start making beats, you need to power it up.
The first thing you'll notice is the hanger tab at the top. This is designed for store displays. You can snap it off to make the PO-12 more pocket-friendly. Just bend it back and forth a few times until it breaks away cleanly.
Now, flip the device over. You'll see two slots for AAA batteries. The PO-12 doesn't come with them, so you'll need to supply your own. Slide two batteries into the slots, making sure the positive (+) and negative (-) ends match the markings. Once they're in, the device will power on automatically.
First Power Up & Clock
As soon as the batteries are in, the LCD screen will light up. Welcome to the world of Pocket Operators. Before diving into sounds, it’s a good idea to set the clock. Yes, this drum machine has a built-in alarm clock.
Setting the time is simple. Just follow these steps:
- Press and hold the
patternbutton. - While holding
pattern, press button 16 (the last button on the bottom right).
The screen will now show the clock setting mode. You can use the two knobs at the top right to adjust the time.
- Knob A (left) sets the hour.
- Knob B (right) sets the minute.
Twist them until the correct time is displayed. There's no save button; the time is set as soon as you let go of the pattern button. You can also set an alarm by holding pattern and pressing button 15, using the knobs in the same way.
A Tour of the Interface
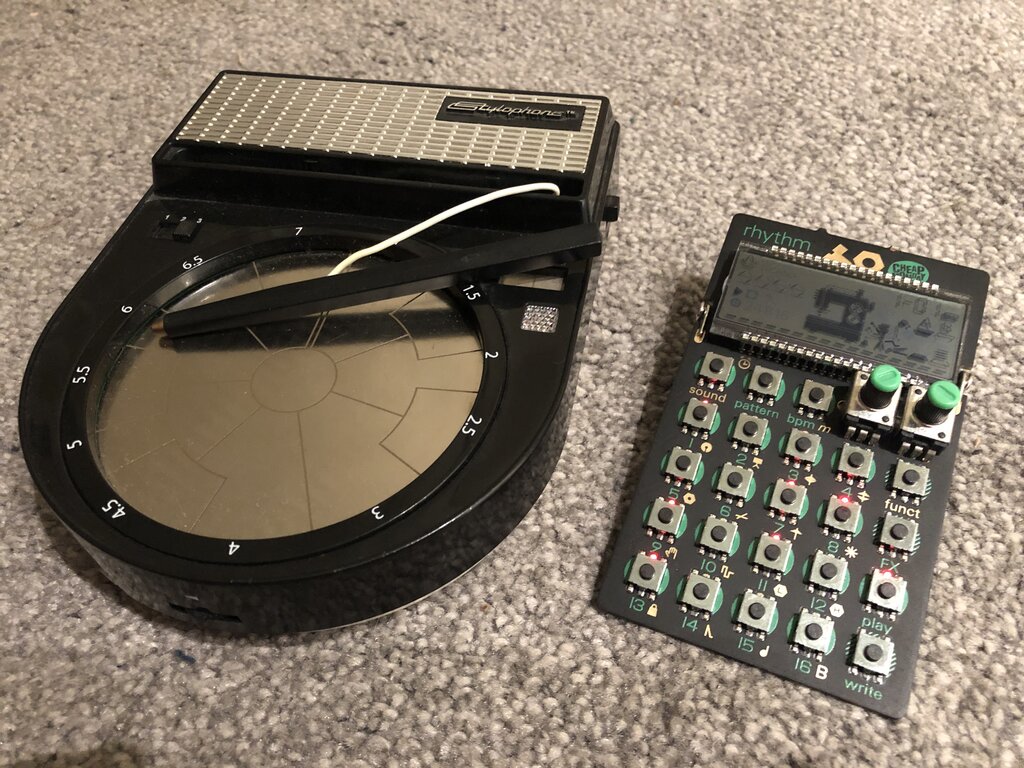
The PO-12's interface might look a bit cryptic with all its symbols, but it's logically laid out. Let's break down the main components so you know what you're looking at. The diagram below shows the key areas of your new device.
Here’s a quick rundown of what each section does:
LCD Screen: This is your main display. It shows everything from the current time to the selected sound and the drum pattern you're creating. The animations are not just for fun—they provide visual feedback on your patterns and sound adjustments.
Knobs A and B: These two knobs are your primary tools for tweaking sounds. Depending on the selected sound, they control different parameters like pitch, volume, or other audio characteristics. We'll explore this more later.
Function Buttons: These five buttons below the screen manage the PO-12’s core operations. You'll use them to select sounds, choose patterns to edit or play, adjust the tempo (BPM), and apply effects (FX).
Sequencer Buttons (1-16): These are the heart of the drum machine. The 16 buttons represent the 16 steps in a musical pattern. You'll use them to input drum hits and build your rhythms. They also double as a way to select sounds and patterns.
Don't worry about memorizing every function right now. The best way to learn is by doing, which we'll get to in the next section.
That's it for the initial setup. Your PO-12 is powered up, the clock is set, and you know your way around the basic controls. You are now ready to start making music.