Solving the Rubik's Cube Efficiently
Optimized Cross Construction
Building the Cross Directly
In the beginner's method, you might have learned to build a 'daisy' on the yellow face before moving the white edges down. We're going to skip that. To get faster, it's essential to build the cross directly on the bottom face, which is usually white. This eliminates an entire step and, more importantly, a cube rotation. By solving the cross on the bottom from the start, you're ready to jump immediately into the next phase of the solve without ever having to flip the cube over.
Know Your Colors
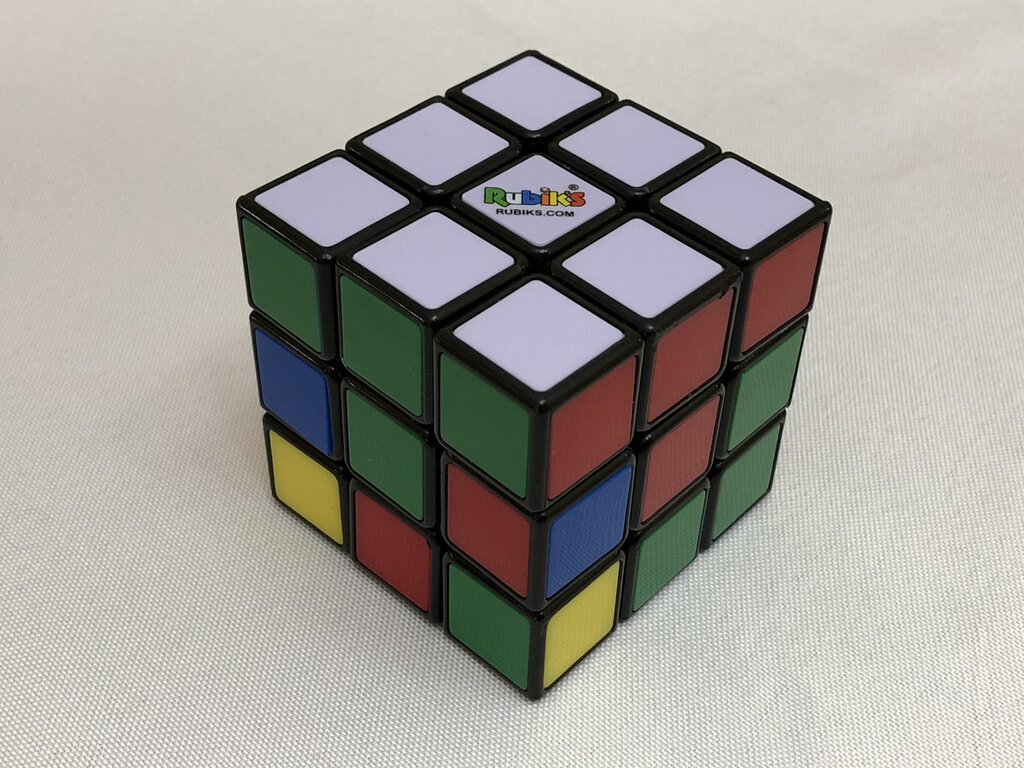
The key to building the cross efficiently is understanding that the center pieces never move relative to each other. The white center will always be opposite the yellow, the blue will always be opposite the green, and the red will always be opposite the orange. This fixed relationship means the order of the colors around the white center is always the same. If the green face is in front of you and the white face is on the bottom, orange will be on your right, blue will be behind, and red will be on your left. You must memorize this color scheme so you can place edge pieces correctly without looking at the other centers.
Your goal is to place the four white edge pieces into the bottom layer so that they form a cross and their other color matches the corresponding side's center piece. A solved cross means the white/green edge is between the white and green centers, the white/orange edge is between the white and orange centers, and so on.
Placing the Edges
There are only a few situations you'll encounter when placing an edge piece. The goal is always to solve each of the four cross pieces intuitively and efficiently, aiming for a total of 8 moves or less for the entire cross. Let's look at the three basic cases for any given white edge piece.
Remember: The 'front' face is whatever color is facing you. The algorithms below assume you orient the cube so the piece you're solving is positioned correctly relative to the front face.
| Case | Description | Solution |
|---|---|---|
| 1. Good Edge | The white edge is in the top layer, and its side color is on the top face. | Align the side color with its center, then do an F2 move to bring it to the bottom. |
| 2. Bad Edge | The white edge is in the top layer, but the white sticker is on the top face. | Move the edge so it's above its target center. Then perform F' U' R U. |
| 3. Flipped Edge | The edge is in the middle layer, but oriented incorrectly (white sticker isn't on the white face). | Bring the piece to the top layer with a single move like R or F'. Now it's a 'Good Edge' or 'Bad Edge' case. Solve it from there. |
If a white edge piece is already in the bottom layer but in the wrong spot or flipped, just use a single face turn (like R or F) to pop it out into the middle or top layer. Then you can solve it using one of the cases above.
With practice, these movements become second nature. You'll start to see patterns and plan your first couple of moves while you're inspecting the scramble. The key is to be efficient and smooth with your turns, which is where come in.
Now, let's test your understanding of these cross-solving concepts.
Why is it considered more efficient to build the cross directly on the bottom face (usually white) rather than making a 'daisy' on the top face first?
If you are holding the cube with the white center on the bottom and the green center facing you, which color center will be on your right side?
Building the cross efficiently on the bottom is a foundational skill for speed. By mastering this, you set yourself up for a much faster and smoother transition into the rest of the solve.