SolidWorks Simulation Essentials
Introduction to SolidWorks Simulation
Welcome to Simulation
You've built your part in SolidWorks. It looks great on screen, but how will it perform in the real world? Will it bend, break, or overheat? Answering these questions is what simulation is all about.
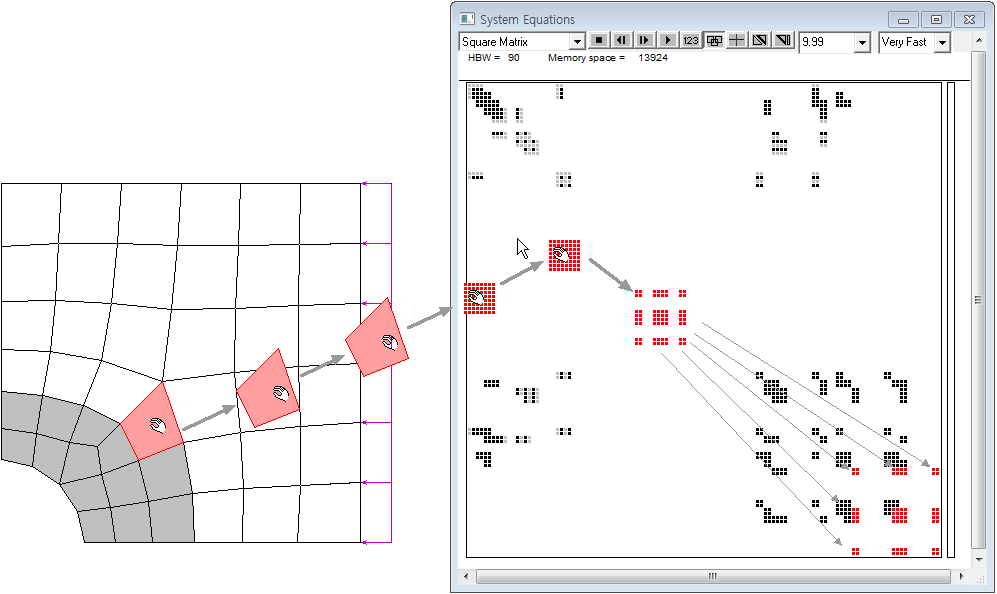
SolidWorks Simulation is a powerful analysis tool built directly into the SolidWorks environment. It uses a method called Finite Element Analysis (FEA) to predict how a part or assembly will behave under various physical effects. Think of it as a virtual testing lab on your computer.
To get started, you first need to activate the Simulation Add-In. You can do this by going to Tools > Add-Ins and checking the box for SolidWorks Simulation. Once active, you'll see a new Simulation tab appear in your CommandManager, the main toolbar at the top of the screen. This tab is your gateway to all the analysis tools.
Types of Studies
Before you can test your part, you need to decide what you want to test for. SolidWorks organizes different types of analyses into 'studies.' When you click 'New Study' from the Simulation tab, you'll see a list of options. While there are many advanced types, most analyses fall into a few common categories.
| Study Type | What It Does |
|---|---|
| Static | Analyzes stress and displacement under fixed loads. The most common type of study. |
| Thermal | Calculates temperature distribution from heat sources or environmental conditions. |
| Frequency | Determines the natural vibration frequencies of a part to avoid resonance. |
| Buckling | Predicts when a slender part will suddenly buckle under a compressive load. |
| Fatigue | Estimates the lifespan of a part subjected to repeated loading and unloading cycles. |
For now, we will focus exclusively on Static studies, which are fundamental to understanding structural behavior.
The Simulation Workflow
Every simulation study, regardless of its type, follows the same basic workflow. This process is managed through the Simulation study tree, which appears in the left-hand panel of your screen once you create a new study. It acts like a recipe, guiding you through each necessary step from setup to results.
The general workflow is:
- Create Study: Choose the analysis type (e.g., Static).
- Apply Material: Tell SolidWorks what your part is made of.
- Apply Fixtures: Define how the part is held in place.
- Apply Loads: Specify the external forces or pressures acting on the part.
- Create Mesh: Break the model down into small elements for analysis.
- Run Study: Solve the mathematical equations.
- View Results: Analyze the plots for stress, displacement, etc.
Each of these steps corresponds to an item in the Simulation study tree. You'll typically work from the top of the tree to the bottom. Right-clicking on any item in the tree will bring up the relevant commands to complete that step. In the next section, we'll walk through this exact process to set up our first static stress analysis.
What is the primary purpose of using SolidWorks Simulation?
The step-by-step workflow for setting up, running, and viewing the results of an analysis is managed through the ____.