Smartphone Photography Essentials
Understanding Smartphone Camera Features
The Essentials
Your smartphone camera is packed with settings that can transform your photos from simple snapshots into compelling images. Let's start with the foundational tools you'll use every time you shoot.
First up is the aspect ratio, which is the shape of your photo. You can usually change this in your camera's settings. Each ratio is suited for a different purpose.
| Ratio | Best For |
|---|---|
| 4:3 | Capturing the most detail from the sensor. Good for general use. |
| 16:9 | Widescreen displays like TVs or computer monitors. |
| 1:1 | Square formats, perfect for social media profile pictures or Instagram posts. |
Next, turn on your camera's grid lines. These lines divide your screen into nine equal rectangles and are an invaluable tool for composing your shot. The most common compositional guideline is the rule of thirds.
The rule of thirds suggests placing important elements of your photo along the grid lines or at the points where they intersect. This often creates a more balanced and visually interesting image than centering the subject.
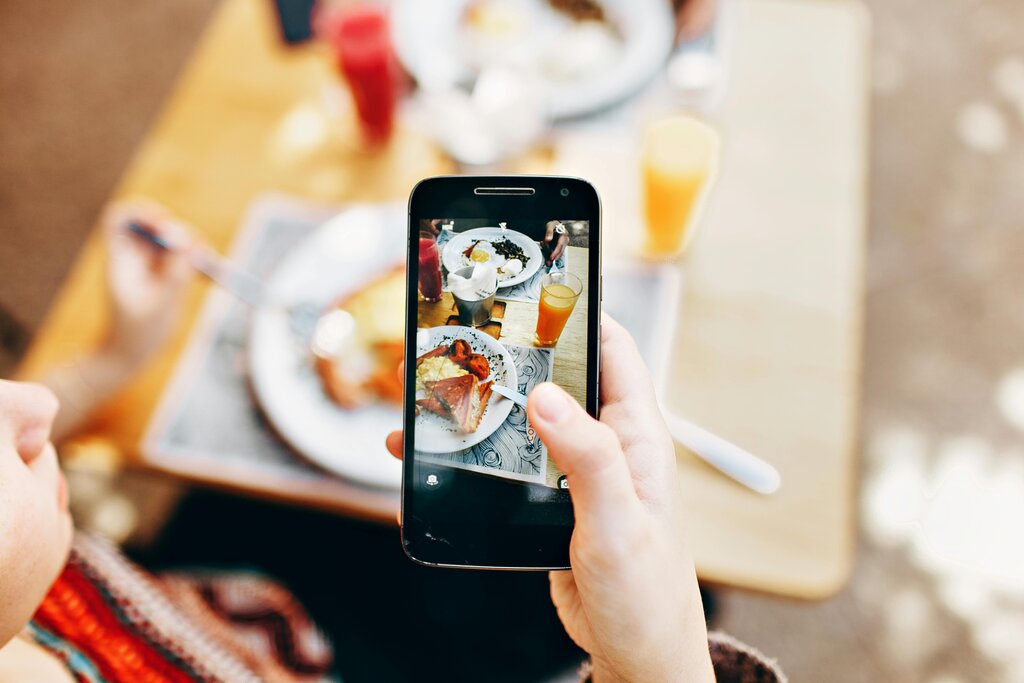
Finally, you have direct control over focus and exposure. Your camera automatically tries to guess what to focus on, but you can override it. Simply tap on your screen where you want the camera to focus. A box or circle will appear, confirming your focus point.
Next to that focus point, you'll often see a small sun icon with a slider. Dragging this up or down adjusts the exposure, making the image brighter or darker. This is perfect for situations where the automatic setting makes the scene too dark or washes it out.
Creative Shooting Modes
Beyond the basics, your phone has several specialized modes designed for specific situations. Knowing when to use them is key to unlocking your camera's potential.
HDR
noun
Stands for High Dynamic Range. This mode captures more detail in the lightest and darkest areas of a photo.
When should you use HDR? It's best for high-contrast scenes. Imagine taking a photo of a person standing in front of a bright window. Without HDR, you'd have to choose between exposing for the person (making the window completely white) or exposing for the window (making the person a dark silhouette). HDR mode takes multiple pictures at different exposures and blends them, so you can see both the person and the scene outside the window clearly.
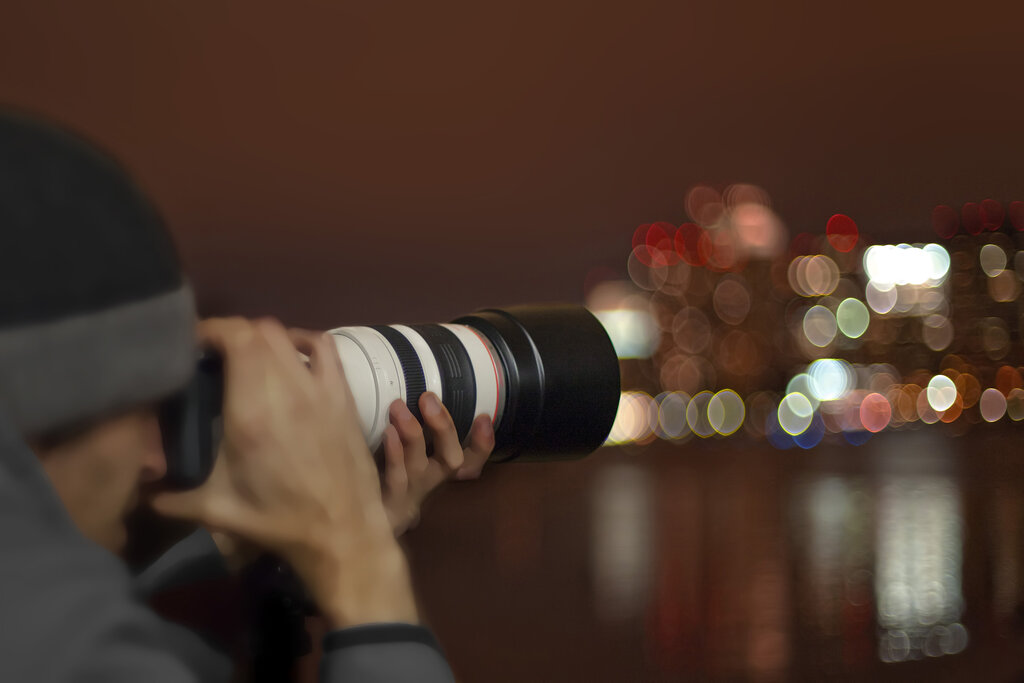
Night Mode is your go-to for shooting in low light. It works by keeping the camera's shutter open for a few seconds to capture more light. The key is to hold your phone as steady as possible while it shoots. The result is a brighter, clearer photo with less graininess, or noise, than a standard shot.
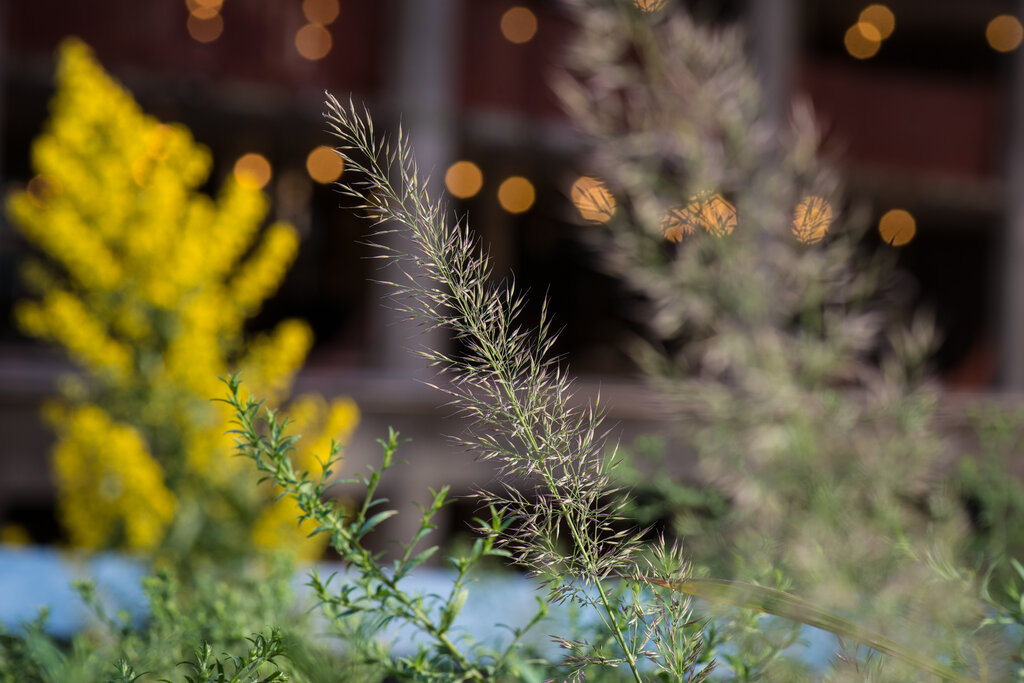
Portrait Mode creates a professional-looking effect by blurring the background, making your subject stand out. This is often called the "bokeh" effect. It's not just for people—it works great for pets, flowers, or any object you want to isolate from its surroundings.
Here are a few other useful modes:
- Burst Mode: For capturing action. Just press and hold the shutter button, and the camera will take a rapid series of photos. You can then select the sharpest, most dynamic shot from the bunch.
- Panorama Mode: For sweeping landscapes or large group photos that won't fit in a single frame. Pan your phone slowly and smoothly across the scene to capture a wide, continuous image.
- Timer: A simple but essential tool. Use it to set a delay of a few seconds before the photo is taken, giving you time to get in the shot yourself or to stabilize the phone to prevent camera shake.
Using Your Flash
The small LED flash on your phone can be a lifesaver, but it can also create harsh, unflattering light. Most cameras give you three options: On, Off, and Auto.
'Auto' lets the camera decide when to use the flash. 'On' forces the flash to fire, and 'Off' prevents it from firing.
Generally, it's best to avoid the flash when you can. Natural light is almost always more pleasing. If you're indoors, try to move near a window or a lamp. The flash is most effective as a "fill flash" outdoors on a sunny day. If your subject has dark shadows on their face from the overhead sun, forcing the flash on can fill in those shadows and create a more balanced exposure.
Ready to test your knowledge? Let's see what you've learned about your phone's camera settings.
What is the primary purpose of enabling grid lines on your smartphone camera?
You are taking a picture of a friend standing in a doorway, with a very bright, sunny day visible outside. Which camera mode would be most effective for ensuring both your friend and the scene outside are well-exposed?
The best way to master these features is to experiment. Try each mode, play with the settings, and see how they affect your images. You'll quickly get a feel for which tools work best in different situations.