Rust Programming Fundamentals
Getting Started
Meet Rust
Rust is a modern programming language focused on three things: performance, reliability, and productivity. It's fast, like C++, but with safety features that prevent common bugs like null pointer dereferences and data races. This makes it a great choice for systems programming—think operating systems, game engines, and browser components—but it's versatile enough for web applications, command-line tools, and more.

Its main selling point is the concept of ownership, a set of rules the compiler checks at compile time. These rules ensure memory safety without needing a garbage collector, which is what gives Rust its impressive speed.
Installation
The easiest way to install Rust is by using rustup, the official toolchain installer. It manages your Rust versions and keeps them up-to-date. For macOS or Linux, you can install it by running a single command in your terminal. Windows users can download an installer from the official Rust website.
curl --proto '=https' --tlsv1.2 -sSf https://sh.rustup.rs | sh
Running this script will download rustup and install the latest stable version of Rust. It will also install other essential tools:
rustc: The Rust compiler.cargo: The Rust package manager and build tool.rustfmt: A tool for formatting Rust code automatically.
After installation, you might need to restart your terminal or run source $HOME/.cargo/env to add Rust to your system's PATH.
Setting Up Your Editor
While you can write Rust in any text editor, using an Integrated Development Environment (IDE) makes the experience much smoother. A great, free option is Visual Studio Code. Once you have it installed, you'll want to add an extension to get the most out of it for Rust development.
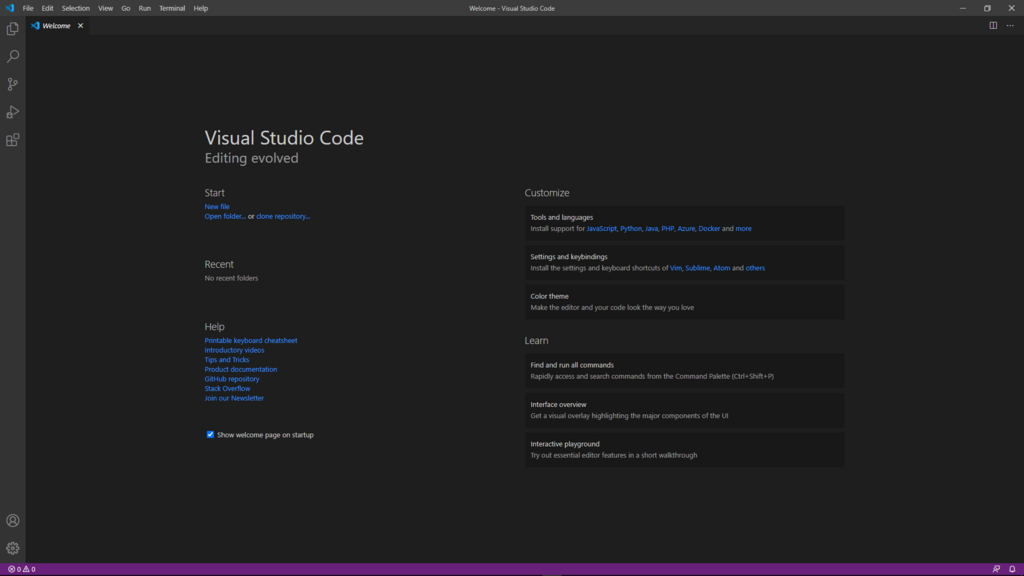
Search for and install the rust-analyzer extension from the VS Code Marketplace. It's the official Language Server Protocol (LSP) for Rust, providing features like code completion, error checking as you type, and navigation tools. It transforms VS Code into a powerful Rust IDE.
Your First Program
Let's write a classic "Hello, world!" program to make sure everything is working. First, create a new directory for your project and navigate into it.
A quick tip: The
cargo new hello_worldcommand would do this for you, but it's helpful to understand the manual process first.
Inside your new directory, create a file named main.rs. The .rs extension is used for Rust source files. Open this file in VS Code and add the following code.
// This is the main function where the program starts.
fn main() {
    // println! is a macro that prints text to the console.
    println!("Hello, world!");
}
Here’s a quick breakdown:
fn main() { ... }defines a function namedmain. This is always the first code that runs in every executable Rust program.println!("Hello, world!");prints the text to the screen. The!indicates that you're calling a Rust macro, not a regular function. Macros are a way of writing code that writes other code, which is a more advanced topic for later.
Now, save the file and return to your terminal. To compile and run the program, use the rustc compiler.
rustc main.rs
This command compiles your main.rs file and creates a binary executable file. On Linux and macOS, this will be called main; on Windows, it will be main.exe.
Run it to see the output.
./main
You should see Hello, world! printed to your terminal. Congratulations, you've just written and run your first Rust program!
What are the three core goals that guide the design of the Rust programming language?
What is the primary benefit of Rust's ownership system?