Revit Architecture Essentials
Introduction to Revit
Getting Around in Revit
Opening Revit for the first time reveals a detailed workspace. While it might look complex, the interface is organized into a few key areas that you'll use constantly. Understanding these components is the first step to building your models efficiently.
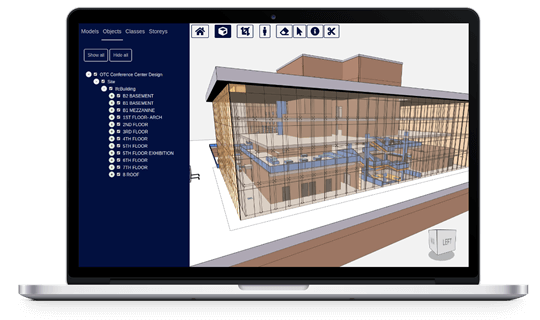
The main parts of the user interface are:
-
The Ribbon: Located at the top, the Ribbon contains all the tools you need to create and modify your project. It's organized into tabs (like Architecture, Structure, Systems) and panels that group related commands. For example, the Architecture tab holds tools for drawing walls, doors, and windows.
-
The Properties Palette: Usually on the left side, this palette displays the parameters and settings for the currently selected object or the active view. If you select a wall, its height, material, and structural properties will appear here. If nothing is selected, it shows the properties of the view itself, like its scale.
-
The Project Browser: This is your project's table of contents. It organizes all the views (floor plans, elevations, 3D views), schedules, sheets, and families in your model into a tree-like structure. You'll use it to switch between different parts of your project.
-
The Drawing Area: This is the large, central space where you create and interact with your model. It's where you'll do all your drawing and design work.
The Project Browser tells you what you're looking at, while the Properties Palette tells you the details about what you're looking at.
Navigating Your Model
Moving around your project is essential. Revit has straightforward controls for both 2D and 3D views. Most navigation is done with your mouse.
| Action | How to Do It |
|---|---|
| Zoom In/Out | Roll the mouse wheel forward and backward. |
| Pan | Press and hold the mouse wheel, then drag the mouse. |
| Orbit (3D only) | Hold down the Shift key, then press and hold the mouse wheel while dragging. |
In 3D views, you also have the ViewCube, a clickable cube in the upper-right corner of the Drawing Area. It's a powerful tool for quickly orienting your view to specific perspectives.
You can click on any face, edge, or corner of the ViewCube to snap your 3D view to that specific orientation. For instance, clicking the 'Top' face gives you a plan view, while clicking a corner gives you an isometric perspective. You can also click and drag the ViewCube to orbit freely.
Let's test your knowledge of the Revit workspace.
Which part of the Revit interface contains the primary tools for creating and modifying your project, organized into tabs like 'Architecture' and 'Structure'?
If you have a single wall selected in your model, where would you look to find and change its height and material?
With a solid grasp of the interface and navigation, you're ready to start placing elements and building your first model.