Reproducible Arch Linux Desktops
Arch Linux Installation
Preparing for Installation
First, you need the installation image. You can download the latest Arch Linux ISO file directly from the official website. To ensure the file you downloaded is authentic and hasn't been tampered with, it's a good practice to verify its GPG signature. The website provides the necessary signature file right next to the download link.
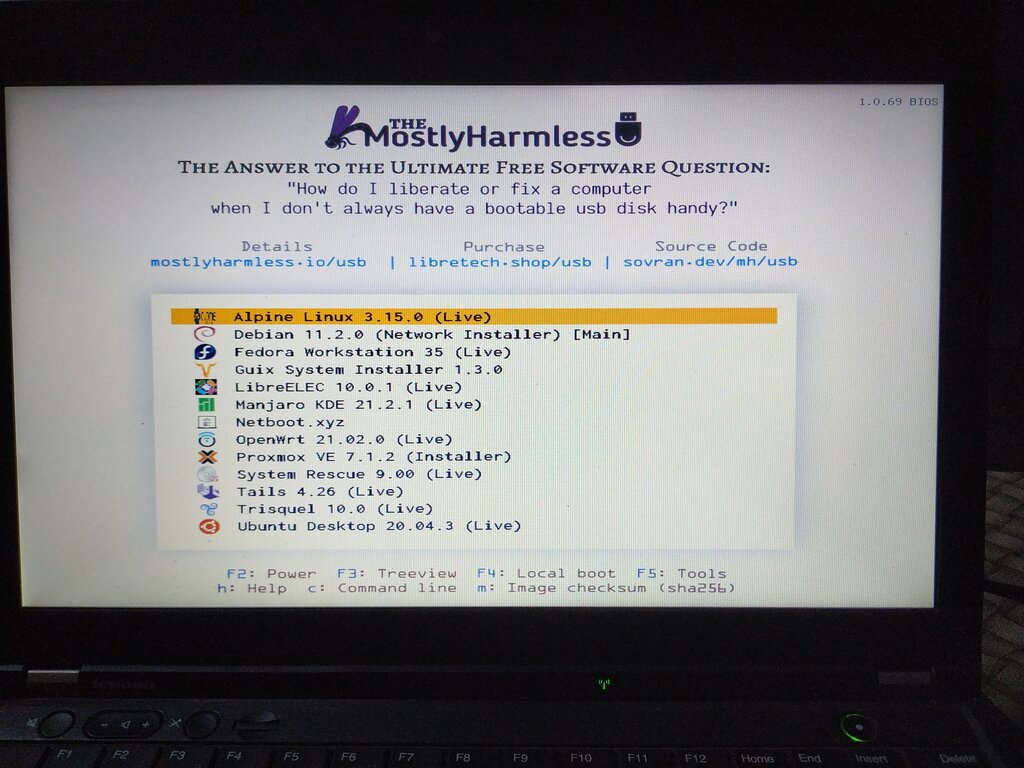
Once you have the ISO, you'll create a bootable USB drive. This drive will act as your installation media. On a Linux or macOS system, you can use the dd command. It's a powerful tool, so be extremely careful to specify the correct drive, or you could wipe your data.
First, identify your USB drive's device name (like /dev/sdx). Then, run the dd command, replacing /dev/sdx with your drive's name.
sudo dd bs=4M if=path/to/archlinux.iso of=/dev/sdx status=progress oflag=sync
After the command finishes, you can boot your computer from the USB drive. You may need to change the boot order in your computer's BIOS or UEFI settings to do this.
Partitioning and Formatting
Once you've booted into the Arch Linux live environment, you'll be at a command prompt. The first major task is to partition your hard drive. Partitioning divides your drive into separate sections for the operating system, user data, and swap space. We'll use the fdisk utility for this.
Let's assume you're installing on a modern computer with UEFI. A common setup involves three partitions:
- EFI System Partition (ESP): A small partition that stores the bootloader.
- Swap Partition: Used as virtual memory when your RAM is full.
- Root Partition: Where the operating system itself will live.
To start partitioning your drive (e.g.,
/dev/sda), you would runfdisk /dev/sda. Insidefdisk, you use single-letter commands to create and manage partitions.
After creating the partitions, you need to format them with the correct file systems. The ESP needs to be FAT32, the swap partition needs a swap signature, and the root partition is typically formatted as ext4.
# Format the EFI System Partition (e.g., /dev/sda1)
mkfs.fat -F32 /dev/sda1

# Set up the swap partition (e.g., /dev/sda2)
mkswap /dev/sda2
swapon /dev/sda2

# Format the root partition (e.g., /dev/sda3)
mkfs.ext4 /dev/sda3
Finally, you must mount the partitions. The root partition goes to /mnt, and the EFI partition goes inside a directory you create within /mnt.
# Mount the root partition
mount /dev/sda3 /mnt

# Create the boot directory and mount the EFI partition
mkdir /mnt/boot
mount /dev/sda1 /mnt/boot
Installing and Configuring
With the drives prepared, it's time to install the core Arch Linux system. The pacstrap script does this for you, installing the base packages, the Linux kernel, and common firmware onto your newly mounted root partition.
# Install essential packages
pacstrap /mnt base linux linux-firmware nano
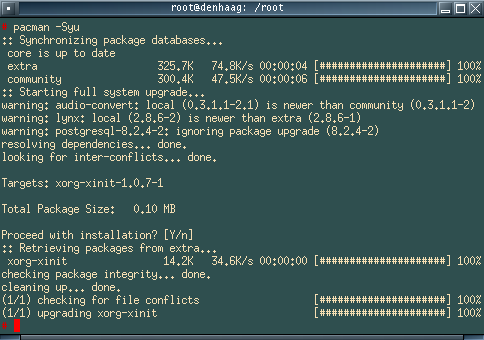
Next, generate an fstab file. This file tells your system which partitions to mount and where to mount them when it boots up.
genfstab -U /mnt >> /mnt/etc/fstab
Now, you'll switch into your new system using arch-chroot. This lets you run commands as if you were already booted into your new Arch installation.
arch-chroot /mnt
Inside the chroot environment, you'll configure the essentials. Set your time zone, replacing Region/City with your location.
ln -sf /usr/share/zoneinfo/Region/City /etc/localtime
hwclock --systohc
Then, configure your language settings, or locale. You'll edit /etc/locale.gen to uncomment the locales you need (like en_US.UTF-8), then generate them.
# Generate locales
locale-gen

# Set the primary language
echo "LANG=en_US.UTF-8" > /etc/locale.conf
Next, give your computer a name by creating the /etc/hostname file. This name identifies your machine on a network.
echo "my-arch-box" > /etc/hostname
Set a password for the root user. This is critical for system administration.
passwd
Making it Bootable
Your system is installed and configured, but it can't boot on its own yet. It needs a bootloader. A bootloader is a program that loads the operating system when the computer starts. We'll use GRUB, a very common bootloader.
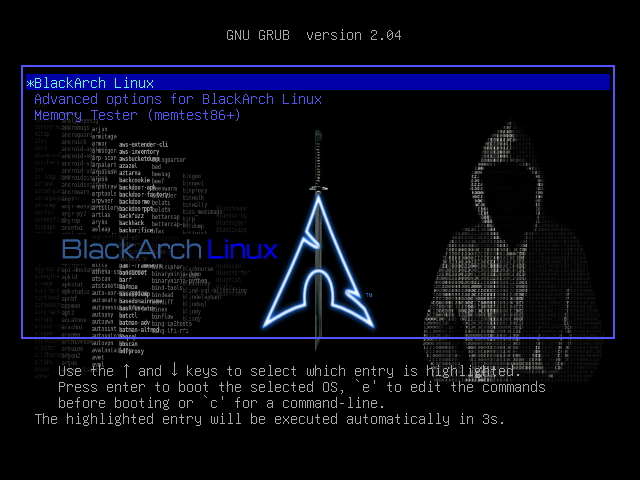
First, install the necessary packages.
pacman -S grub efibootmgr
Then, install GRUB to your EFI partition and generate its configuration file.
grub-install --target=x86_64-efi --efi-directory=/boot --bootloader-id=GRUB
grub-mkconfig -o /boot/grub/grub.cfg
Lastly, let's set up networking so you can connect to the internet after rebooting. We'll install NetworkManager and enable its service to start automatically at boot.
pacman -S networkmanager
systemctl enable NetworkManager
That's it. You can now exit the chroot environment, unmount the partitions, and reboot your machine. When it starts up, remember to remove the installation USB.
exit
umount -R /mnt
reboot
What is the primary reason for verifying the GPG signature of the Arch Linux ISO file after downloading it?
Which command is used to install the base system, Linux kernel, and firmware onto the newly partitioned and mounted drive?
With the base installation complete, you have a minimal, functional Arch Linux system. The next step, which we'll cover later, is to install a desktop environment and the applications you need for daily use.