Reaper DAW Mixing Essentials
Reaper Installation
Getting and Installing Reaper
Reaper is a powerful Digital Audio Workstation, or DAW. It's the software we'll use to mix and edit our audio. First, we need to get it on your computer.
Head to the official Reaper website at reaper.fm and go to the download page. You'll see versions for Windows, macOS, and Linux. Download the correct one for your operating system. Reaper is known for being lightweight and efficient, so it runs well on most modern computers. You don't need a high-end machine to get started.
A great thing about Reaper is its trial period. You can download and use a fully functional version for 60 days to evaluate it. After the trial, it's still very affordable compared to other DAWs.
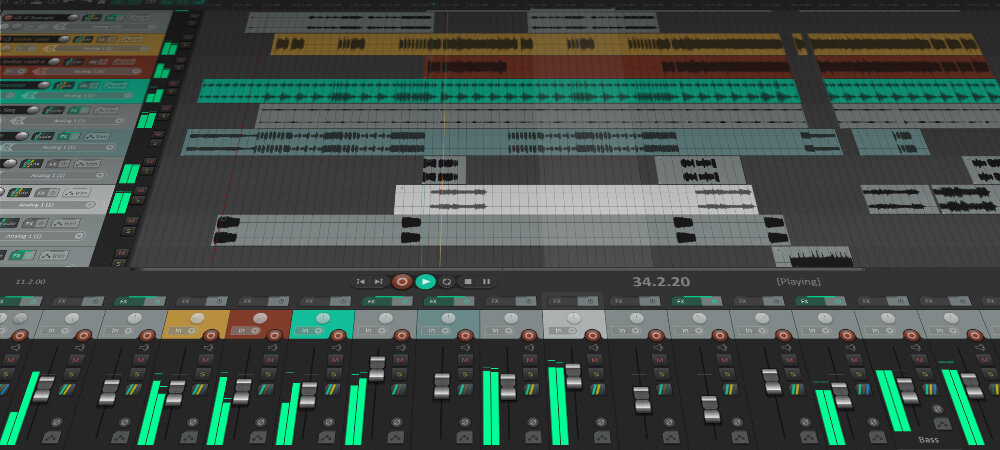
Once the download is complete, run the installer. The process is straightforward. On Windows, you'll be asked if you want a standard or a "portable" install. A portable install puts all of Reaper's files into a single folder. This is useful if you want to run it from a USB drive or keep it self-contained without affecting your main system files. For most users, the standard installation is the best choice.
Follow the on-screen prompts to complete the installation. There's no need to change any of the default settings at this stage.
First Launch and Configuration
When you open Reaper for the first time, it will probably ask you to select an audio device. This is the most important initial setup step. This tells Reaper which hardware to use for sound input and output, like your headphones or speakers.
If you're not prompted, you can find these settings by going to Options > Preferences > Audio > Device in the top menu. This opens the main audio configuration window.
Here's what you need to set:
- Audio System: This is how Reaper communicates with your audio hardware. On Windows, select
ASIOif you have an audio interface with dedicated drivers. If not,WASAPIis a good second choice. On macOS, chooseCore Audio. - Device: Select your audio interface or sound card from the dropdown menu.
- Sample Rate: This determines the audio quality. A setting of
44100 Hzor48000 Hzis standard for music production. Let's start with 48000 Hz. - Block Size (or Buffer Size): This affects latency, which is the delay you might hear when recording. A lower number means less delay but uses more CPU power. A higher number is easier on your computer but has more delay. A good starting point for mixing is
512or1024. You can always change this later.
Once you've selected these options, click Apply or OK.
Your goal in this step is simple: make sure you can hear audio from Reaper through your chosen speakers or headphones.
After configuring the audio device, you're ready to go. You can import an audio file by simply dragging it from a folder on your computer into the main Reaper window. Press the spacebar to play and pause. If you can hear the audio, your setup is complete.
What is the official website for downloading the Reaper DAW?
During a Windows installation of Reaper, what is the main advantage of choosing a 'portable' install?
With Reaper installed and configured, you now have a functional environment for mixing.