React Native Mobile App Development
Introduction to React Native
What Is React Native?
React Native is a framework for building mobile apps that run on both iOS and Android. Instead of writing two separate apps in two different languages (like Swift for iOS and Kotlin for Android), you can write one app using JavaScript and React.
React Native combines the best parts of native development with React, a best-in-class JavaScript library for building user interfaces.
The “Native” part is key. Your app isn’t just a website tucked inside a mobile shell. React Native uses the same fundamental UI building blocks as regular iOS and Android apps. This means your app will look, feel, and perform like a native app because it is a native app. You're just using JavaScript to tell the native components what to do.
Setting Up Your Environment
To get started, you need a few tools. The first is Node.js, which is a JavaScript runtime that lets you run JavaScript outside of a web browser. It comes with npm (Node Package Manager), a tool for installing software packages.
# If you don't have Node.js, download it from nodejs.org
# To check if you have it, run this in your terminal:
node -v
npm -v
Next, you need a way to create and run a React Native project. The easiest way is with a tool called Expo. Expo handles a lot of the complicated configuration for you, so you can focus on writing your app.
Expo is the preferred way to start a new React Native project, officially recommended by the React Native team.
Install the Expo command line interface (CLI) using npm in your terminal. This command installs it globally on your system, so you can use it from any directory.
npm install -g expo-cli
You'll also want to install the Expo Go app on your physical iOS or Android device. It's available on the App Store and Google Play. This app lets you run your project on your phone just by scanning a QR code from your terminal.
Your First App
Let's create your first project. Open your terminal, navigate to a directory where you want to save your work, and run this command:
npx create-expo-app MyFirstApp
This creates a new directory called MyFirstApp with all the necessary files. Now, navigate into that directory and start the development server.
cd MyFirstApp
npx expo start
Your terminal will display a QR code. Open the Expo Go app on your phone and scan it. Your new app will load on your device. It's that simple.
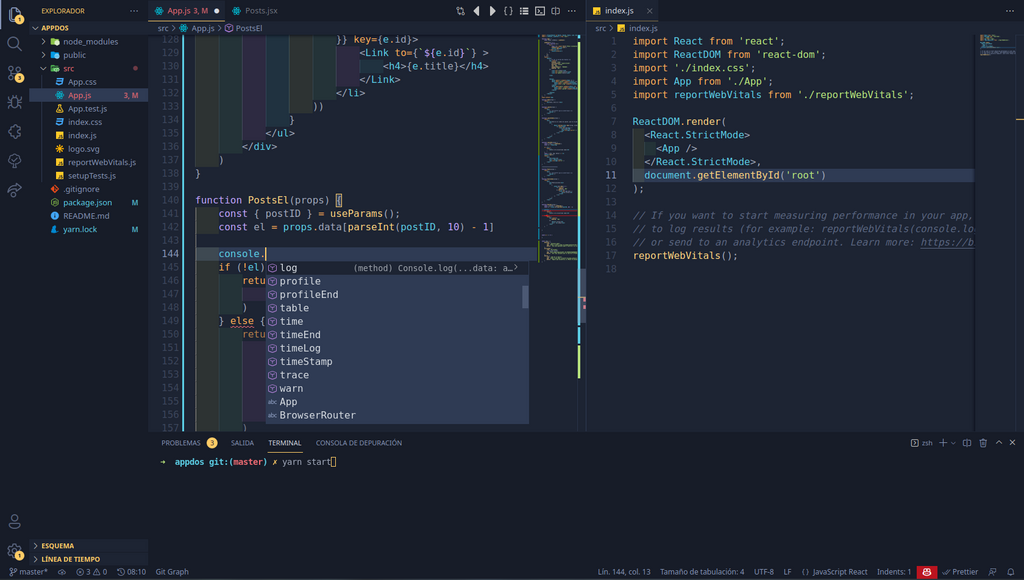
Open the MyFirstApp folder in a code editor and look for the App.js file. This is the main entry point for your application. It should look something like this:
import { StatusBar } from 'expo-status-bar';
import { StyleSheet, Text, View } from 'react-native';

export default function App() {
  return (
    <View style={styles.container}>
      <Text>Open up App.js to start working on your app!</Text>
      <StatusBar style="auto" />
    </View>
  );
}

const styles = StyleSheet.create({
  container: {
    flex: 1,
    backgroundColor: '#fff',
    alignItems: 'center',
    justifyContent: 'center',
  },
});
Let's break this down:
View: This is the most fundamental component for building a UI. It's a container that supports layout with styles. It's similar to a<div>in web development.Text: As you'd expect, this component is for displaying text. Any text you show must be inside a<Text>component.StyleSheet: This is like a CSS stylesheet. You create style objects here to keep your styling rules separate from your components.
Try changing the text inside the <Text> component to "Hello, World!". Save the file, and you should see the app on your phone update automatically.
What is the primary advantage of using React Native for mobile development?
Which tool is recommended in the getting-started guide to simplify the setup and configuration of a new React Native project?
You've just set up your environment and created your first React Native app. Now you're ready to start exploring the core components and building real user interfaces.