React Native and Expo Mobile App Development
Introduction to React Native and Expo
Build for Both Phones at Once
Traditionally, if you wanted to build a mobile app, you faced a big choice. Do you build for iPhones first, using Apple's tools and Swift programming language? Or do you start with Android, using Google's tools and the Kotlin language? Building for both meant doing the work twice, which is slow and expensive.
React Native changes the game. It’s a framework that lets you build native mobile apps for both iOS and Android from a single codebase, using JavaScript and React. If you have any experience with web development, you'll feel right at home. The code you write is translated into the native user interface elements of each platform. This means your app doesn't just look like a website stuck in an app wrapper; it feels genuinely native, with smooth performance and access to device features.
The core idea of React Native is simple: write your app's logic once in JavaScript, and it runs on both iOS and Android.
Meet Your New Best Friend, Expo
While React Native is powerful, setting up a project from scratch can involve wrestling with native development tools like Xcode for iOS and Android Studio for Android. This can be a steep learning curve, filled with configuration files and platform-specific quirks.
This is where Expo comes in. Expo is a set of tools and services built around React Native that streamlines the entire development process. It handles the complicated native setup for you, so you can jump straight into writing your app without ever touching native code. Think of it as a helpful toolkit that lets you focus purely on the JavaScript part of your project.
Expo is the preferred way to start a new React Native project, officially recommended by the React Native team.
One of Expo's best features is the Expo Go app. It’s a free app you can download on your own phone (iOS or Android) that lets you run and test your project live, just by scanning a QR code. No complex simulators or cables required.
Let's Get Building
Ready to create your first app? The setup is straightforward. You'll need three things:
- Node.js: A program that lets you run JavaScript outside of a web browser. If you don't have it, you can download it from the official Node.js website. Choose the LTS (Long-Term Support) version.
- A Code Editor: A program for writing code. Visual Studio Code (VS Code) is a popular, free choice.
- Expo Go: The app for your phone. Find it on the Apple App Store or Google Play Store.
Once you have Node.js installed, open your computer's terminal (or Command Prompt on Windows) and run this command to install the Expo Command Line Interface (CLI). This is a tool that helps you create and manage your projects.
npm install -g expo-cli
With the tools installed, you can now create a new project. Navigate in your terminal to a folder where you want to store your project, and then run:
expo init my-first-app
The CLI will ask you to choose a template. For your first project, select the "blank" template. It's the simplest starting point. After you make your selection, it will take a minute or two to download all the necessary files.
Once it's done, navigate into your new project's directory and start the development server.
cd my-first-app
npm start
Your terminal will display a large QR code. Now, open the Expo Go app on your phone and scan that code. Your phone and computer need to be on the same Wi-Fi network for this to work. In a few moments, you'll see your first React Native app running on your device!
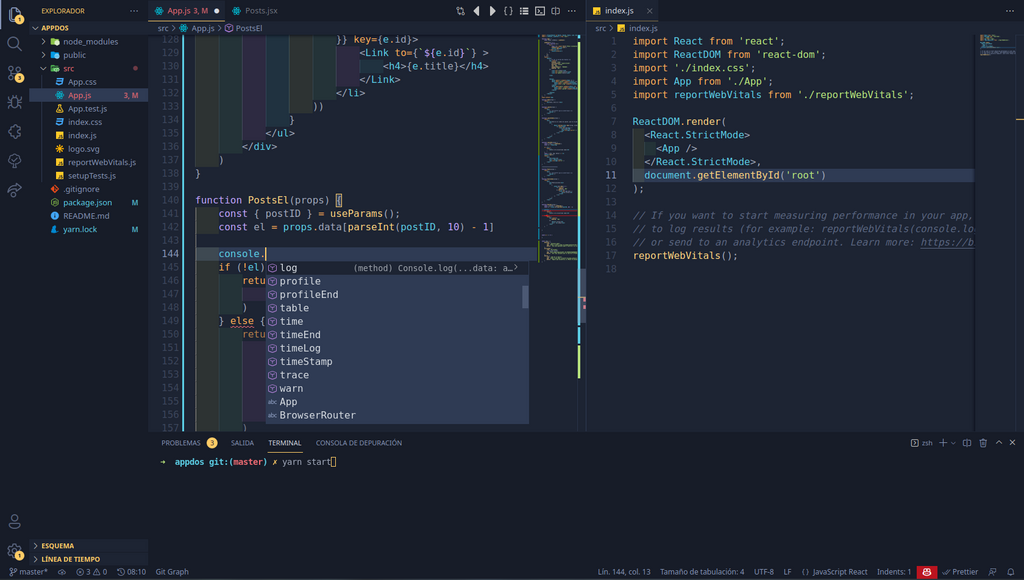
The screen will show some simple text. Try opening the App.js file in your code editor and changing that text. As soon as you save the file, the app on your phone will update instantly. This feature, called hot reloading, makes development incredibly fast and interactive.
You've just built and run a cross-platform mobile app without touching a single line of native code. That's the power of React Native and Expo.