React Engineering Kickstart for Windows
Windows Environment Configuration
Setting Up Your Windows Environment
To build React applications, your first step is to install , a JavaScript runtime environment. This allows you to run JavaScript code outside of a web browser, which is essential for server-side tasks, build processes, and running a local development server. Conveniently, installing Node.js also installs npm (Node Package Manager), a tool you'll use constantly to manage project dependencies.
When you visit the Node.js website, you'll see two main versions available for download: and Current. For professional and stable development, always choose the LTS version. It receives long-term support, ensuring it's reliable and secure for production environments.
Go to the official Node.js website and download the Windows Installer for the LTS version.
Installation and Verification
Run the installer you downloaded. The setup wizard is straightforward, but pay close attention to one specific screen: the one that offers to "Automatically install the necessary tools." This includes Chocolatey, Python, and Visual Studio Build Tools, which can be helpful for certain npm packages that need to compile native code. For a standard React setup, you can often skip this, but it's good to be aware of.
The most critical part of the installation is ensuring that Node.js and npm are added to your system's PATH. The installer does this by default. This allows you to run the node and npm commands from any directory in your terminal.
Once the installation is complete, you need to verify that everything is working correctly. Open a new terminal window and run the following commands:
# Check Node.js version
node -v

# Check npm version
npm -v
If the installation was successful, each command will return a version number (e.g., v20.11.1 and 10.2.4). If you see an error like "command not found," it likely means the was not configured correctly. You may need to revisit the installation or add the Node.js installation directory to your PATH manually through the Windows System Properties.
Choosing Your Terminal
On Windows, you have a few options for your command-line interface. While they can all run the same basic commands for Node.js development, they have different features and are built on different technologies.
| Terminal | Description | Best For |
|---|---|---|
| Command Prompt | The original, legacy command-line shell for Windows. It has limited features and a less powerful scripting language. | Quick, simple tasks or legacy scripts. |
| PowerShell | A modern, powerful shell built on the .NET framework. It offers advanced scripting capabilities and object-based commands. | System administration, automation, and complex scripting. |
| VS Code Terminal | An integrated terminal within your code editor. It can run different shells, including Command Prompt, PowerShell, or Git Bash. | A streamlined, all-in-one development workflow. |
For a modern development workflow, using the is the most efficient choice. It keeps your code and your command line in the same window, reducing the need to switch between applications. You can open it by pressing Ctrl+ ` (the backtick key). By default, it will likely open PowerShell, which is a great, modern default for Windows development.
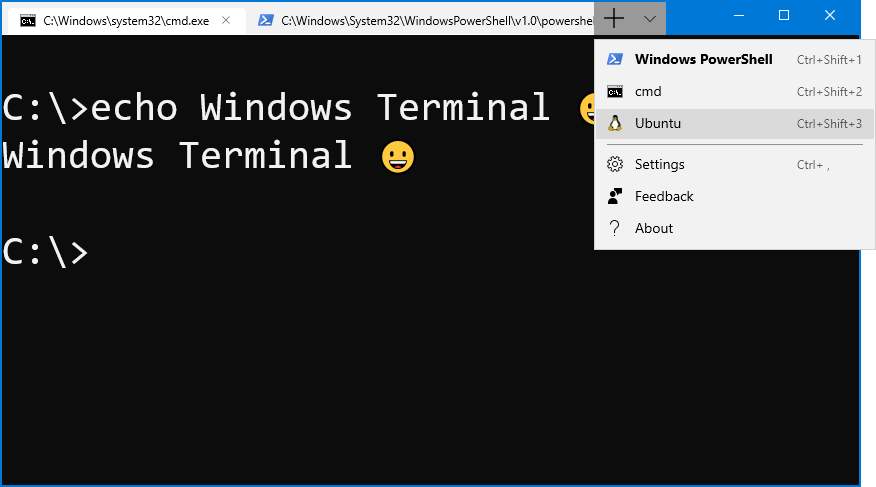
With Node.js installed and your terminal ready, your Windows machine is now configured for professional React development.