React Engineering Fast Track
Windows React Setup
Setting Up Your Workspace
To build React applications, you first need a JavaScript runtime environment. While your browser can run JavaScript, your computer can't do so natively. We'll install Node.js to act as that runtime, allowing you to run build tools and a development server directly from your machine.
Head to the official Node.js website and download the LTS (Long-Term Support) version for Windows. This version is the most stable and is recommended for most users. The installer is straightforward; you can accept the default options during setup. Once installed, Node.js also gives you npm (Node Package Manager), which handles your project's dependencies.
To verify the installation, open your Windows Terminal or Command Prompt and run these two commands one by one:
node -v
npm -v
You should see version numbers printed for both. If you see an error, try restarting your terminal or your computer before troubleshooting further.
Your Code Editor
While you can write code in any text editor, a dedicated code editor provides features like syntax highlighting, code completion, and debugging tools. We'll use Visual Studio Code (VS Code), a popular free editor from Microsoft.
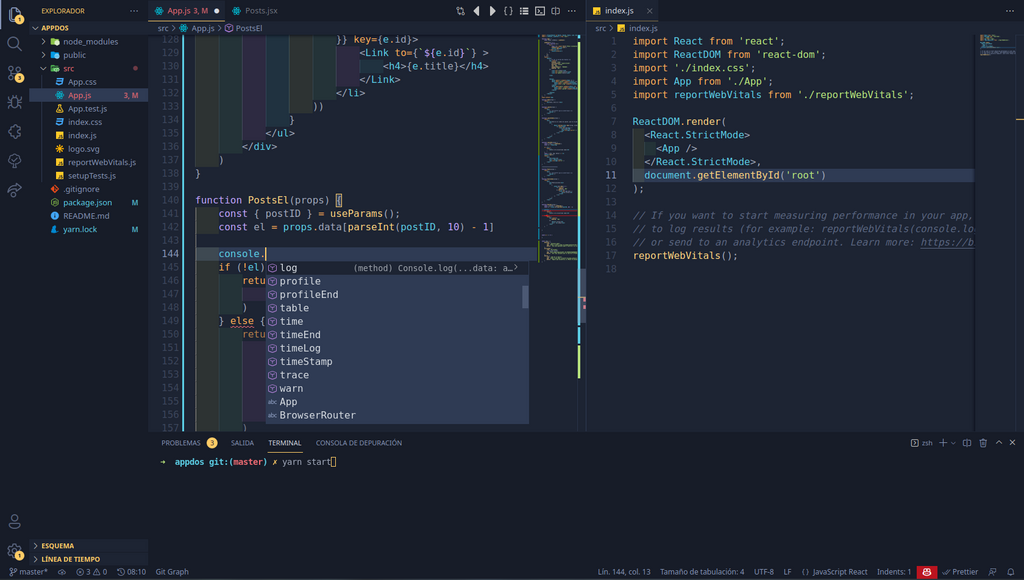
After installing VS Code, you can enhance it with extensions. Open the Extensions view (Ctrl+Shift+X) and install these two for a better React development experience:
- ESLint: Analyzes your code to find and fix problems.
- Prettier - Code formatter: Automatically formats your code to maintain a consistent style.
Creating Your First App
In the past, setting up a React project required complex configuration. Modern tools handle this for you. We'll use a fast and lightweight build tool, to create a new project.
Navigate to the directory where you want to create your project in the terminal. Then, run the following command:
npm create vite@latest my-react-app -- --template react
This command creates a new directory called my-react-app with a basic React project structure. Now, navigate into that new directory and install the necessary dependencies:
cd my-react-app
npm install
The npm install command reads your project's file and downloads all the required libraries into a node_modules folder.
Let's quickly look at the key files Vite created for you:
index.html: The main HTML file. Your React app will be injected into the<div id="root">element inside this file.src/main.jsx: The entry point for your application. This is where React is told to render your main component into the DOM.src/App.jsx: The root component of your application. This is where you'll start building your user interface.
Running the Development Server
With the dependencies installed, you can now start the local development server. In your terminal, inside the my-react-app directory, run:
npm run dev
This command executes the dev script defined in your package.json file. Vite will start a server, typically at http://localhost:5173. Open this URL in your web browser. You should see the default React + Vite starter page. The server also features Hot Module Replacement (HMR), meaning when you save a file, the browser will update instantly without a full page refresh.
Now that your environment is set up, it's time to check your understanding.
What is the primary role of Node.js when setting up a local React development environment?
After creating a new project with Vite, which command downloads all the required libraries listed in package.json into a node_modules folder?
You now have a professional-grade React development environment ready to go. You can start building by editing the src/App.jsx file.