React Engineer Fast Track for Windows
Windows Environment Setup
Setting Up Your Workspace
To build professional React applications on Windows, a solid development environment is non-negotiable. We'll start by installing the core runtime for JavaScript, then configure a code editor, and finally generate a new project using a modern build tool. This setup ensures stability, speed, and access to the vast ecosystem of web development tools.
First, download and install from its official website. It's crucial to select the Long Term Support (LTS) version. LTS releases are focused on stability and security, which are priorities in professional projects, whereas the 'Current' version has newer features but can be less stable. The installer is straightforward; proceed with the default options. This installation also includes npm, the Node Package Manager, which we'll use to handle project dependencies.
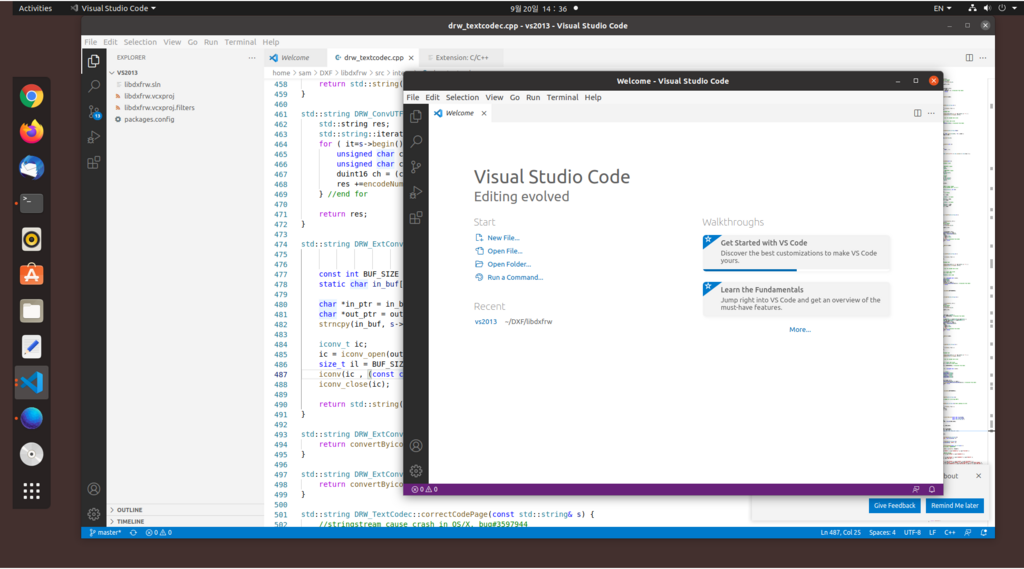
Next, let's configure Visual Studio Code (VS Code). If you don't have it, it's a free download. Once installed, open the Extensions view (Ctrl+Shift+X) and search for 'ES7+ React/Redux/React-Native snippets'. This extension provides helpful shortcuts for common React code patterns, saving you time and reducing typos. Other useful extensions include 'Prettier - Code formatter' for consistent styling and 'ESLint' for catching errors early.
Creating Your First Project
With the environment ready, we can now create a React project. We'll use a tool called (pronounced 'veet'). It's a modern build tool that offers a significantly faster development experience compared to older tools like Create React App. This speed comes from its use of native ES modules in the browser and its incredibly fast (HMR), which updates your app instantly as you save changes without a full page reload.
To start a new Vite project, open your terminal (you can use the integrated terminal in VS Code with Ctrl+"), navigate to the directory where you want to create your project, and run the following command:
npm create vite@latest my-react-app -- --template react
This command uses npx (Node Package Execute), a tool included with that runs packages without permanently installing them. The command downloads and runs the create-vite package, which will prompt you to select a framework (choose React) and a variant (choose JavaScript or TypeScript). After it finishes, navigate into your new project directory and install the necessary dependencies:
cd my-react-app
npm install
Once the installation is complete, you can start the development server:
npm run dev
Your new React application is now running and accessible in your web browser at the local address provided in the terminal.
Understanding the Folder Structure
Vite creates a clean, minimal project structure. Open the my-react-app folder in VS Code to see it. The most important files and folders are:
The src directory is where you'll spend most of your time. It contains the main entry point (main.jsx), the root React component (App.jsx), and their associated CSS files. The public folder is for static assets that don't need to be processed, like fonts or icons. Finally, package.json is a critical file that lists your project's dependencies and defines scripts like npm run dev.
Now let's review what we've covered.
Ready to test your knowledge?
When installing Node.js for a professional React project, why is the Long Term Support (LTS) version recommended over the 'Current' version?
Which command should you run in your terminal to begin creating a new React project using Vite?
With this professional setup complete, you're ready to start building fast, modern web applications with React.