Raspberry Pi Programming for Beginners
Introduction to Raspberry Pi
A Computer for Everyone
A Raspberry Pi is a credit-card-sized computer that can do many of the things a desktop PC does, like browse the internet, play videos, and run simple games. But its real power lies in its flexibility. Originally created to help make learning about computers more accessible and affordable, it has become a favorite tool for students, hobbyists, and inventors around the world.
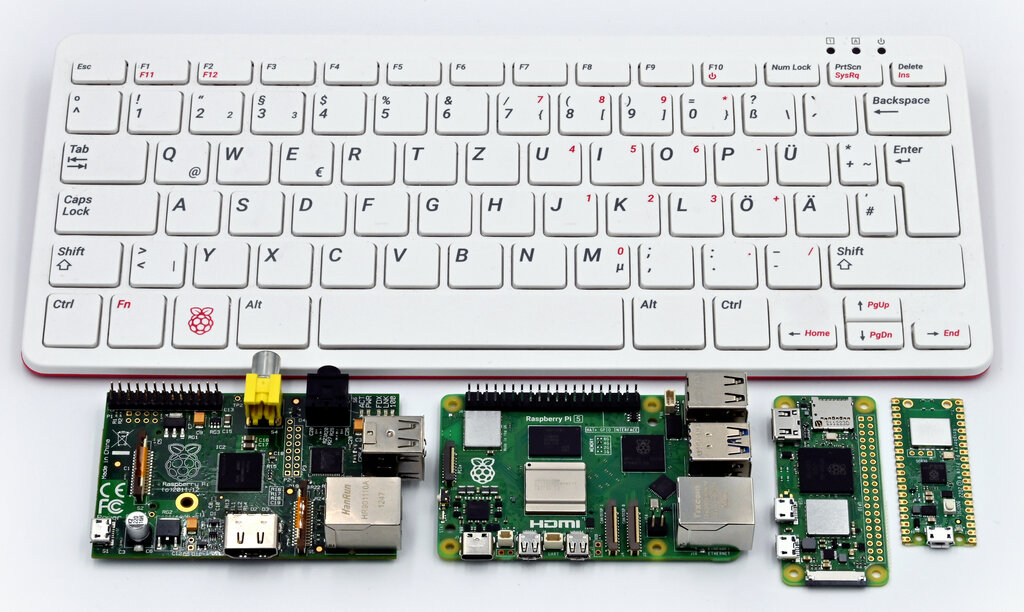
Unlike a typical computer that comes in a large case, a Raspberry Pi is a single circuit board. This design keeps costs down and allows you to see all the components that make it work.
There isn't just one Raspberry Pi. Over the years, many different models have been released. They range from the tiny, low-power Raspberry Pi Zero, perfect for small embedded projects, to the much more powerful Raspberry Pi 5, which can serve as a capable desktop computer. While the performance and features have improved dramatically, the basic shape and size have remained remarkably consistent.
The Raspberry Pi is a single-board computer that was created to make computing accessible to everyone.
What's in the Kit
When you get a Raspberry Pi, you usually start with a kit. The board itself is the core, but you need a few other things to get it running.
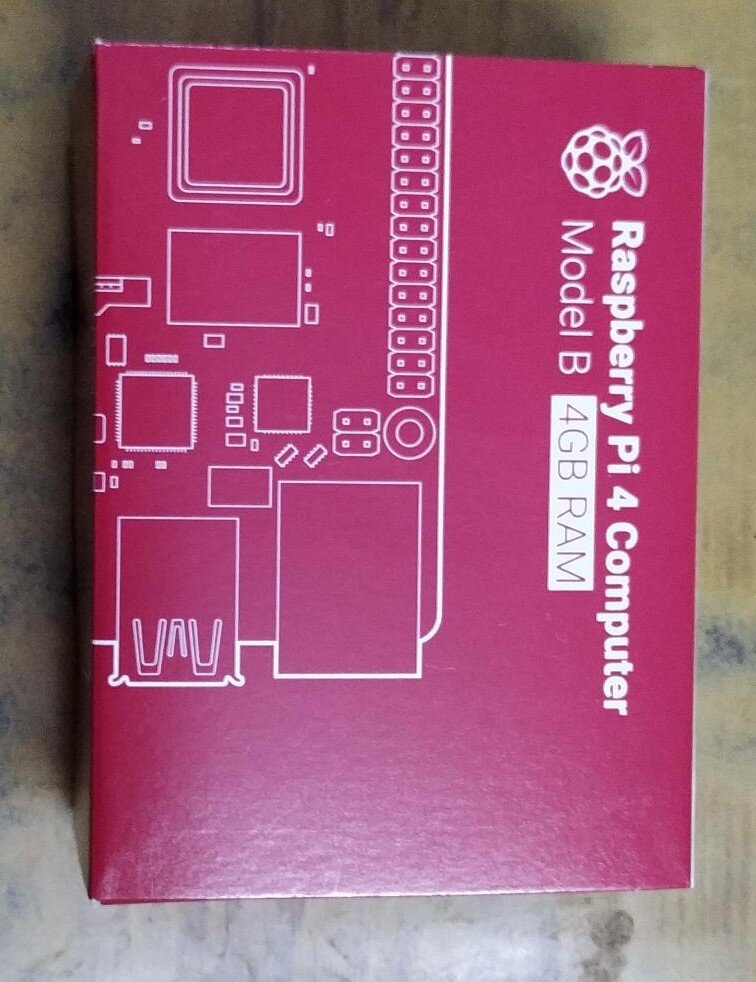
A typical starter kit includes:
- The Raspberry Pi board: This is the brain of the operation.
- A microSD card: This acts as the hard drive. The operating system is installed here, along with any files you create.
- A power supply: A special USB-C power adapter that provides the right amount of electricity.
- A case: This protects the board from dust and accidental damage.
In addition to the kit, you’ll also need a keyboard, a mouse, and a monitor or TV with an HDMI input. The board itself is packed with useful ports for connecting these peripherals.
First-Time Setup
Getting your Raspberry Pi running is straightforward. Think of it like assembling a new toy. First, gently snap the board into its plastic case. Next, find the small slot on the edge of the board and insert the microSD card. It should click into place.
Now you can connect your peripherals. Plug your keyboard and mouse into the USB ports. Use an HDMI cable to connect the Pi to your monitor. The final step is to plug in the power supply. The Raspberry Pi doesn't have a power button, so as soon as you connect the power, it will boot up.
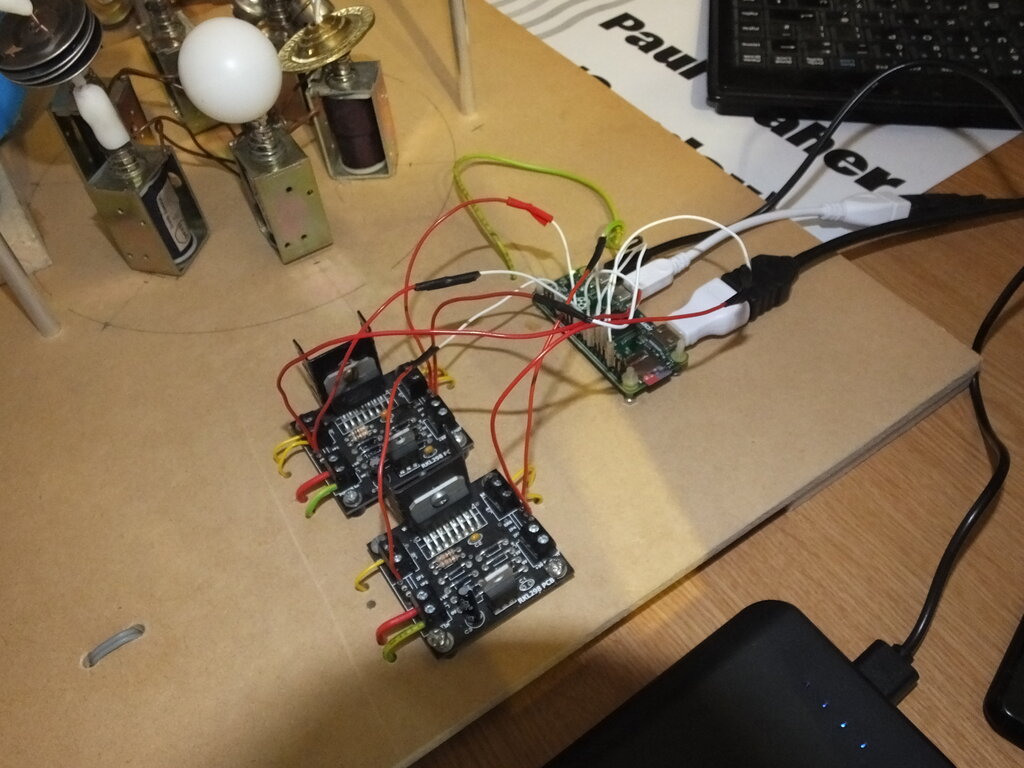
When you power it on for the first time, you'll see a flurry of text on the screen before it loads into the desktop. This is Raspberry Pi OS, the official operating system. It's a version of a system called Linux, which is known for being powerful and stable.
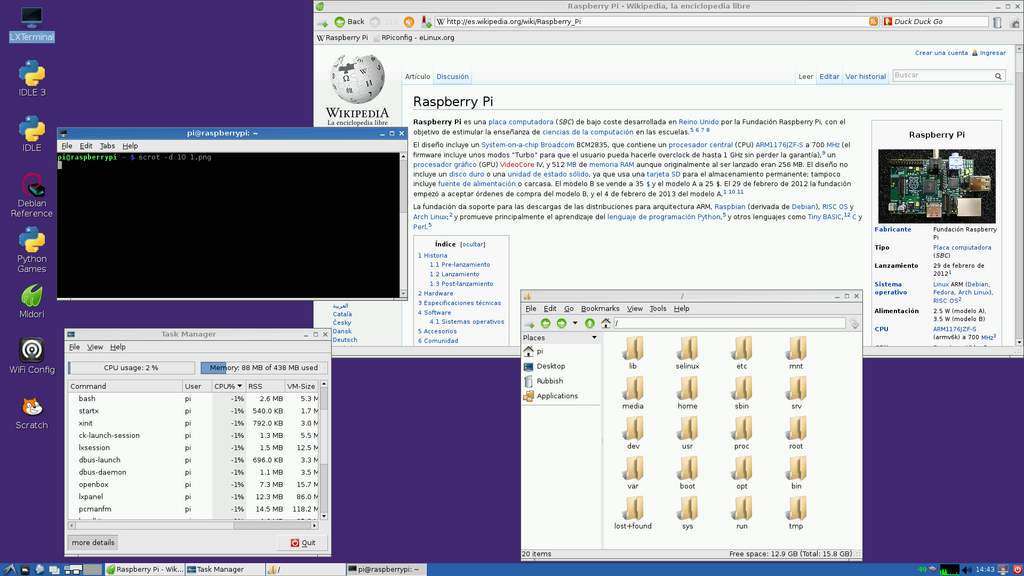
The graphical user interface (GUI) will feel familiar if you've used any other computer. There's a taskbar at the top, a menu button (with a raspberry logo), and icons for common applications like a web browser and file manager. The first time it starts, a welcome wizard will guide you through setting your location, changing your password, and connecting to a Wi-Fi network. With that done, you have a fully functional computer ready to explore.
What is the primary function of the microSD card in a Raspberry Pi setup?
Which of these items is typically included in a Raspberry Pi starter kit, besides the board itself?
That's it! You've taken a small circuit board and turned it into a working computer. From here, you can start to explore what makes the Raspberry Pi so special.