Raspberry Pi ESP32-S3 Integration and Web Control
Introduction to Raspberry Pi
Meet the Raspberry Pi
The Raspberry Pi is a tiny, affordable computer that fits in the palm of your hand. Originally designed to make computing accessible for everyone, it's become a favorite for hobbyists, engineers, and students building everything from home automation systems to robots. Think of it as a bare-bones computer, a single circuit board packed with all the essentials you need to get started on countless projects.
The Raspberry Pi is a single-board computer that was created to make computing accessible to everyone.
Unlike your laptop, it doesn't come in a fancy case with a screen and keyboard. It's just the board. This gives you the freedom to build it into almost anything. You provide the power, the monitor, the keyboard, and most importantly, the ideas.
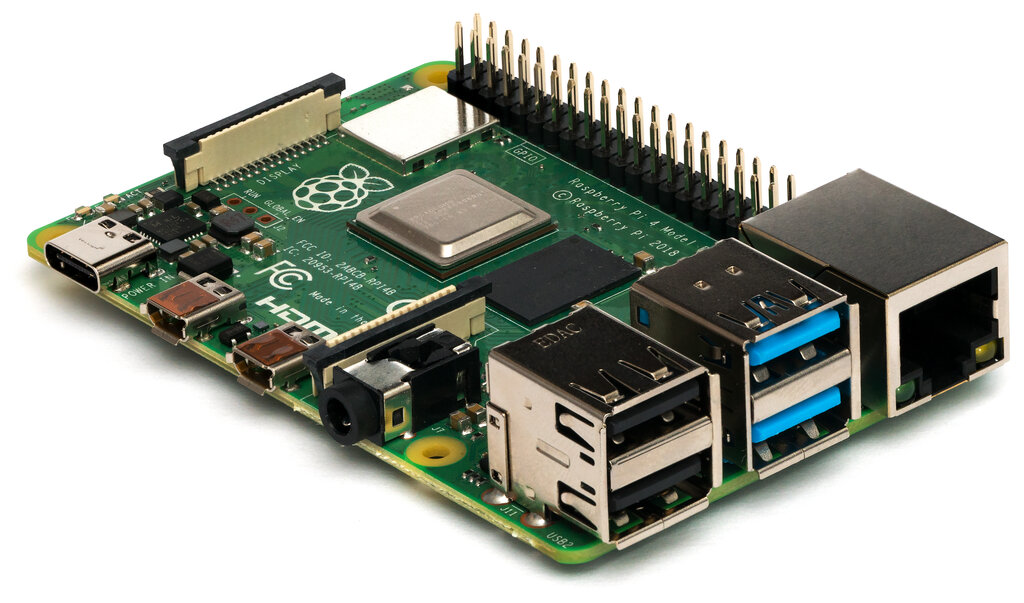
A Tour of the Board
Every Raspberry Pi model has a similar layout. Let's take a look at the key components you'll be working with. Understanding these parts is the first step to connecting your Pi to the outside world.
The most important part for many projects is the General Purpose Input/Output (GPIO) header. These 40 pins are your direct connection to the Pi's brain. You can use them to connect LEDs, motors, sensors, and other microcontrollers like the ESP32-S3. The other ports—USB, Ethernet, HDMI—are for connecting standard computer peripherals.
Getting Started
Setting up a Raspberry Pi for the first time is straightforward. You'll need a few key items:
- A Raspberry Pi board
- A microSD card (at least 16 GB is recommended)
- A power supply (USB-C for newer models)
- A monitor with an HDMI cable
- A USB keyboard and mouse
Your microSD card acts as the Pi's hard drive. It's where the operating system and all your files will live.
The easiest way to install the operating system is with the official Raspberry Pi Imager software, which you can download for free. It lets you choose an OS and writes it to your microSD card. For most projects, Raspberry Pi OS (formerly called Raspbian) is the best choice. It's a version of Linux optimized for the Pi.
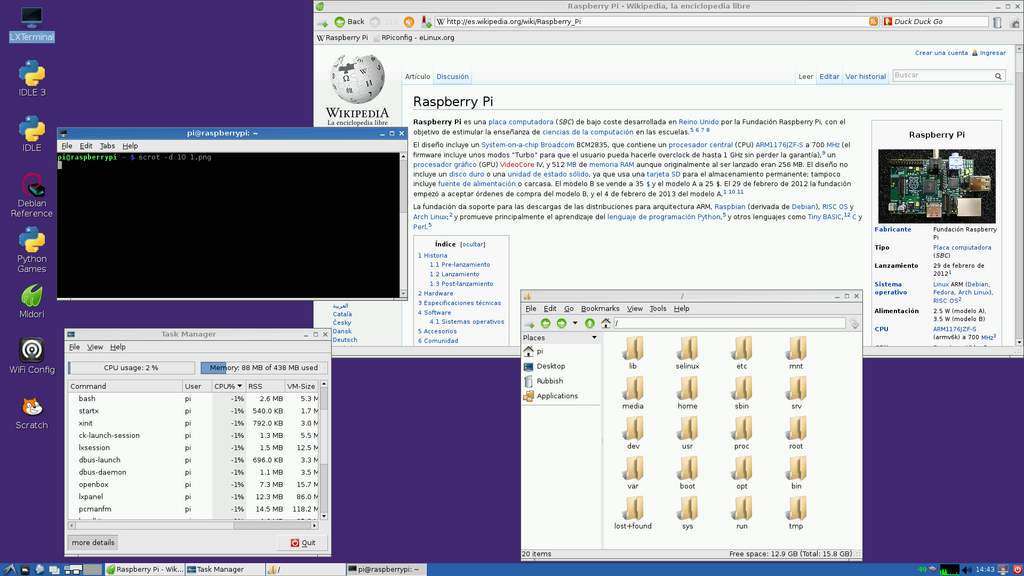
Once the OS is on the card, insert it into the Pi, connect your monitor, keyboard, and mouse, and finally, plug in the power. The Pi will boot up, and a desktop interface will appear, guiding you through the initial configuration.
Connecting Remotely
You don't always need a dedicated monitor and keyboard for your Pi. After the initial setup, you can access it remotely from another computer on the same network using SSH (Secure Shell). This gives you command-line access to the Pi, which is perfect for programming and managing your projects.
First, you need to enable SSH on your Pi. Open the Terminal and run:
sudo raspi-config
Navigate to Interface Options -> SSH and select Enable. Now, find your Pi's IP address by running this command in the terminal:
hostname -I
Jot down the IP address. On another computer, open a terminal (or an SSH client like PuTTY on Windows) and connect using this command, replacing pi_ip_address with the address you just found:
ssh pi@pi_ip_address
Enter your password when prompted, and you'll have full command-line control of your Raspberry Pi from afar.
What is the primary purpose of the General Purpose Input/Output (GPIO) header on a Raspberry Pi?
Which software tool is officially recommended for installing an operating system onto a Raspberry Pi's microSD card?
Now that your Raspberry Pi is up and running, you have a powerful and versatile computer ready for your next project.