Python for Security Scripting
Network Packet Crafting
Crafting Packets with Scapy
While Python's standard socket library is useful, it operates within the rules of the operating system's network stack. For security scripting and network analysis, you often need to break those rules. This is where Scapy comes in. It's a powerful packet manipulation tool that lets you forge, send, dissect, and interpret network packets with remarkable flexibility.
Instead of dealing with raw bytes and complex socket options, Scapy provides a Pythonic interface to build packets layer by layer. Before you can start, you need to install it and its dependencies. Scapy relies on a packet capture library to interact with the network interface. On Windows, this is Npcap which is installed alongside tools like Wireshark. On Linux or macOS, you'll need libpcap installed, which is usually present by default.
pip install scapy
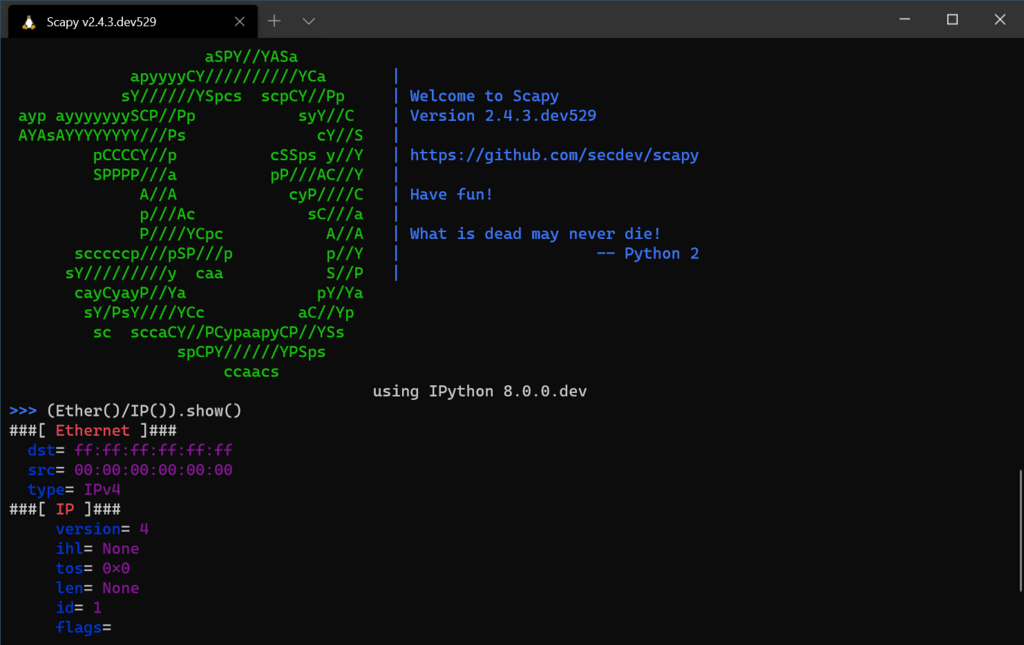
Once installed, you can start Scapy's interactive shell by typing scapy in your terminal. The first time you run it, you might see a few warnings. One common message is WARNING: No IPv6 support in kernel. This simply means Scapy couldn't find an IPv6 routing table on your system. For most tasks focused on IPv4, you can safely ignore it. The interactive shell, or REPL, is fantastic for experimenting and quickly testing ideas.
Building Packets Layer by Layer
The most elegant feature of Scapy is its use of the / operator to stack protocol layers. This maps directly to how packets are constructed in the real world, where a TCP segment is encapsulated inside an IP packet, which is then encapsulated inside an Ethernet frame.
Let's build a basic TCP packet destined for a web server. We start with the IP layer, specifying the destination. Then, we use the / operator to add a TCP layer, specifying the destination port (80 for HTTP). Finally, we can even add a raw payload.
>>> from scapy.all import *
>>> ip_layer = IP(dst="example.com")
>>> tcp_layer = TCP(dport=80)
>>> payload = "GET / HTTP/1.1\r\nHost: example.com\r\n\r\n"

# Stack the layers together
>>> packet = ip_layer / tcp_layer / payload

# Inspect the packet
>>> packet.show()
Scapy automatically fills in many fields for you. For example, it calculates checksums and sets the source IP address based on your system's network configuration. You can override any default by specifying it explicitly, like
IP(src="192.168.1.100", dst="example.com").
This layering works for all sorts of protocols. You can create a DNS query by stacking IP, UDP, and DNS layers, or an ARP request by just using the ARP layer on its own. The show() method provides a detailed, human-readable breakdown of the packet's structure and all its fields, making it easy to verify your creation before sending it.
Sending and Receiving
Crafting a packet is only half the fun. Scapy provides several functions to send them, each with a different purpose. The key distinction is whether you just want to send a packet or if you expect a reply.
send(): This function sends a packet at Layer 3 (IP). It's a fire-and-forget operation. You send the packet, but you don't wait for a response. It's fast and useful for things like sending a flood of packets.sendp(): This is the Layer 2 (Ethernet) equivalent ofsend(). The 'p' stands for 'packet at Layer 2'. You use this when you have constructed a full Ethernet frame, for example in an ARP spoofing attack.
Things get more interesting when you need to see the response.
| Function | Layer | Description | Use Case |
|---|---|---|---|
sr() | 3 (IP) | Send and Receive. Sends packets and collects all replies. | Port scanning, network discovery. |
sr1() | 3 (IP) | Send and Receive 1. Sends a packet and only returns the first reply received. | Getting a single response, like a TCP SYN/ACK. |
srp() | 2 (Ethernet) | Send and Receive at Layer 2. Sends frames and collects all replies. | Discovering hosts on a local network via ARP. |
The sr1() function is particularly useful. Let's send a TCP SYN packet to a specific port and see what comes back. We can set TCP flags by passing a string to the flags parameter. 'S' is for SYN, 'A' for ACK, 'F' for FIN, and so on.
# Craft a TCP SYN packet to port 443 (HTTPS)
>>> syn_packet = IP(dst="google.com")/TCP(dport=443, flags="S")

# Send it and wait for the first reply
>>> response = sr1(syn_packet, timeout=2, verbose=0)

# Check the response
>>> if response:
...     response.show()
...
If port 443 is open, google.com will likely reply with a packet containing the SYN and ACK flags set (flags='SA'). The timeout parameter prevents our script from waiting forever, and verbose=0 keeps the output clean. The sr() and srp() functions work similarly but return a tuple containing two lists: one with the packets that got answers, and one with the packets that didn't.
Moving from the Scapy REPL to a standalone Python script is seamless. You just write the same commands in a .py file. This is how you build more complex tools like custom port scanners, network mappers, or proof-of-concept exploits. With these foundational skills, you can manipulate network traffic with surgical precision, which is an essential capability for any network security professional.