Professional Volume Control and Dynamic Mastery
Advanced Gain Staging
Beyond the Fader
You already know how to use a volume fader. That's mixing 101. But professional gain staging is about what happens before your signal ever hits that fader. It's about managing audio levels at every step in your signal chain to get the best possible sound from your tools.
At its core, gain staging ensures that each processor in your chain—from EQs to compressors—receives the optimal signal level. Too quiet, and you'll raise the noise floor. Too loud, and you'll introduce unwanted distortion. The goal is to find the 'sweet spot' for every element.
Think of it like a conversation. If you whisper, people have to strain to hear you, and they might miss details. If you scream, you'll distort your message and drive people away. You want to speak at a clear, comfortable volume.
The Digital Advantage
Modern Digital Audio Workstations (DAWs) have a secret weapon: 32-bit or 64-bit floating-point processing. This system for handling numbers gives them an enormous internal dynamic range. For you, this means it's practically impossible to clip the signal between plugins on a single track.
You can boost a signal by 20 dB with one plugin and then cut it by 20 dB with the next, and as long as the final output doesn't exceed 0 dBFS (Decibels Full Scale), you won't get that nasty digital clipping. The math inside the DAW can handle those extreme temporary levels without losing information.
However, this internal headroom doesn't mean you can ignore gain staging. The plugins themselves, especially those modeled on analog hardware, are a different story.
Calibrating Your Plugins
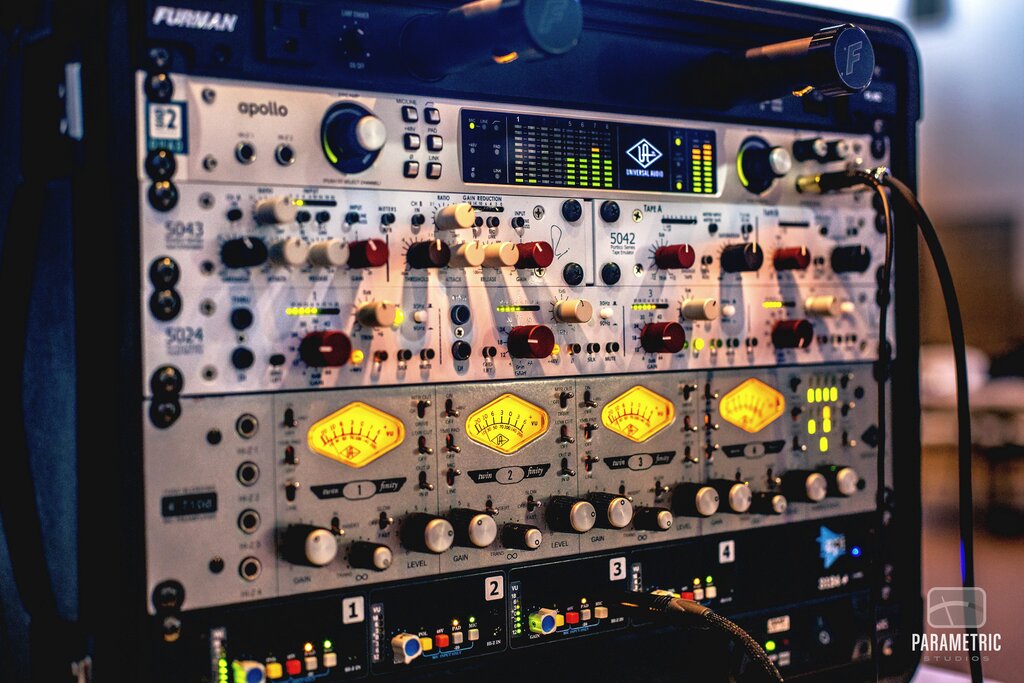
Many of your favorite plugins are designed to sound and behave like classic analog gear. These compressors, EQs, and channel strips were built with a specific optimal input level in mind, often referred to as 0 VU (Volume Units) on an analog meter.
In the digital world, this sweet spot is typically calibrated to -18 dBFS. Hitting a plugin at this level is like feeding an analog console a healthy, clean signal. It's where the plugin operates most effectively, with the intended balance of clarity and character.
- Below -18 dBFS, the signal might be too quiet for the plugin to process optimally, and you might not get the full effect of its character.
- Above -18 dBFS, you'll start to drive the plugin's virtual circuitry harder. This isn't always bad! It's how you get warm, pleasing saturation from many analog-modeled tools. But it should be a conscious choice, not an accident.
Pushing it too far can lead to harsh, unpleasant digital distortion that sounds nothing like musical saturation. The key is to manage the gain before each plugin.
Use a utility or gain plugin as the very first insert on your track. Its job is to adjust the raw audio's level before it hits any other processors. Aim for your track's average level (RMS or LUFS) to be around -18 dBFS, with peaks staying well below 0 dBFS, perhaps around -6 dBFS to leave plenty of headroom.
Proper gain staging is crucial for maintaining signal-to-noise ratio and preventing digital clipping.
As you add more plugins, check the output level of each one. If your EQ adds 3 dB of gain, you might need to lower its output trim by 3 dB to ensure the next plugin in the chain receives the same level it did.
Pre-Fader vs. Post-Fader
This is where your track meter's settings become critical. Most DAWs let you choose between pre-fader and post-fader metering.
- Post-fader metering shows the signal level after it has been affected by the track fader. This is useful for balancing the final mix, as it reflects what you're actually hearing.
- Pre-fader metering shows the signal level before the fader, right after the last plugin in your chain. This is the one you need for gain staging.
Why? Because the pre-fader meter tells you the true level of the signal hitting your mix bus. Your fader might be pulled down to -10 dB, making the post-fader level look safe, but if your pre-fader signal is clipping at +3 dB, you are sending a distorted signal into your master channel. The damage is already done. By setting your meters to pre-fader, you can ensure your signal chain isn't clipping, regardless of where your fader is set for the mix.
Headroom
noun
The amount of available level an audio system has before clipping or distortion occurs. In digital audio, it's the space between your signal's highest peak and 0 dBFS.
Finally, it's important to distinguish between unwanted digital clipping and intentional saturation. Hard clipping occurs when a signal tries to go beyond 0 dBFS, resulting in the tops of the waveforms being squared off. This creates harsh, unpleasant artifacts.
Soft-clipping, on the other hand, is a tool. Many saturator and limiter plugins gently round off the peaks as they approach 0 dBFS, adding harmonic content and perceived loudness without the harshness of hard clipping. This is a creative decision, used to add warmth or character, and is only possible because you've managed your levels correctly up to that point.
Ready to test your knowledge on gain staging?
What is the primary goal of gain staging in a digital audio workstation (DAW)?
In the digital world, what level is the 'sweet spot' for most analog-modeled plugins typically calibrated to?
Mastering these concepts moves you from just adjusting volume to truly sculpting your sound at a professional level. It's the foundation for every clear, powerful mix.