Professional Video Editing Techniques
Non-Destructive Workflows
Beyond the Cut
Professional video editing is less about cutting clips and more about managing complexity. As projects grow, with hours of footage and hundreds of assets, staying organized is the key to an efficient and creative workflow. The core principle that makes this possible is non-destructive editing.
At its heart, this means your original media files are never altered. When you import a video file into a program like Premiere Pro or DaVinci Resolve, the software doesn't actually copy the video into your project file. Instead, it creates a link, a reference to the source file on your hard drive. Every cut, color grade, or effect you apply is just a set of instructions—metadata—that the software records. During playback, it applies these instructions to the original media in real-time. For the final export, it processes these instructions to create a brand new video file, leaving your source footage untouched. This approach gives you the freedom to experiment, knowing you can always revert to the original.
Embrace non-destructive workflows: Work in layers, use instances, and keep source files pristine so changes can be easily made without starting from scratch.
Taming Timeline Complexity
A feature-length film or a complex documentary can have timelines stretching for hours, containing thousands of individual video and audio clips. Navigating this can quickly become a nightmare. To manage this, editors use tools that function like containers.
In Premiere Pro, this is called a Nested Sequence. In DaVinci Resolve, they're known as . Both allow you to group a collection of clips, graphics, and effects into a single, tidy clip on your main timeline. Imagine you’ve built a complex title sequence with multiple text layers, background videos, and sound effects. Instead of letting those dozen-plus layers clutter your main edit, you can collapse them into one block. If you need to make a change, you simply open the nested sequence or compound clip, make your edits in its own dedicated timeline, and the changes automatically update in your main project. It’s a powerful way to keep your primary timeline clean and focused on the broader story structure.
Performance Without Compromise
Working with high-resolution footage like 4K or 8K video is standard practice, but it puts enormous strain on your computer. Even powerful machines can struggle to play back multiple streams of raw 4K footage with effects applied in real-time. This is where a proxy workflow becomes essential.
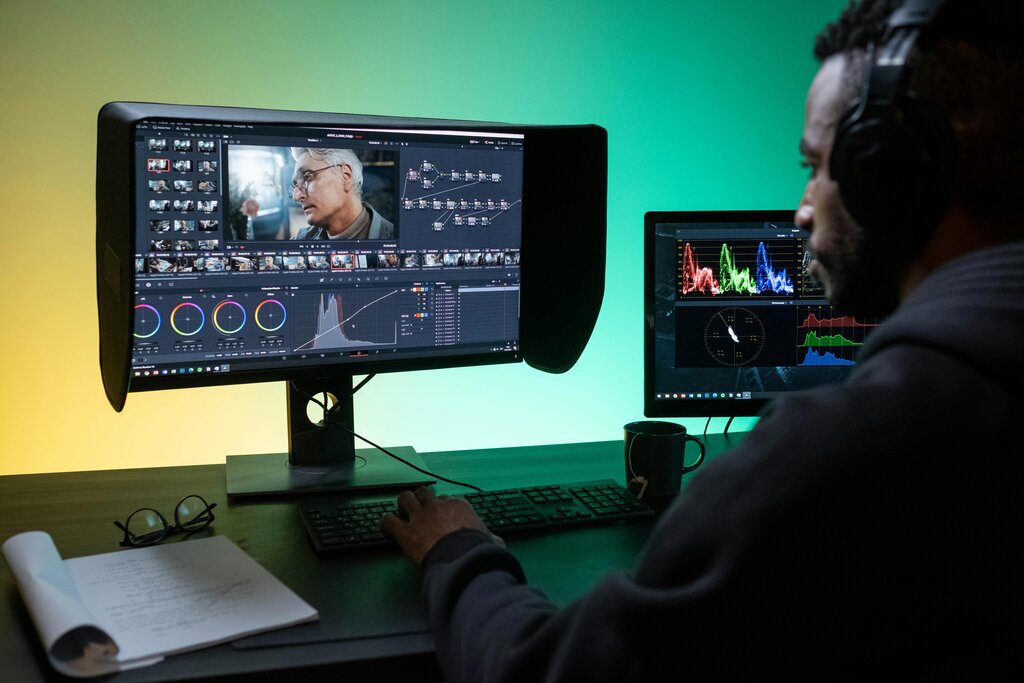
A proxy is a low-resolution copy of your original media. The editing software generates these smaller, more manageable files for you to use during the editing process. You perform all your cuts, transitions, and edits using these lightweight proxies, which allows for smooth, lag-free playback. Because the proxies are directly linked to the original high-resolution files, the software can instantly switch back to the full-quality media for the final export. You get the performance benefits of working with small files and the quality of your original footage. It's the best of both worlds.
Smart Organization
Beyond the timeline, a non-destructive workflow extends to how you organize your assets. This is where metadata comes in. Most editing software allows you to attach information to your clips without changing the files themselves. You can add keywords, star ratings, and color labels to your media. For example, in a documentary project, you could tag all clips featuring a specific person, label all archival footage with a blue color, and give five-star ratings to your best B-roll shots. This allows you to filter and search your entire media library in seconds, turning a folder of hundreds of files into a queryable database.
Applying filters and effects can also be non-destructive. Instead of dropping an effect directly onto a clip, professionals often use adjustment layers. An adjustment layer is an empty layer that sits on a track above your video clips. Any effect applied to the adjustment layer will affect all the clips beneath it. This is incredibly efficient for applying a consistent color grade or a specific look to an entire scene. If you want to change the effect, you only have to adjust it in one place. You can also easily toggle the layer's visibility to see a before-and-after comparison, all without ever permanently altering the underlying video clips.
Let's review what we've covered about professional workflows.
What is the core principle of a non-destructive video editing workflow?
An editor's computer is struggling to play back multiple streams of 4K video in real-time. What is the standard professional solution to this problem?
Mastering these techniques—linked media, nesting, proxies, and adjustment layers—is what separates hobbyists from professionals. They allow you to stay organized, work efficiently, and focus your energy on what truly matters: telling a great story.