Professional Drum Tuning Masterclass
Head Seating and Precision
Seating the Head
A great drum sound starts before you even think about tuning. The first, most critical step is seating the drumhead correctly. This process ensures the head makes perfect contact with the shell, allowing it to vibrate freely and evenly. When a head is properly seated, it eliminates tuning problems, dead spots, and frustrating overtones right from the source.
The key lies in the drumhead's collar. This is the curved section where the flat playing surface transitions into the U-shaped channel that holds it in the metal hoop. Fresh out of the box, this collar isn't perfectly moulded to your specific drum's bearing edges. Forcing it into shape just by tightening the lugs can create uneven tension and choke the drum's resonance. Our goal is to gently persuade the head to conform to the shell, creating a single, unified vibrating surface.
The Stretch and Reset Technique
The most effective way to seat a new head is the stretch and reset method. This involves carefully over-tightening the head to mould the collar, then resetting it for tuning. It sounds aggressive, but it's a controlled process that helps the head stay in tune longer and sound its best.
First, place the head on the shell. Make sure it's centred, with an equal amount of space between the hoop and the shell all the way around. Then, thread all the tension rods and tighten them until they're just finger-tight. The head should have no wrinkles and produce a low, flappy tone.
Now for the stretch. Using a drum key, give each tension rod one full turn. Follow a standard cross-lug pattern to ensure even pressure. Once you've completed the pattern, do it again. Give every rod another full turn. At this point, the head will be very tight.
With the head under high tension, place the drum on the floor. Plant the heel of your hand firmly in the centre of the head and push down with your body weight. You will likely hear a series of cracking or popping sounds. Don't panic; this is the glue in the head's channel breaking and the plastic film moulding to the shell. This is exactly what you want to hear.
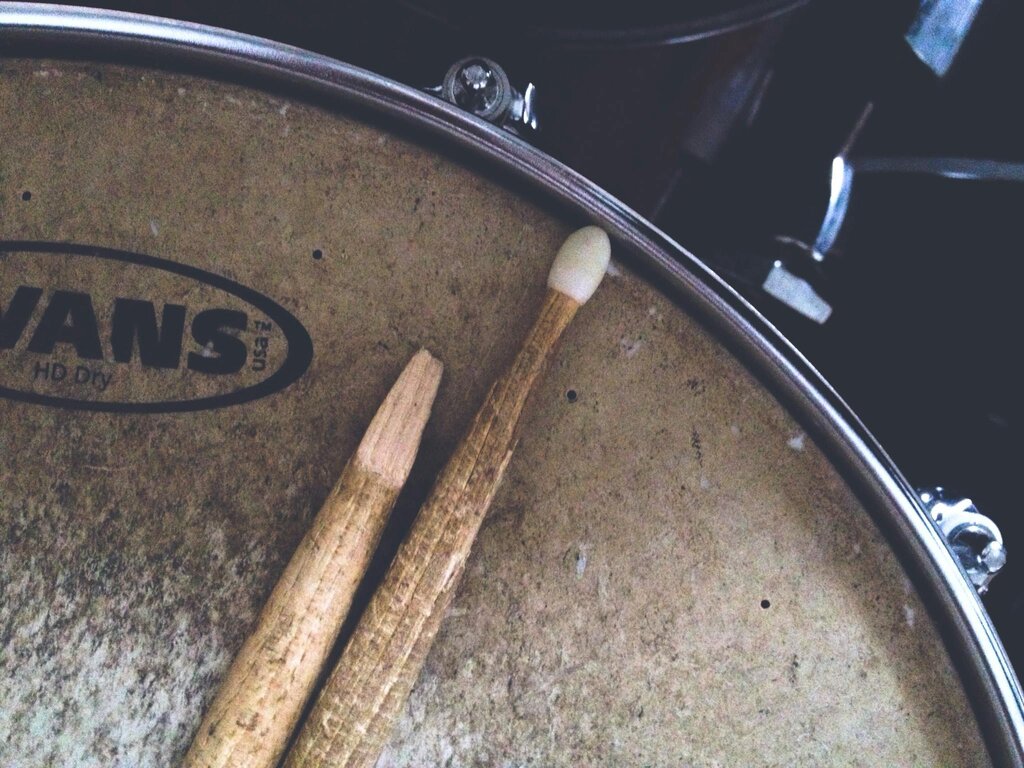
After applying pressure, fully loosen all the tension rods until they spin freely. The head has now been reset. Its collar is custom-moulded to your drum's bearing edge. From this point, you can bring the head back up to finger-tight and begin your normal tuning process. You'll find the drum tunes up more easily and holds its pitch much more reliably, even under heavy playing.
Optimising Contact
The stretch and reset technique depends on clean, uniform contact between the head and the shell. Before mounting a new head, always wipe down the bearing edge. Any dust or grime can interfere with the head's vibration.
Centring the head is equally important. An off-centre head means the collar will be steeper on one side than the other, making uniform tension impossible. As you finger-tighten the rods, glance at the gap between the counter hoop and the shell. If it's uneven, gently nudge the hoop until the spacing is consistent all the way around. This small adjustment ensures that each tension rod exerts an equal pull, which is the foundation of a clear, open tone.
With a perfectly seated head, you've done 90% of the work. The drum is now prepared to be tuned, with a head that is ready to sing.
What is the primary goal of seating a drumhead before tuning it?
When seating a new head, you hear a series of cracking and popping sounds as you apply pressure. What should you do?