Professional Color Grading in DaVinci Resolve
Color Space Management
Beyond Rec.709
You’ve probably graded footage by setting your project’s color space to Rec.709, the standard for HD broadcast. It works, but it's like trying to mix a symphony in a phone booth. Modern cameras capture a massive range of color and brightness, far more than Rec.709 can represent. When you force footage from an ARRI, a Sony, and a Blackmagic camera into a Rec.709 timeline from the start, you're throwing away valuable data before you even begin.
This is the core problem of a display-referred workflow. You're making creative decisions based on how the image looks on a specific display (your Rec.709 monitor). A more robust approach is a scene-referred workflow. Here, you work with the color data as it was captured from the original scene, preserving the full dynamic range and color information. You only transform it to fit a specific display at the very end of the process.
Working in a scene-referred space is like editing a RAW photo instead of a JPEG. You have far more flexibility to push and pull the image without it falling apart.
Choosing Your Workflow
DaVinci Resolve offers two powerful, industry-standard ways to implement a scene-referred workflow: Resolve Color Management (RCM) and the Academy Color Encoding System (ACES).
RCM is built directly into Resolve and is often simpler to set up. It revolves around a large, purpose-built color space called (DWG). You simply tell Resolve the color space of your input footage, your desired output, and it handles the complex math of managing everything in between within its massive native gamut. This is an excellent choice for most projects, especially if you're primarily working within the Resolve ecosystem.
is a free, open, device-independent color management system developed by the Academy of Motion Picture Arts and Sciences. Think of it as a universal translator for color. Its goal is to standardize color workflows across different software, cameras, and teams, from on-set dailies to final VFX and mastering. Adopting ACES ensures that everyone is seeing the same color, which is crucial for large, collaborative projects.
Putting It into Practice
Setting up either system is done in your Project Settings under the 'Color Management' tab. For RCM, you'll select 'DaVinci YRGB Color Managed', choose a preset like 'DaVinci Wide Gamut Intermediate', and set your output color space. Resolve will then use the clip metadata to apply the correct Input Device Transform (IDT) automatically.
For an ACES workflow, you simply select 'ACEScct' or 'ACEScc' as your color science. The core components of ACES are the IDT and the ODT. The Input Device Transform (IDT) converts your camera-native footage into the massive ACES color space. The Output Device Transform (ODT) converts the image from the ACES working space to the color space of your final delivery monitor (like Rec.709 or P3).
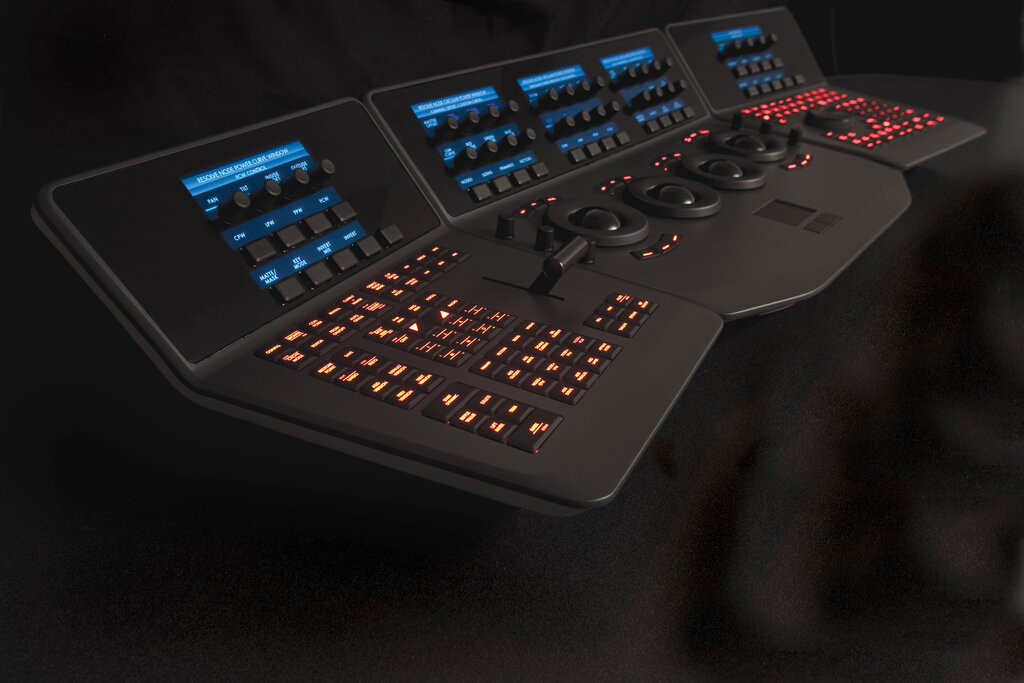
But what if the automatic settings don't work, or you have mixed footage? This is where the Color Space Transform (CST) node comes in. The CST is a powerful tool on the Color Page that lets you manually convert a clip from one color space and gamma to another.
For example, say you have a drone shot in D-Log and a main camera shot in ARRI LogC. You could place a CST node at the beginning of each clip's node tree to manually convert both into DaVinci Wide Gamut. From that point on, every subsequent node is working on footage in the same standardized color space, so your grades will apply consistently across both shots.
Always place your CST node first in the chain for conversions into your working space. Any creative grading should happen after the footage has been normalized.
What is the primary drawback of a purely "display-referred" workflow, such as setting your entire project to Rec.709 from the beginning?
In a color-managed workflow within DaVinci Resolve, what is the purpose of the Color Space Transform (CST) node?
Mastering a scene-referred workflow with RCM or ACES is a huge step up. It preserves the quality of your original footage, ensures consistency across different cameras, and prepares your projects for any delivery format you might need in the future.