Pro Export for Course Creators
Understanding Course Export Features
Saving Your Course Content
Think of an online course you've built as a carefully constructed house. You've arranged the rooms (modules), decorated them with furniture (lessons and videos), and set up the utilities (quizzes). But what if you need to move to a new neighborhood (a different platform), or you want to store a blueprint for safekeeping? That's where exporting comes in.
Exporting a course allows you to package all your instructional material into a single, downloadable file. This creates a master copy that exists outside of the learning platform. It's a way to back up your work, move it elsewhere, or simply keep an archive for your records.
The primary purpose of an export is to preserve the course's structure and content, not the student activity within it.
What Gets Packed
When you export a course, you are essentially saving the educational blueprint. This includes the core materials that make up the learning experience. However, it's just as important to understand what is left behind.
Most platforms deliberately exclude user-specific data from standard course exports. This is done to protect student privacy and to keep the export file focused on the reusable course content itself. You wouldn't want one student's grades and discussion posts from last semester showing up in a fresh course next semester.
| Typically Included in Export | Typically Excluded from Export |
|---|---|
| Course structure (modules, lessons) | Student enrollment lists |
| Text, images, and embedded videos | Student grades and quiz scores |
| Quizzes and assignment prompts | Discussion forum posts and replies |
| Downloadable files (PDFs, etc.) | Student progress tracking |
Think of it this way: the export saves the empty classroom with all its desks, whiteboards, and textbooks. It does not save the students who sat in the desks or the notes they left on the whiteboard.
The General Process
While the exact buttons and labels differ between platforms, the overall process for exporting a course is usually straightforward.
- Locate Export Settings: You'll typically find an 'Export' or 'Backup' option within your course's main settings or administration panel.
- Start the Process: After clicking the export button, the system begins gathering all the relevant content. For a large course with many videos and files, this can take several minutes.
- Download the File: Once the platform has packaged everything, it will provide you with a download link. The course is usually compressed into a single file, often with a
.zipextension or another specialized format.
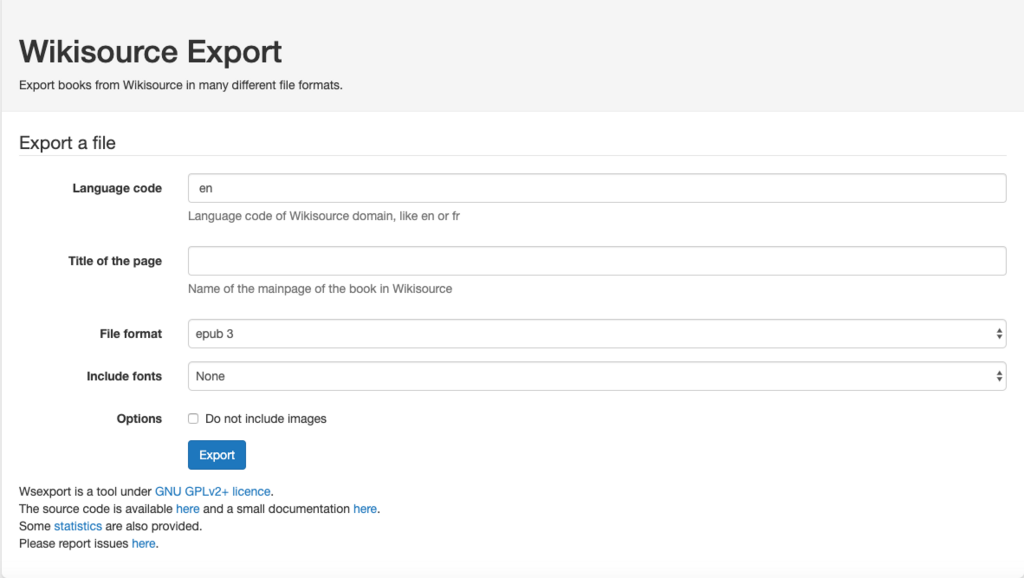
This downloaded file is your portable course copy. You can store it on your own computer for safekeeping or use it to upload your course to a different learning system that supports that file type, saving you from having to rebuild everything from scratch.