Premiere Pro and Audition Dynamic Linking
Introduction to Adobe Premiere Pro
Welcome to Premiere Pro
Adobe Premiere Pro is a powerful tool used by professional video editors around the world. It can seem intimidating at first, but once you understand its layout and basic functions, you'll find it's a logical and creative space to work in. We'll start with the essentials to get you comfortable with the software.
The Premiere Pro Workspace
When you open Premiere Pro, the screen is divided into several panels, which Adobe calls a workspace. You can customize this layout, but the default editing workspace contains four main areas you need to know.
- Project Panel: This is your media library. It's where you'll import and organize all your video clips, audio files, and images.
- Source Monitor: This panel is for previewing individual clips. Before adding a clip to your main video, you can watch it here and select the best parts.
- Program Monitor: This is your main video screen. It shows you what your edited sequence looks like as you build it.
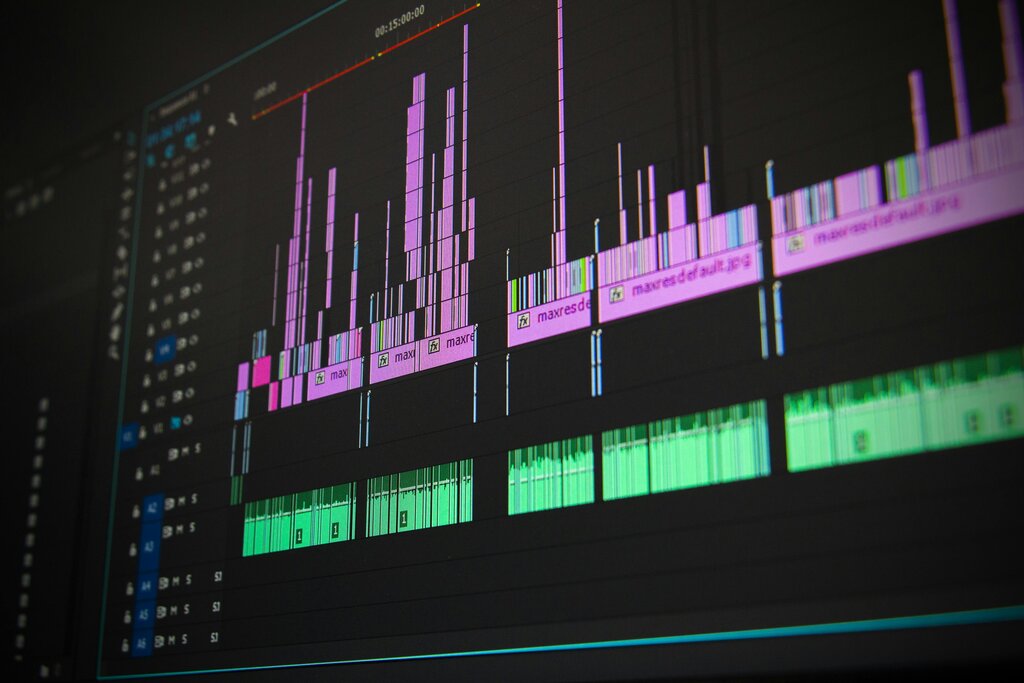
- Timeline: This is where the magic happens. You'll arrange your clips, make cuts, add effects, and build your video from start to finish here.
If you only learn one beginner term for Premiere Pro, make sure it’s Workspaces.
Importing and Editing
Let's walk through the basic workflow. The first step in any project is bringing your footage into Premiere Pro. You can do this by going to File > Import, or simply by dragging your video files from a folder on your computer directly into the Project Panel.
Once your clips are in the Project Panel, it's a good idea to organize them. You can create folders, called "bins," to group different types of media. For example, you might have one bin for video footage, another for music, and a third for graphics. Keeping things tidy from the start will save you a lot of time later on.
A clean project is an efficient project. Use bins to categorize your clips before you even start editing.
To start building your video, drag a clip from the Project Panel onto the Timeline. This creates a new "sequence," which is the foundation of your video.
With your clip on the timeline, you can perform the most basic and essential editing task: trimming. Move your mouse to the beginning or end of the clip until the cursor changes to a red bracket. Then, click and drag to shorten the clip, removing unwanted parts from the start (trimming in) or the end (trimming out).
Adding Transitions
After trimming your clips and placing them next to each other on the timeline, you'll have a series of simple cuts. A cut is an instant switch from one shot to the next. Sometimes this is exactly what you want, but other times you might need a smoother transition.
Premiere Pro has a library of transitions to help with this. The most common is the cross dissolve, which gently fades one clip into the next. To add it, find the Effects panel (usually grouped with the Project panel). Inside, open the Video Transitions folder, then the Dissolve folder. Drag the "Cross Dissolve" effect and drop it right on the cut between two clips on your timeline.
You can adjust the duration of a transition by clicking on it in the timeline and dragging its edges, just like trimming a clip.
That's the basic rhythm of video editing: import, organize, place clips on the timeline, trim them, and add transitions where needed. Mastering these fundamental steps is the key to building any video, from a short social media clip to a feature film.
Time to check your understanding of these core concepts.
Which panel in the default Premiere Pro workspace is used to preview your final, edited video sequence as you build it?
According to the basic workflow, what is the first step you should take after opening a new project?
With these basics, you're ready to start exploring and creating your own video projects.