Pop Music Arrangement in Logic Pro X
Logic Pro X Basics
Finding Your Way Around
Opening Logic Pro X for the first time reveals your main workspace. Think of it as your digital studio. Everything you need is organized into a few key areas.
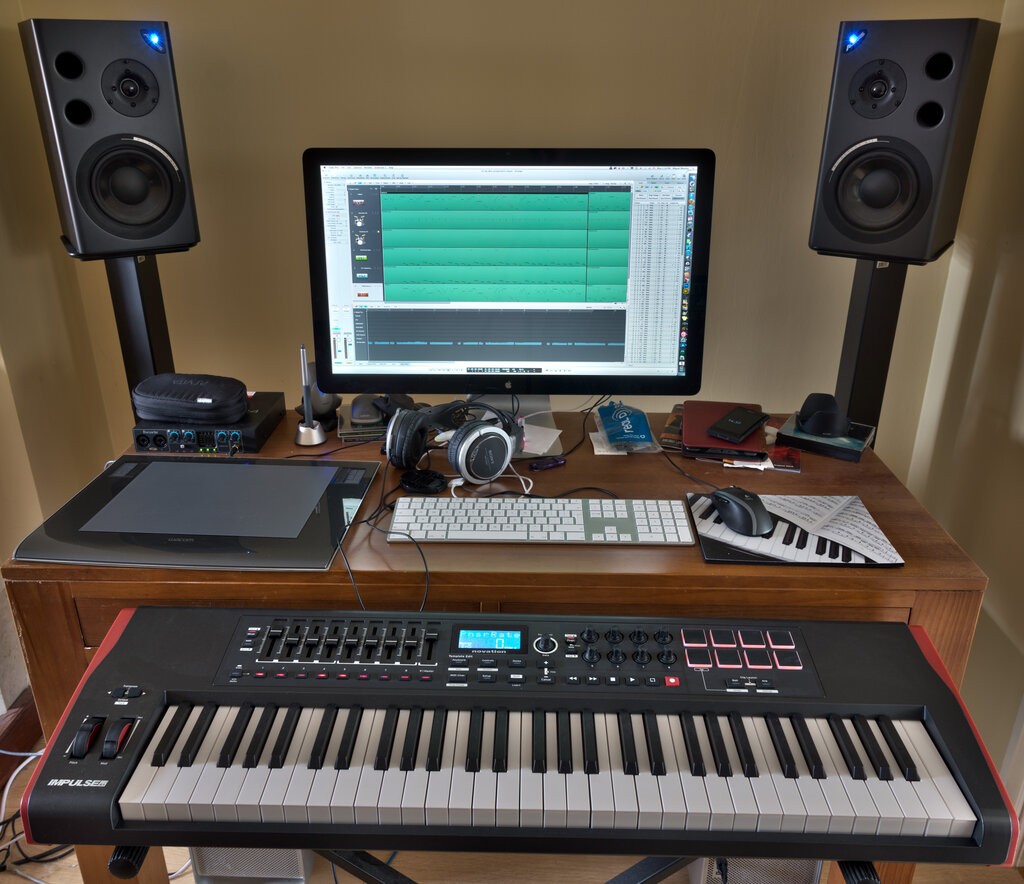
The largest part of the screen is the Tracks Area. This is where your song will take shape, with each instrument or vocal on its own horizontal lane. Above it, the Control Bar holds the play, pause, and record buttons, along with the project's tempo and time signature. To the left, the Inspector shows detailed settings for any track you select, like volume and panning. Get comfortable with these three areas, as you'll use them constantly.
Quick Tip: If the Inspector or Library disappears, press the 'I' or 'Y' key, respectively, to bring them back. These keyboard shortcuts are huge time-savers.
Building with Tracks
Every sound in your project lives on a track. When you create a new track, Logic asks you what kind you want to make. For pop music, you'll mainly use a few specific types.
| Track Type | What It's For | Pop Music Example |
|---|---|---|
| Software Instrument | Playing virtual instruments with MIDI data. | Creating a synth bassline or a piano melody. |
| Audio | Recording sound from a microphone or instrument cable. | Recording vocals or an electric guitar. |
| Drummer | An AI-powered virtual drummer that creates beats automatically. | Quickly adding a realistic-sounding drum groove to your song. |
| Guitar or Bass | An audio track optimized for plugging in a guitar or bass directly. | Recording a bass guitar part with built-in amp simulators. |
Select Audio for live recordings, Software Instrument for digital instruments, Drummer for ready-made drum loops, External MIDI to connect your MIDI keyboard, and Guitar or Bass to connect your guitar to Logic.
Understanding the difference between audio and MIDI is crucial. An audio track holds a recording, like a picture of a sound wave. You can cut it up and move it around, but you can't change the notes that were played.
A MIDI track (used by Software Instruments) doesn't hold sound itself. It holds instructions: which notes to play, how long to hold them, and how hard they were pressed. This means you can easily change the notes, fix mistakes, or even switch the instrument from a piano to a synthesizer after you've recorded the part.
Sounds and Loops
You don't need a room full of instruments to make music. Logic Pro X comes with a massive Library of sounds and a Browser full of loops.
The Library is where you find instruments for your Software Instrument tracks. When you select a track, the Library on the left shows you a list of sounds, from grand pianos to futuristic synths. Clicking a sound loads it onto your track, ready to play.
The Loop Browser, accessed by clicking the loop icon in the top-right corner, is a treasure trove of pre-recorded musical phrases. You can find drum beats, bass lines, and guitar riffs, all categorized by instrument, genre, and mood. These are called Apple Loops, and they automatically match your project's tempo and key, making it easy to sketch out ideas quickly.
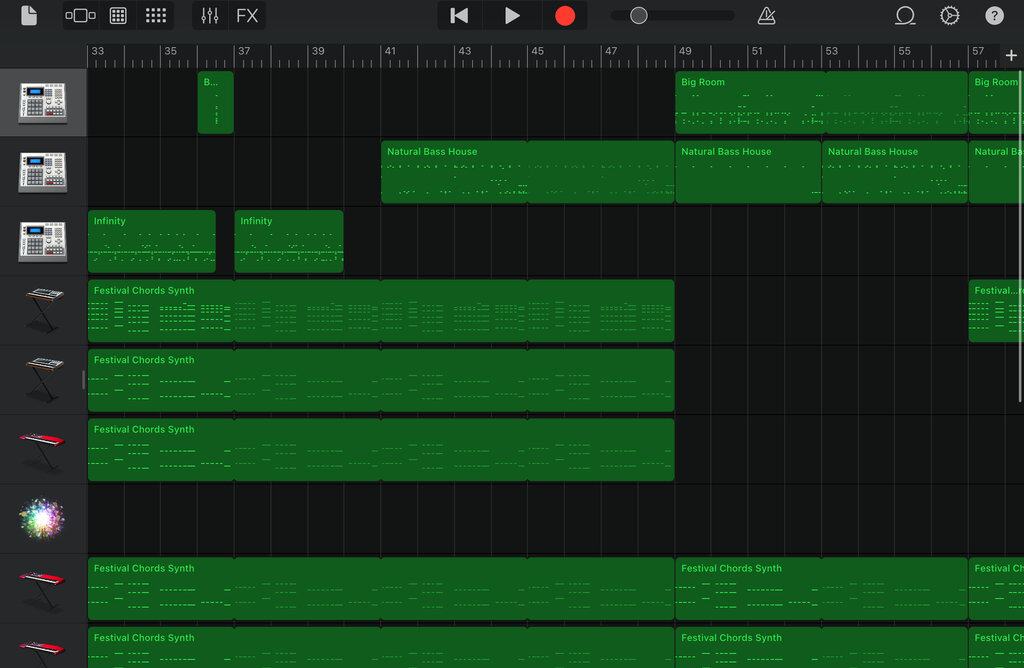
To use a loop, just find one you like and drag it into an empty space in your Tracks Area. Logic will create a new track for it automatically.
Recording and Editing
Once you have a track with an instrument loaded, you're ready to record. Select the track you want to record on and make sure it's 'armed' for recording—the 'R' button on the track should be red.
Position the playhead (the vertical line that shows where you are in the song) where you want to start, and press the red record button in the Control Bar. After a short count-in, Logic will start recording whatever you play on your MIDI keyboard or sing into your microphone.
When you're done, press the spacebar to stop. You'll see a new colored region in the Tracks Area. This is your recording.
Don't worry about perfection on the first take. The beauty of a DAW is that everything can be edited.
Basic editing happens right in the Tracks Area. You can move a region by clicking and dragging it. To trim the start or end of a region, hover your mouse over the bottom edge until the cursor changes, then click and drag. To slice a region in two, place the playhead where you want the cut and use the Scissor tool. These simple actions—moving, trimming, and cutting—are the foundation of arranging your song.
Time to check your understanding of the fundamentals.
What is the primary function of the Tracks Area in Logic Pro X?
What is the fundamental difference between an audio track and a MIDI track?
With these basics, you can start building the essential parts of any pop track. Experiment with different sounds, record some ideas, and practice moving things around. The more you explore the workspace, the faster your ideas will turn into music.