Podcast Production with GarageBand
GarageBand Basics
Welcome to GarageBand
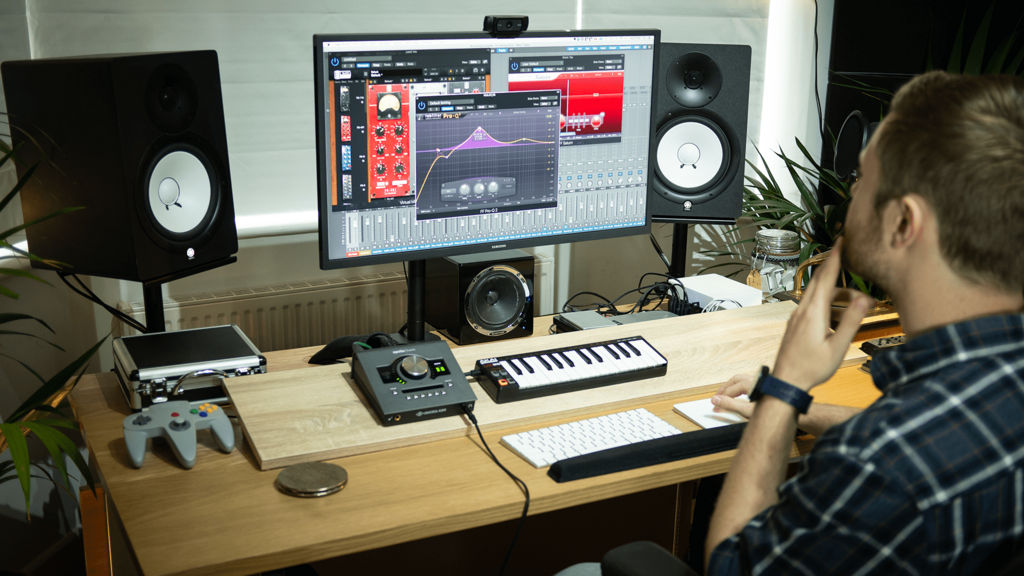
Think of GarageBand as your personal recording studio, conveniently located inside your computer. It's a Digital Audio Workstation, or DAW, which is just a fancy term for software that lets you record, edit, and mix audio. While it has tools for making music, it's also perfect for creating a polished, professional-sounding podcast.
The Workspace
When you first open a new podcast project, the main window can look a little busy. Let's break it down into three key areas you'll use constantly: the Timeline, the Track Headers, and the Control Bar.
The largest part of your screen is the Timeline. This is where the magic happens. Your audio clips—like your voice, interviews, or music—appear here as colored blocks called regions. The timeline reads from left to right, representing the flow of your episode from beginning to end. A vertical line called the Playhead shows you exactly where you are in the recording.
To the left of the timeline, you'll see a column of Track Headers. Each track is like a separate layer for a single audio source. For a simple podcast, you might have one track for your voice, another for your co-host, and a third for your intro music. Each track header has its own set of controls, like a volume slider and buttons for Mute (the speaker icon) and Solo (the headphones icon). Muting a track silences it, while soloing a track silences everything else so you can hear it in isolation.
Keeping different audio elements on separate tracks gives you precise control over the final mix. It's the key to balancing the volume of voices, music, and sound effects.
At the top of the window is the Control Bar. This is your command center for navigating and recording. The main buttons are the transport controls: Record (the red circle), Play (the triangle), and Stop (the square). You'll also see buttons to turn on the metronome (for keeping time, though less crucial for spoken-word podcasts) and a cycle region, which lets you loop a specific section over and over.
Bringing in Audio
Your timeline starts empty. To fill it, you need to import audio. GarageBand gives you two easy ways to find and add sounds: the Media Browser and the Loop Browser. You can typically find the buttons to open these on the top right of the screen.
The Media Browser is for your own files. If you have a pre-recorded interview, a theme song you commissioned, or any other audio file on your computer, this is how you'll bring it into your project. Simply navigate to the file and drag it onto the timeline.
The Loop Browser is a library of royalty-free audio that comes with GarageBand. It’s packed with short music clips (loops), jingles, and sound effects. This is a fantastic resource for finding intro and outro music or adding a fun sound effect to your episode. You can filter by instrument, genre, and mood to find exactly what you need.
Now let's test what you've learned about the GarageBand workspace.
What is the primary function of a Digital Audio Workstation (DAW) like GarageBand?
The vertical line in the Timeline that shows your exact position in the recording is called the Playhead.
Understanding the layout of GarageBand is the first step. With a handle on the timeline, tracks, and browsers, you're ready to start filling your project with sound.