Podcast Launchpad
Podcast Equipment
Your Recording Toolkit
Getting started with podcasting doesn't require a Hollywood-sized budget. The goal is to capture clear, clean audio, and you can achieve that with a few key pieces of equipment. Think of it as building a toolkit. You can start with the basics and add more specialized tools as your show grows.
The most critical piece of equipment is your podcast microphone – this single investment will make the biggest difference in your audio quality.
Let's begin with the single most important item in your setup: the microphone.
Choosing a Microphone
Your microphone is the heart of your podcasting setup. It turns your voice into an electrical signal that your computer can record. When you start shopping, you'll encounter two main decisions: how the mic connects to your computer and how it captures sound.
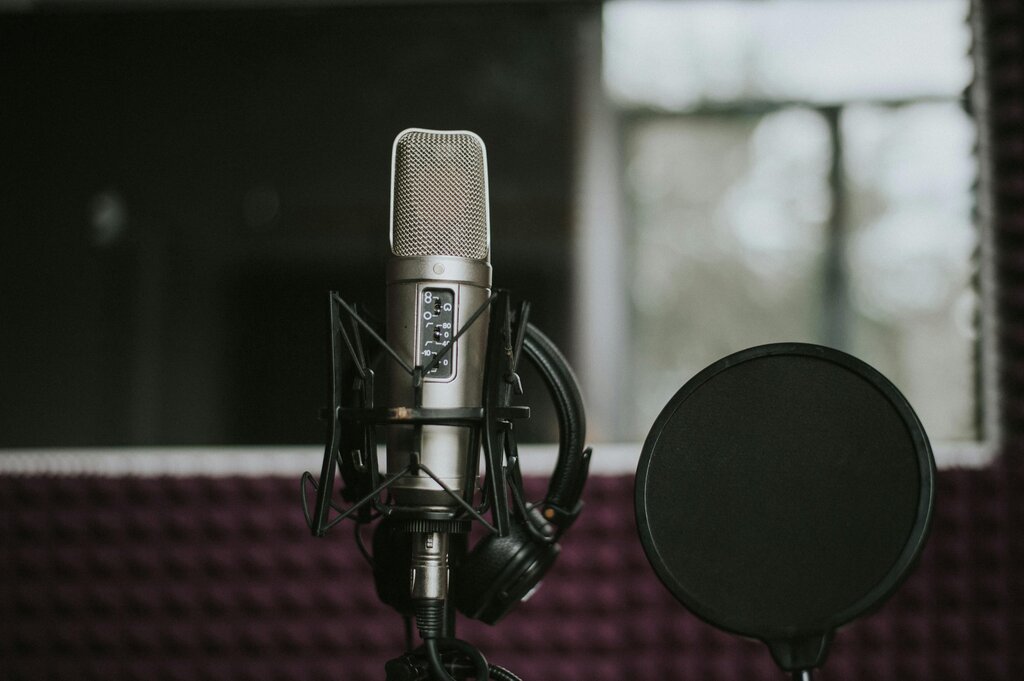
First, let's look at the connection type. USB microphones are incredibly popular for new podcasters because they're simple. You just plug them directly into your computer's USB port. XLR microphones are the professional standard. They require an extra piece of equipment, called an audio interface, to connect to your computer, but they offer more flexibility and upgrade options down the line.
| Feature | USB Microphones | XLR Microphones |
|---|---|---|
| Connection | Plugs directly into a computer | Connects via an audio interface or mixer |
| Ease of Use | Plug-and-play, very simple | Requires more setup |
| Best For | Beginners, solo podcasters | Podcasters wanting flexibility and quality |
| Cost | Generally more affordable | Higher initial investment |
Next, you'll choose between a dynamic or condenser microphone. This refers to the technology inside the mic that captures sound. Neither is universally better; they're just suited for different environments.
Dynamic mics are rugged and great at rejecting background noise. They're often used in radio studios and are perfect if you're recording in a room that hasn't been acoustically treated. Condenser mics are more sensitive and capture a richer, more detailed sound. They are best used in quiet, controlled environments like a home studio or a sound-treated room.
| Microphone Type | Dynamic | Condenser |
|---|---|---|
| Sensitivity | Less sensitive | More sensitive |
| Best Environment | Untreated rooms, noisy spaces | Quiet, treated rooms |
| Sound Profile | Focused, rejects background noise | Detailed, captures nuances |
| Common Use | Radio broadcast, live vocals | Studio recording, voice-overs |
Microphone Essentials
Once you have your mic, a few accessories are non-negotiable for getting clean audio. These small additions make a huge difference in your final sound quality.
The goal is to record your voice, not the sound of your breath or the bumps on your desk.
A pop filter is a screen, usually made of mesh or foam, that you place between your mouth and the microphone. It softens the burst of air from plosive sounds—like the letters 'p' and 'b'—that can cause a jarring pop in your recording. A windscreen, which is a foam cover that fits over the microphone capsule, does a similar job but is more often used outdoors to block wind noise.
A microphone stand is crucial for two reasons. First, it holds the mic in the perfect position, so you don't have to. Second, it isolates the microphone from vibrations traveling through your desk. A simple desk stand works, but a boom arm is even better, as it allows for flexible positioning and provides superior isolation from bumps and taps.
Getting Audio to Your Computer
If you choose an XLR microphone, you'll need a way to connect it to your computer. That's where an audio interface or a mixer comes in.
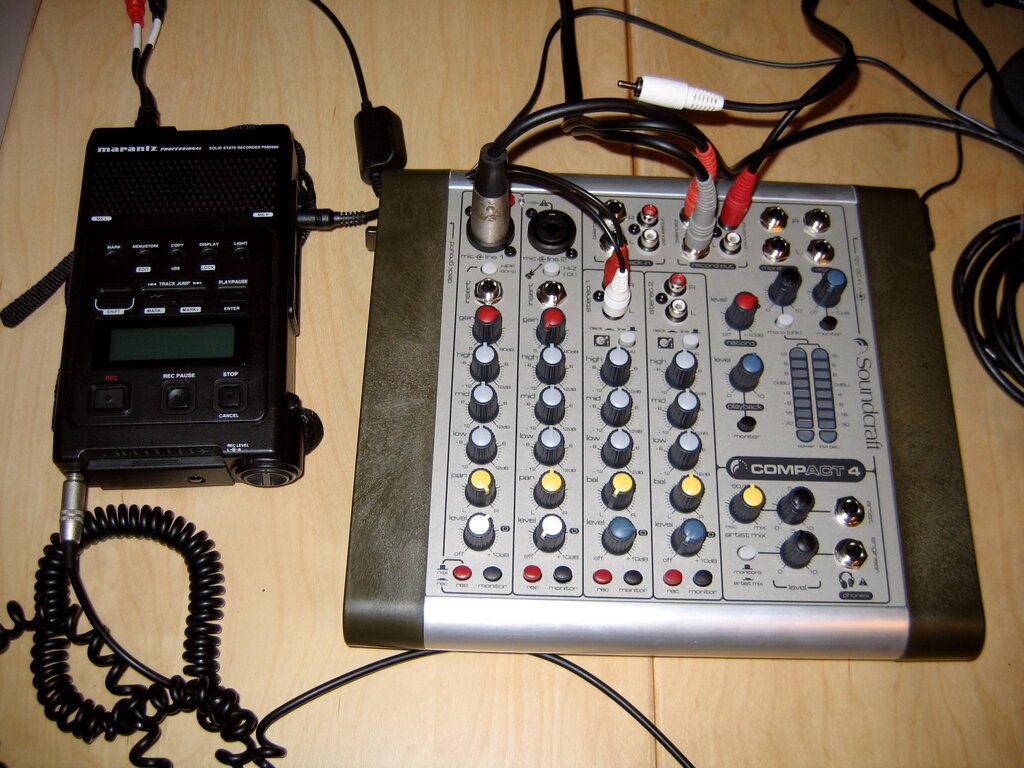
An audio interface is a small box that converts the analog signal from your XLR microphone into a digital signal your computer can understand. It typically connects via USB and has inputs for one or more microphones. It also provides power to condenser mics, which require something called "phantom power" to operate.
A mixer does the same job as an interface but offers more control. With a mixer, you can connect multiple microphones and other audio sources, adjusting the volume levels of each one on the fly. You generally don't need a mixer when you're starting out, but it's a great upgrade for podcasts with multiple hosts or guests in the same room.
Hearing Yourself Clearly
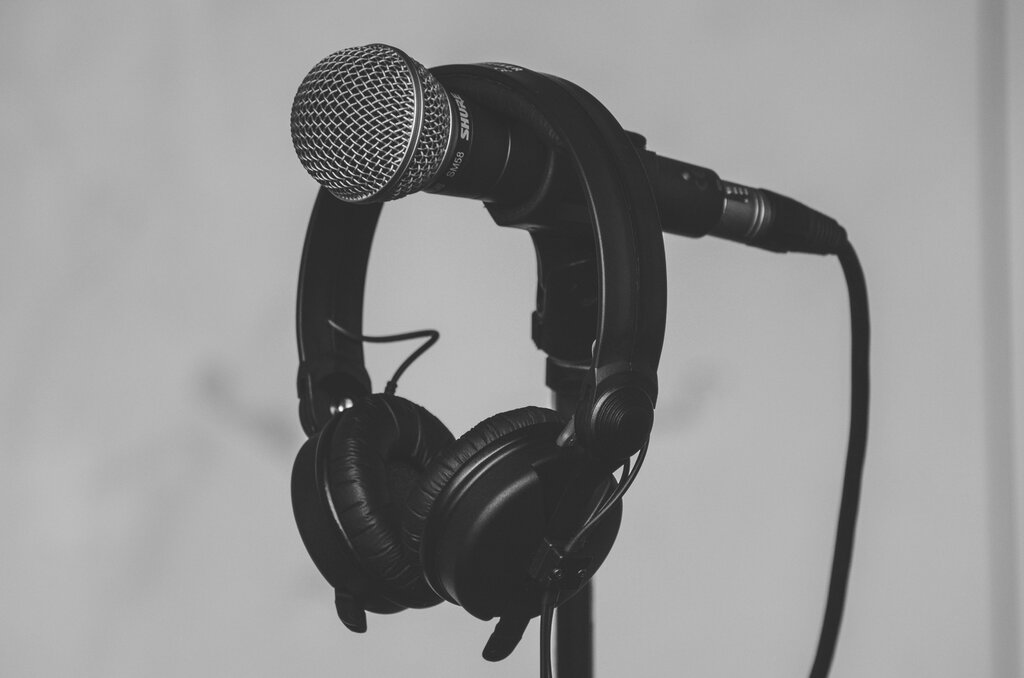
You can't fix audio problems if you can't hear them. That's why a good pair of headphones is essential for monitoring your recording in real time. For podcasting, you'll want closed-back headphones.
These headphones create a seal around your ears, which does two things: it blocks out external noise so you can focus on the recording, and it prevents the sound from your headphones from leaking out and being picked up by your microphone. This bleed can create an annoying echo in your final audio.
If you have multiple people recording together, a headphone amplifier is a useful tool. It's a small device that takes a single headphone output from your interface or mixer and splits it into multiple outputs, each with its own volume control. This allows every host and guest to set their headphone volume to a comfortable level without affecting anyone else.
Now let's review the key equipment discussed.
Time to check your understanding.
You're starting a podcast and plan to record in your bedroom, which isn't sound-treated and sometimes has noise from the street. Which type of microphone is generally the better choice for this situation?
Which piece of equipment is essential for connecting a professional XLR microphone to a computer and converting its analog signal to digital?
With the right gear in place, you’re ready to start capturing high-quality audio for your show.