Photoshop Essentials
Photoshop Interface
Your Digital Canvas
Opening Photoshop for the first time can feel like walking into a pilot's cockpit. There are buttons, menus, and panels everywhere. But don't worry, it's more like an artist's studio. Once you know where your brushes and canvases are, you'll be creating in no time.
Let's get you familiar with your new workspace. Everything has its place, and every tool has a purpose. We'll start with the very first step: getting an image onto your screen.
Opening and Creating Files
You have two main ways to begin a project. You can either create a blank canvas from scratch or open an image you already have.
To create a new file, go to the menu at the top of the screen, click File, and then select New. A dialog box will pop up, offering presets for common formats like photos, web graphics, and print documents. You can also manually enter the width, height, and resolution for your canvas. For now, sticking with the default options is perfectly fine.
To open an existing photo or design, just go to File > Open. This lets you browse your computer for the image you want to work on. Once you select a file, it will appear in the main area of your workspace, ready for editing.
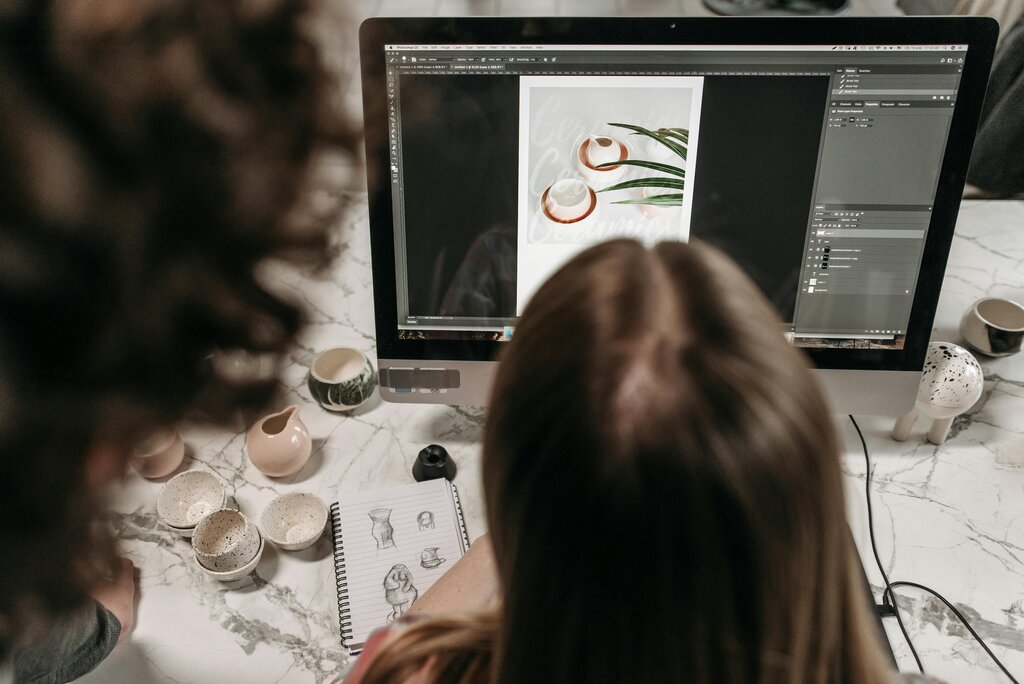
A Tour of the Workspace
Your Photoshop workspace is divided into several key areas. Understanding what each one does is the key to a smooth workflow. The main image you're working on sits in the center, surrounded by all your tools and controls.
Let's break down each of these sections.
The Menu Bar At the very top of the screen, you'll find the Menu Bar. This is home to essential functions like File (for opening, saving, and creating), Edit (for undoing mistakes or copying and pasting), and Image (for making adjustments). You'll use this menu for broad, file-level actions.
The Options Bar Just below the Menu Bar is the Options Bar. This bar is special because it changes depending on which tool you've selected. For example, if you pick the Brush tool, the Options Bar will show settings for brush size, hardness, and shape. If you switch to the Type tool, it will show options for fonts and text size. It’s your go-to spot for fine-tuning your current tool.
The Tools Panel Located on the left side, this long bar holds all of your creative and editing tools. Here you'll find the Brush, Eraser, Move tool, and many others. Think of it as your digital toolbox. You simply click a tool's icon to activate it.
The Document Window This is the largest area in the center of your screen. It’s your canvas, where your image or design is displayed. This is where you'll do all your work. You can zoom in for detailed edits or zoom out to see the whole picture. To move around your canvas, you can use the scroll bars or hold the spacebar to temporarily activate the Hand tool and click-and-drag.
Panels On the right side of the screen, you'll find a group of panels. The most important ones are Layers, Color, and Properties. These panels give you detailed control over different aspects of your project. We won't dive deep into them now, but it's good to know that this is where you'll manage the different elements of your image.
Getting comfortable with navigating your workspace is the first major step. Try clicking on different tools to see how the Options Bar changes.
Now that you've had a tour, let's see what you remember.
What is the correct menu path to open an existing image file on your computer?
Which part of the Photoshop workspace changes contextually to show settings (like size, hardness, or font) for the currently selected tool?
That's the basic layout of Photoshop. Every project you work on will use this same interface, so spending a little time getting familiar with it now will pay off later. In the next section, we'll start using some of these tools.