Photography Fundamentals and Practice
Exposure Triangle Interplay
The Exposure Triangle in Action
You already know the key players: aperture, shutter speed, and ISO. Think of them not as individual settings, but as three sides of a triangle. Change one, and at least one of the others must change to maintain the balance and keep the triangle whole. This balance is what we call exposure, the total amount of light that reaches your camera's sensor.
Every photo is a result of a trade-off. The key to creative control is choosing which trade-offs to make.
Imagine you're filling a bucket with water from a tap. The 'exposure' is a full bucket. You can open the tap wide (a wide aperture) for a short time (a fast shutter speed). Or, you can open it just a little (a narrow aperture) but leave it on for longer (a slow shutter speed). Both methods fill the bucket. Now, what if the water pressure is low (a dark scene)? You'd need to boost it. That's where ISO comes in, acting like a pump to increase the flow, but adding some turbulence (noise) in the process.
Aperture's Creative Trade-Off
Aperture's primary job in the triangle is controlling the amount of light entering the lens, but its creative power lies in managing (DoF). A wide aperture (like f/1.8) lets in a lot of light, which means you can use a faster shutter speed. The creative trade-off is a very shallow depth of field, blurring the background and making your subject pop. This is classic for portraits.
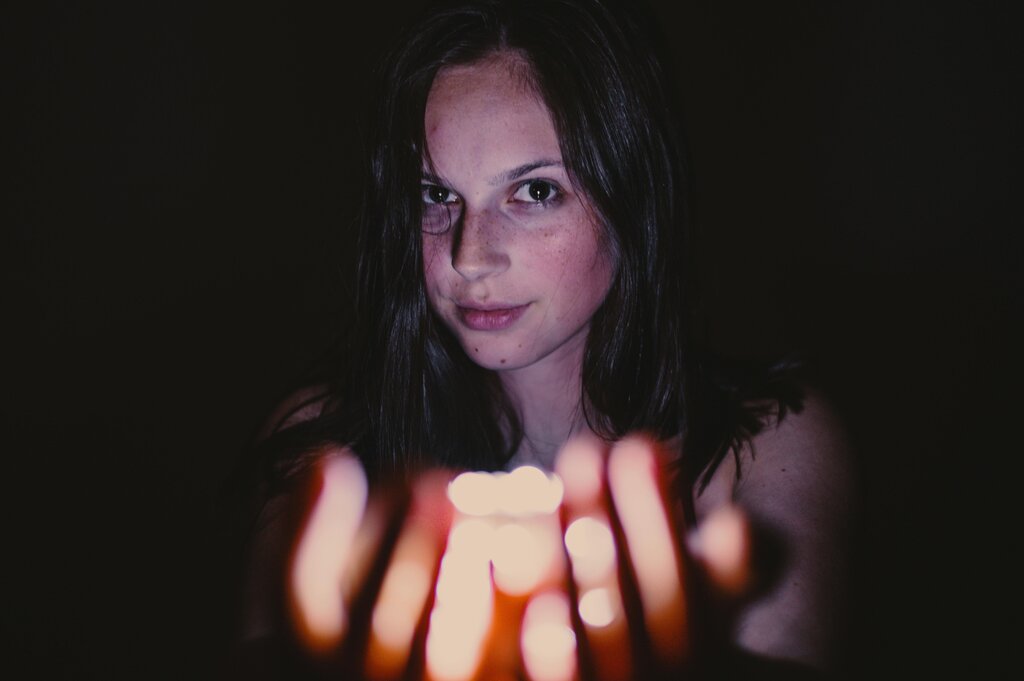
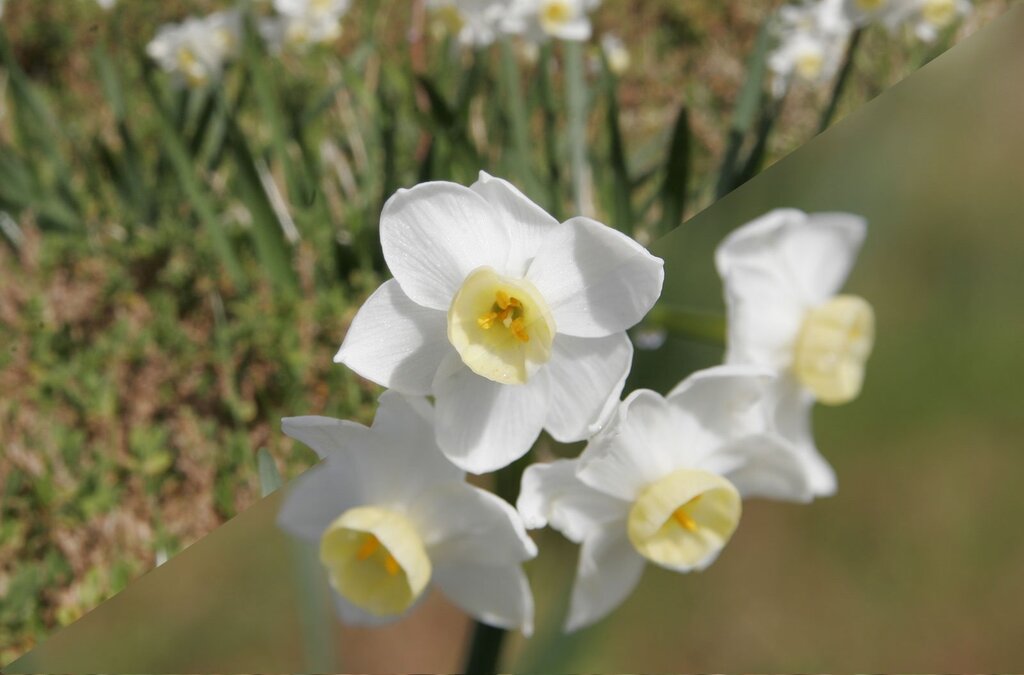
Conversely, a narrow aperture (like f/16) lets in very little light, forcing you to use a slower shutter speed or a higher ISO to compensate. The benefit? A deep depth of field, where everything from the foreground flowers to the distant mountains is in sharp focus. This is the go-to choice for landscape photographers who want every detail captured.
Shutter Speed and Motion
Shutter speed dictates how long the sensor is exposed to light. Its creative consequence is control over motion. To freeze a fast-moving subject, like a sprinter crossing the finish line, you need a very fast shutter speed (e.g., 1/1000s). This lets in only a tiny sliver of light, so you must compensate with a wider aperture or a higher ISO to get a proper exposure.
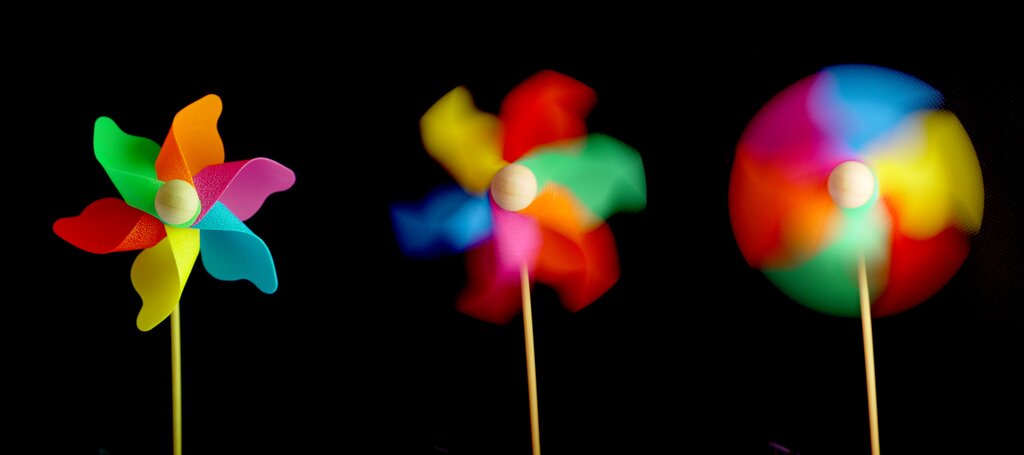
Want to show the graceful flow of a waterfall? You'll need a slow shutter speed (e.g., 1 second or longer). This long exposure lets in a lot of light, so you'll need to use a narrow aperture and a low ISO to avoid a completely white, overexposed image. Often, photographers in bright daylight will even use a to reduce the light further, allowing for even longer exposures.
ISO and the Cost of Light
ISO is your camera's sensitivity to light. A low ISO (like 100) means the sensor is not very sensitive, requiring more light for a good exposure but producing a clean, high-quality image. As you increase the ISO, you're digitally amplifying the signal from the sensor. This is incredibly useful in low-light situations where you can't use a slower shutter speed (to avoid camera shake) or a wider aperture (perhaps you've maxed it out).
The trade-off is digital noise. Higher ISO settings introduce a grainy or speckled look to your photos, which can reduce detail and color accuracy. Modern cameras are excellent at managing noise, but the principle remains: ISO is a powerful tool for shooting in the dark, but it always comes at a cost to pure image quality. Always aim to use the lowest ISO possible for your desired aperture and shutter speed.
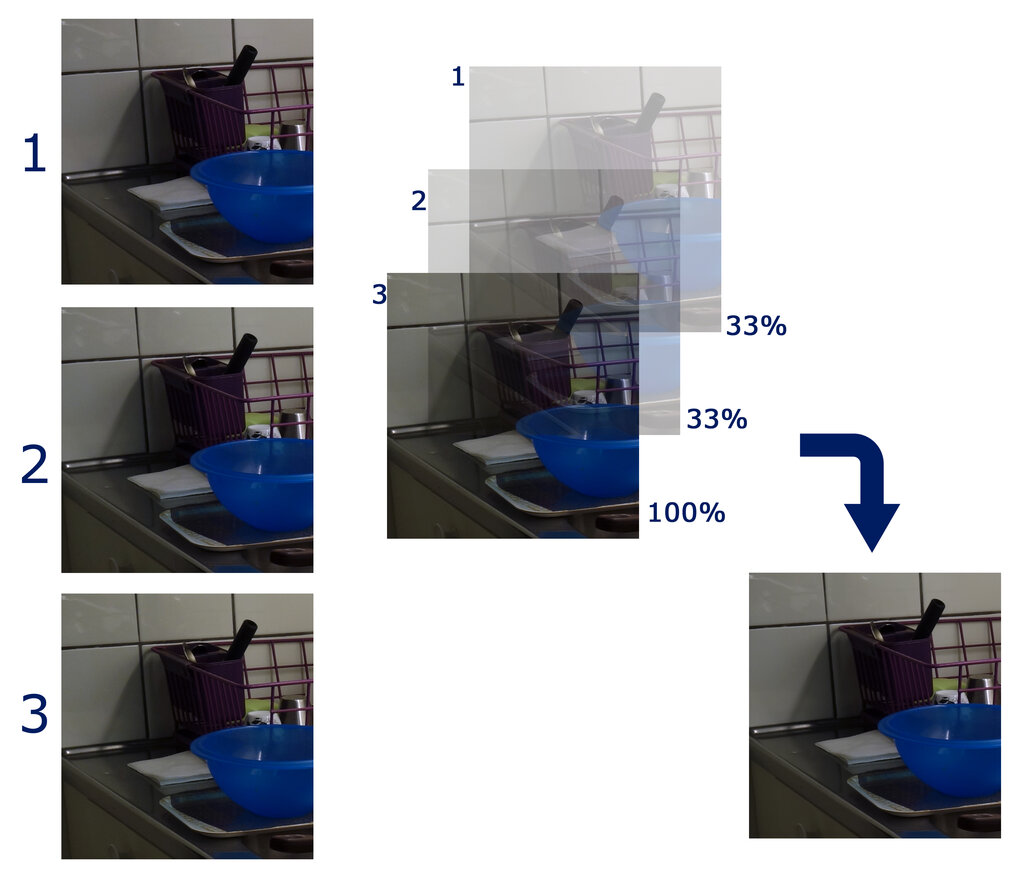
Each setting controls exposure differently: Aperture: controls the area over which light can enter your camera Shutter speed: controls the duration of the exposure ISO speed: controls the sensitivity of your camera’s sensor to a given amount of light
Putting It All Together
True mastery of exposure comes from deciding your creative priority first, then adjusting the other two settings to support it. Let's look at some scenarios:
| Goal | Priority Setting | Compensating Settings | Example Scenario |
|---|---|---|---|
| Blurry Background Portrait | Wide Aperture (e.g., f/1.8) | Fast Shutter Speed, Low ISO | Shooting a portrait outdoors on a sunny day. |
| Sharp Landscape | Narrow Aperture (e.g., f/11) | Slow Shutter Speed, Low ISO (use a tripod!) | Capturing a mountain range at sunset. |
| Freeze Fast Action | Fast Shutter Speed (e.g., 1/2000s) | Wide Aperture, Higher ISO if needed | Photographing a soccer game. |
| Silky Waterfall Effect | Slow Shutter Speed (e.g., 2s) | Narrow Aperture, Low ISO, possibly an ND Filter | Capturing water movement in a stream. |
| Dim Indoor Event | High ISO (e.g., 3200) | Wide Aperture, a shutter speed fast enough to handhold (e.g., 1/125s) | A candid shot at a concert or reception without flash. |
Notice how in each case, you start with a creative goal. That goal dictates which corner of the triangle you prioritize. The other two settings then fall into place to achieve the correct exposure. It's a dance, and with practice, the steps become second nature.
Ready to test your understanding of these trade-offs?
You want to take a portrait with a creamy, blurred background to make your subject stand out. Which setting should you prioritize?
To capture the smooth, silky motion of a waterfall in bright daylight, you need a slow shutter speed. What other adjustments will you likely need to make to prevent the photo from being overexposed?
By thinking in terms of the exposure triangle, you move from just taking pictures to making them. You're no longer just capturing what's there; you're interpreting the scene and making deliberate, artistic choices.