Pencil Sketching Fundamentals
Introduction to Pencil Sketching
The Right Tools for the Job
Before you draw your first line, let's talk about your tools. Having the right gear doesn't mean buying the most expensive supplies. It means understanding what each tool does and choosing the one that fits what you want to create. Your pencil, paper, and a few other simple items are partners in your creative process. Get to know them, and you’ll find that sketching feels much more natural.
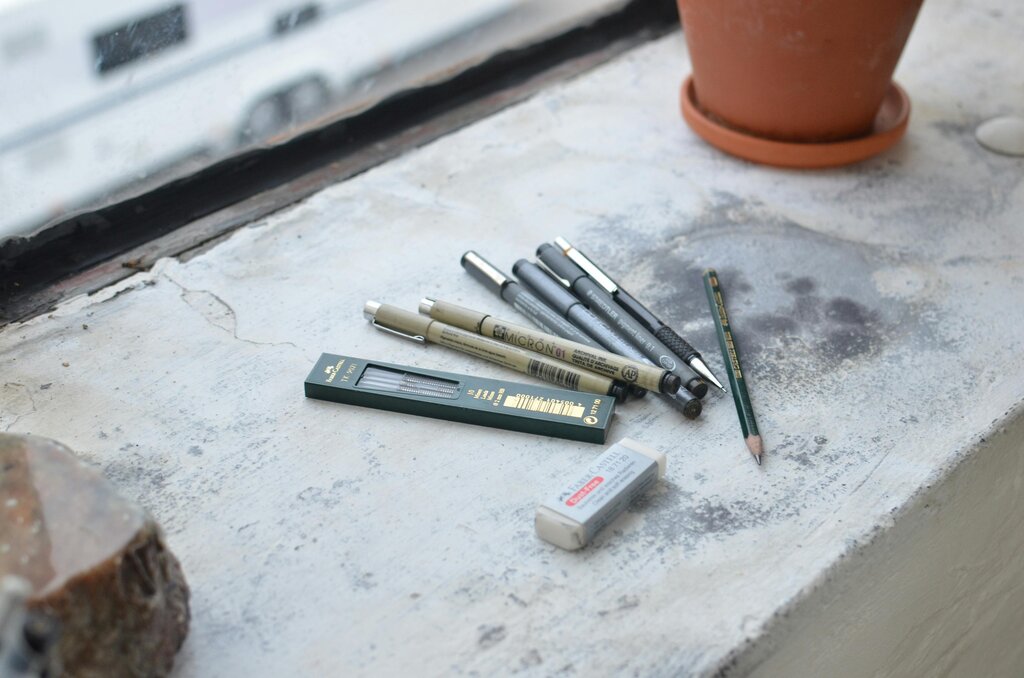
We'll start with the most essential tool of all: the pencil. It might seem simple, but there's a whole world of variety packed into that wood and graphite.
Know Your Pencils
Not all pencils are created equal. The familiar yellow #2 pencil you used in school is just one of many types. The main difference between drawing pencils lies in the hardness of their graphite core. This is indicated by a code of letters and numbers stamped on the side of the pencil.
graphite
noun
A form of carbon that is the primary material in pencil 'lead.' Despite the name, it contains no actual lead.
The grading scale ranges from hard to soft.
H Pencils: The 'H' stands for 'hard.' These pencils have a firm graphite core that makes light, precise marks. The higher the number before the H (like 4H or 6H), the harder the graphite and the lighter the line. H pencils are great for initial sketches, outlines, and technical drawings because they don't smudge easily and are simple to erase.
B Pencils: The 'B' stands for 'black.' These pencils have a soft graphite core that leaves dark, rich marks. The higher the number before the B (like 4B or 6B), the softer the graphite and the darker the line. B pencils are perfect for shading and creating bold, expressive strokes.
Think of it this way: H is for hard, light lines. B is for black, bold lines.
Right in the middle, you have HB and F pencils. An HB pencil is the standard #2 pencil, a perfect balance of hardness and blackness. The F pencil ('fine point') is slightly harder than an HB and can hold a sharp point well.
| Pencil Grade | Hardness | Mark | Best For |
|---|---|---|---|
| 6H (Hardest) | Very Hard | Very Light | Light initial sketches, drafting |
| 2H | Hard | Light | Outlines, technical details |
| HB | Medium | Medium | General sketching and writing |
| 2B | Soft | Dark | Shading, initial dark areas |
| 6B (Softest) | Very Soft | Very Dark | Deep shadows, bold marks |
If you're just starting, an HB, 2B, and 4H pencil will give you a versatile range to experiment with.
Paper Makes a Difference
The surface you draw on is just as important as the pencil you use. The key characteristic of drawing paper is its texture, often called its "tooth." This is the fine grain on the paper's surface that grabs onto the graphite particles.
A paper with more tooth, like charcoal paper, has a rougher surface. It will pull more graphite from your pencil, resulting in darker, more textured lines. This is great for expressive sketches where you want to see the grain of the paper.
On the other hand, a smooth paper, like Bristol board, has very little tooth. It's ideal for creating fine, clean lines and detailed work because the pencil glides effortlessly over the surface. The type of paper you choose can completely change the mood and style of your drawing.
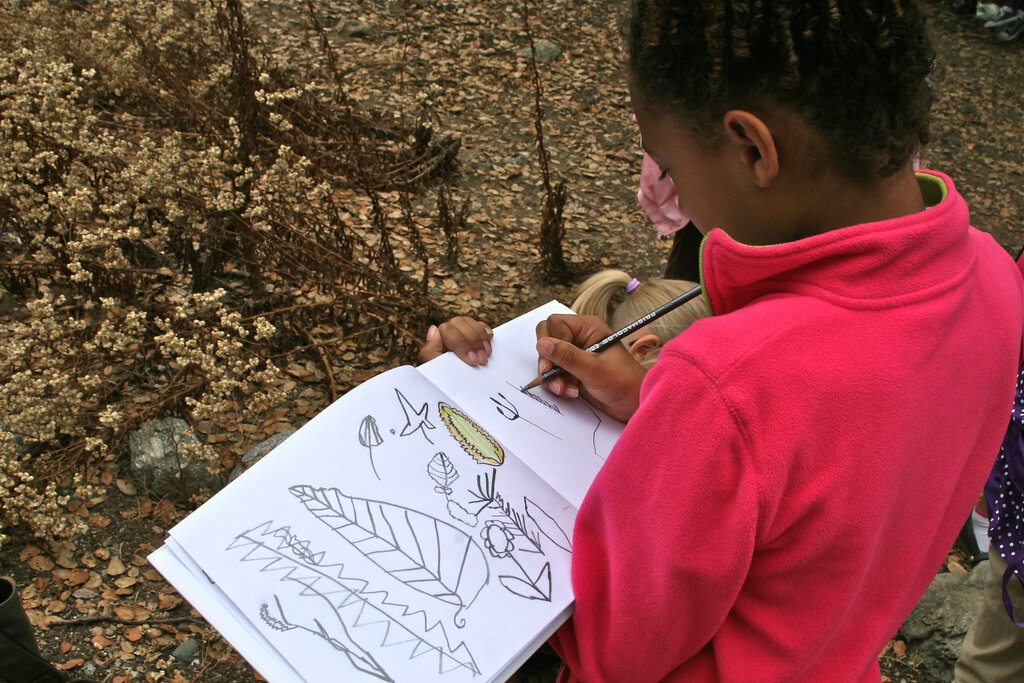
When it comes to starting to sketch, draw out basic shapes first and start with loose lines that you can refine later.
Your Sketching Support Team
Besides pencils and paper, a few other tools will make your sketching experience much better.
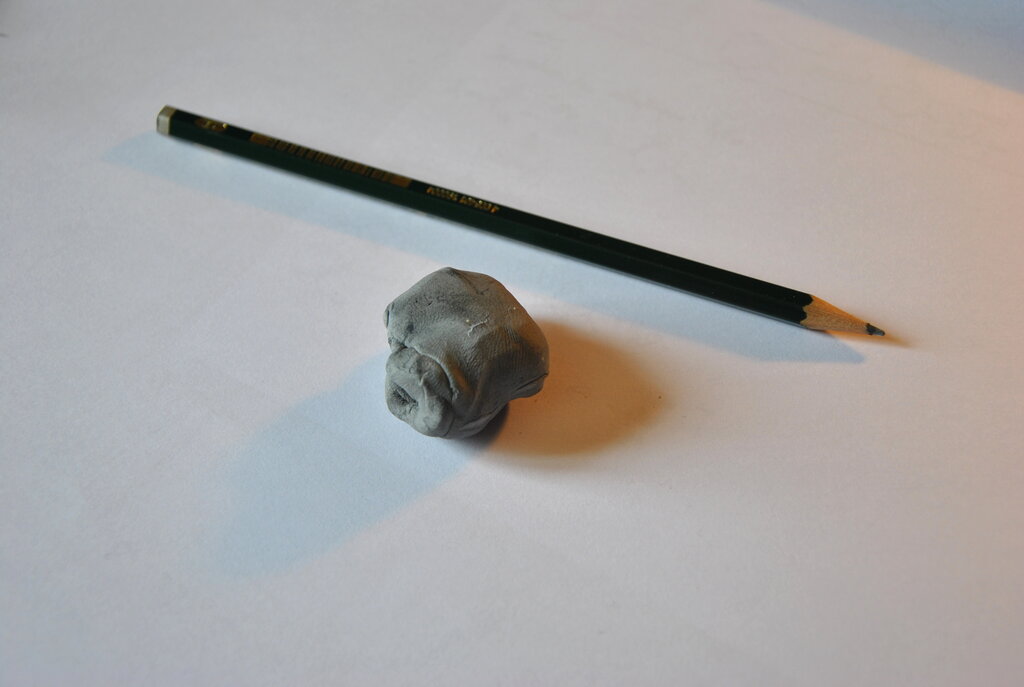
Erasers: You'll want more than the pink rubber tip on a standard pencil. A kneaded eraser is a must-have. It's soft and pliable, like putty, and it works by lifting graphite off the paper instead of rubbing it away. You can shape it to a fine point to erase tiny details or use it to lighten areas without damaging the paper.
Sharpeners: A sharp pencil point is crucial for control and detail. A simple manual sharpener works well, but many artists prefer using a craft knife to whittle the wood away, exposing more of the graphite. This allows for a wider range of marks, from thin lines to broad strokes using the side of the lead.
Blending Tools: To create smooth transitions in shading, you can use blending stumps or tortillons. These are basically tightly rolled paper sticks with a point. They let you smudge and blend graphite with precision, creating soft, graduated tones that are difficult to achieve with just a pencil.
Now you're familiar with the basic toolkit. Let's see what you've learned.
If you are creating the initial light outlines for a sketch, which type of pencil is most suitable?
What is the primary function of a blending stump or tortillon?
Understanding your materials is the first step. With these tools in hand, you're ready to start exploring what they can do.