Optimising Bitkode HR Workflows
Platform Configuration
First Steps in Bitkode HR
Think of the Bitkode platform as a newly built office space. Before anyone moves in, you need to set the layout, paint the walls, and put your company's name on the door. This initial configuration stage is about tailoring the digital environment to fit your organisation's unique identity and workflow.
The first step is setting up your Company Profile. This is where you input your organisation's name, address, and contact information. It's also where you upload your company logo. This might seem like a small detail, but it’s crucial for user adoption. A branded platform feels familiar and reinforces a sense of belonging for employees logging in.
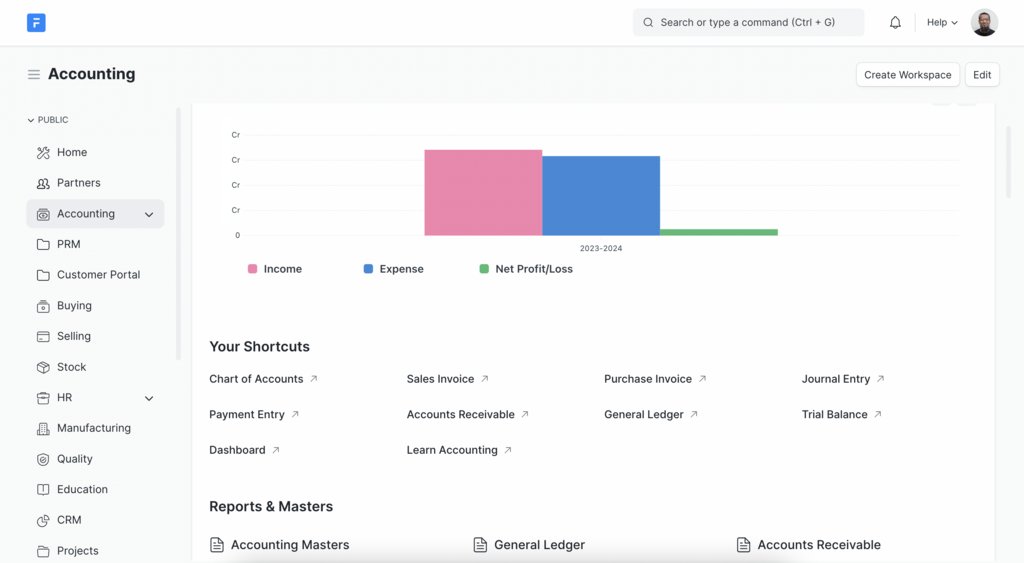
Beyond basic branding, this initial setup defines core operational parameters. You’ll establish your standard working schedules, including typical hours, public holidays, and company-specific days off. This schedule becomes the foundation for leave management, attendance tracking, and payroll calculations later on.
Calendars, Access, and Security
Once the company profile is set, the next step is to populate the HR Calendar. This is more than just a list of holidays. You should configure it to track critical deadlines for performance reviews, contract renewals, compliance training expiry dates, and tax filings. A properly configured calendar transforms HR from a reactive to a proactive function, providing automated reminders for important upcoming events.
A proactive calendar prevents deadlines from becoming emergencies.
With the what and when established, we turn to the who. Role-Based Access Control is the gatekeeper of your HR data. Not everyone in the company should see everything. An employee doesn't need access to another's salary details, and a line manager might only need to see the leave requests for their direct reports. In Bitkode, you create specific roles—like 'Administrator', 'HR Manager', 'Line Manager', and 'Employee'—and assign permissions to each. This ensures that users only see the data and functions relevant to their position.
To secure these accounts, setting up is non-negotiable. MFA adds a second layer of security by requiring users to provide two or more verification factors to gain access. Typically, this is a password (something you know) and a code from a smartphone app (something you have). Enabling MFA drastically reduces the risk of unauthorised access, even if a user's password is compromised.
Customising Your Data
Every organisation has unique data it needs to track. Standard HR forms cover the basics like name and job title, but what about 'T-Shirt Size' for company swag, 'Dietary Restrictions' for catered lunches, or 'LinkedIn Profile URL' for networking? This is where Custom Employee Data Tabs come in.
Bitkode allows you to create new tabs on an employee's profile to house these custom fields. You can define the field type—text, number, date, or a dropdown menu—to ensure data is collected consistently. This feature makes the platform incredibly flexible, allowing you to centralise all employee-related information in one place, eliminating the need for scattered spreadsheets.
| Field Name | Field Type | Example Use |
|---|---|---|
| Emergency Contact | Text | Store next-of-kin information |
| T-Shirt Size | Dropdown (S, M, L, XL) | Order company merchandise |
| First Aid Certified | Date | Track certificate expiry |
| Company Car Reg | Text | Fleet management |
| Remote Work Setup | Checkbox | Confirm home office equipment |
This initial setup phase is foundational. By configuring your company profile, calendar, access controls, and custom data fields, you are building the framework upon which all future HR processes—from onboarding to offboarding—will run. Taking the time to get this right ensures the platform works for you, not the other way around.