Oboe Fundamentals
Oboe Assembly
The Parts of the Oboe
Before you can assemble your oboe, you need to know its main parts. Most oboes come in three sections, which fit snugly together to form the complete instrument. You'll also have a separate piece called a reed, which is what actually vibrates to create the sound.
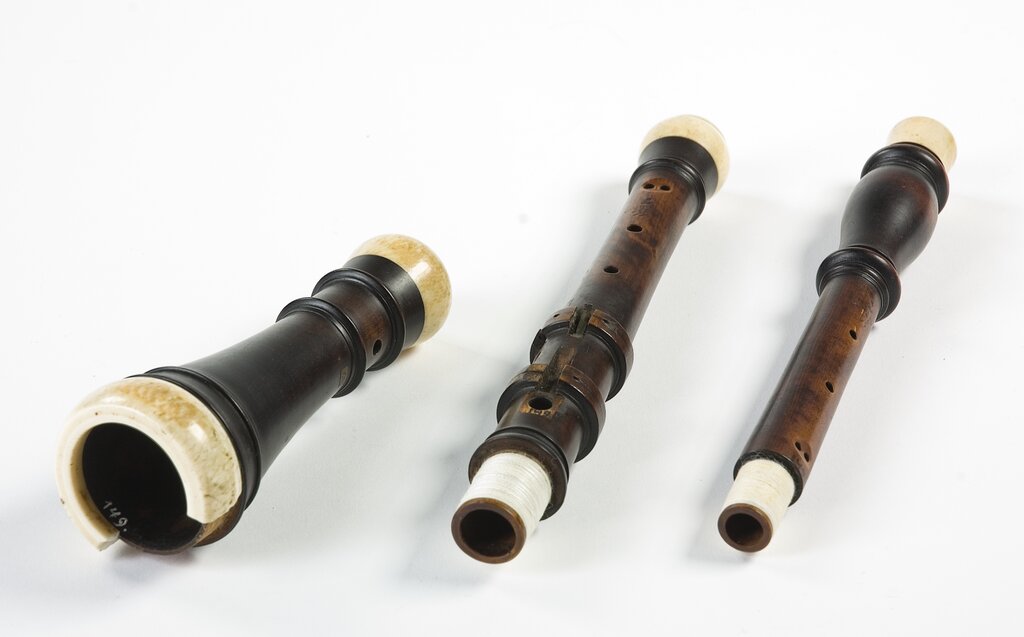
Let's look at each part:
- Upper Joint: This is the top section, where the reed is inserted. It has a complex web of keys your left hand will control.
- Lower Joint: The middle section. It also has many keys, which are primarily for your right hand.
- Bell: The flared end of the oboe that helps project the sound.
And of course, the reed. This delicate and crucial component is made from two thin pieces of cane tied together. It's the heart of the oboe's sound.
Putting It All Together
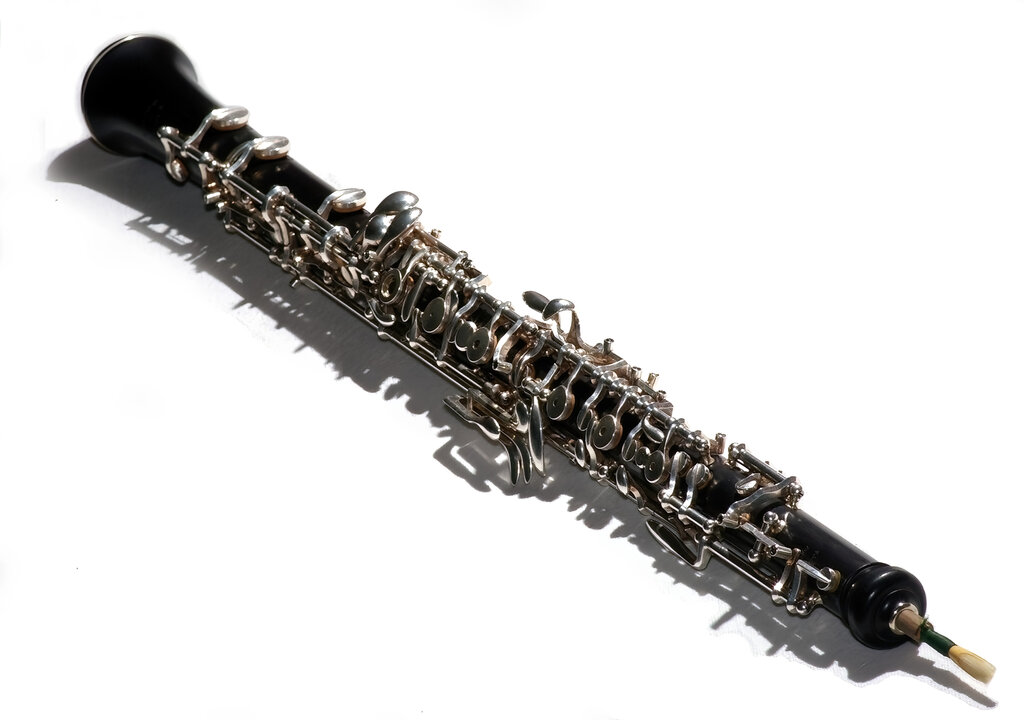
Assembling an oboe requires a gentle touch. The keywork, especially the connecting levers between the joints, is delicate and can be bent easily. Always handle the instrument with care. Before you start, you may need a tiny amount of cork grease on the joint tenons (the cork-covered ends) to help them slide together smoothly. Don't overdo it; a little goes a long way.
Step 1: Connect the Upper and Lower Joints
This is the most critical step. The goal is to join the two main sections without damaging the bridge keys, which connect the key mechanisms of both joints.
Hold the upper joint in your left hand near the top, where there are fewer keys. Hold the lower joint in your right hand, also in a spot with minimal keywork. Carefully align the bridge keys. Press the two sections together with a slight twisting motion. They should slide together without force. Never squeeze the keys while doing this.
Step 2: Attach the Bell
This part is much simpler. Hold the now-connected body of the oboe firmly by the lower joint. Take the bell in your other hand and gently twist it onto the bottom cork tenon. There are no bridge keys to worry about here.
Step 3: Insert the Reed
The reed is extremely fragile, especially at its tip. Before playing, you should moisten the reed by dipping it in water for a few seconds. Hold the reed by its cork base, never by the delicate cane blades. Insert the cork end into the small opening at the very top of the upper joint. Push it in gently until it feels secure. It doesn't need to be forced all the way in.
Common Mistakes to Avoid
Proper assembly prevents costly repairs and ensures your oboe plays its best. Here are a few things to watch out for:
- Forcing the joints. If the parts don't fit, don't force them. The cork may be too dry and need a bit of grease, or the joints might be misaligned.
- Bending the bridge keys. This is the most common and serious assembly error. If the upper and lower bridge keys are not perfectly aligned before you push the joints together, they will collide and bend. Always look to see that they are lined up correctly.
- Grabbing the instrument by its keys. Squeezing the keys while assembling the oboe puts pressure on the rods and pads, which can bend them out of alignment and cause leaks.
- Handling the reed by the tip. The tip of the reed is paper-thin and easily chipped or broken. Always hold it by the cork and string-wrapped base.
Taking a moment to assemble your oboe carefully every time will protect your instrument and help you create the best possible sound.