Nail Starting Techniques
Introduction to Nailing Techniques
Getting Started with Nailing
Driving a nail seems simple, but doing it well is a fundamental skill for any building project. Using the right nail and the proper technique ensures your work is strong, looks clean, and lasts. It's the difference between a wobbly frame and a sturdy one.
Choosing the Right Nail
Nails are not all the same. They are designed for specific jobs and materials. Key differences include the nail's length, thickness (or gauge), the metal it's made from, the shape of its head, and the texture of its shank. Using a finishing nail for framing a wall would be a mistake, just as using a large common nail for delicate trim would split the wood and look messy.
| Nail Type | Description | Common Uses |
|---|---|---|
| Common Nail | Thick shank, wide head for strong holding power. | General construction, framing |
| Finishing Nail | Slender shank, small head to be less visible. | Attaching trim, baseboards, and molding |
| Brad Nail | Very thin, small head, often used in nail guns. | Delicate woodworking, attaching thin veneers |
| Roofing Nail | Short shank, very wide head. | Fastening shingles and roofing felt |
| Masonry Nail | Hardened steel, fluted shank. | Attaching wood to brick, concrete, or block |
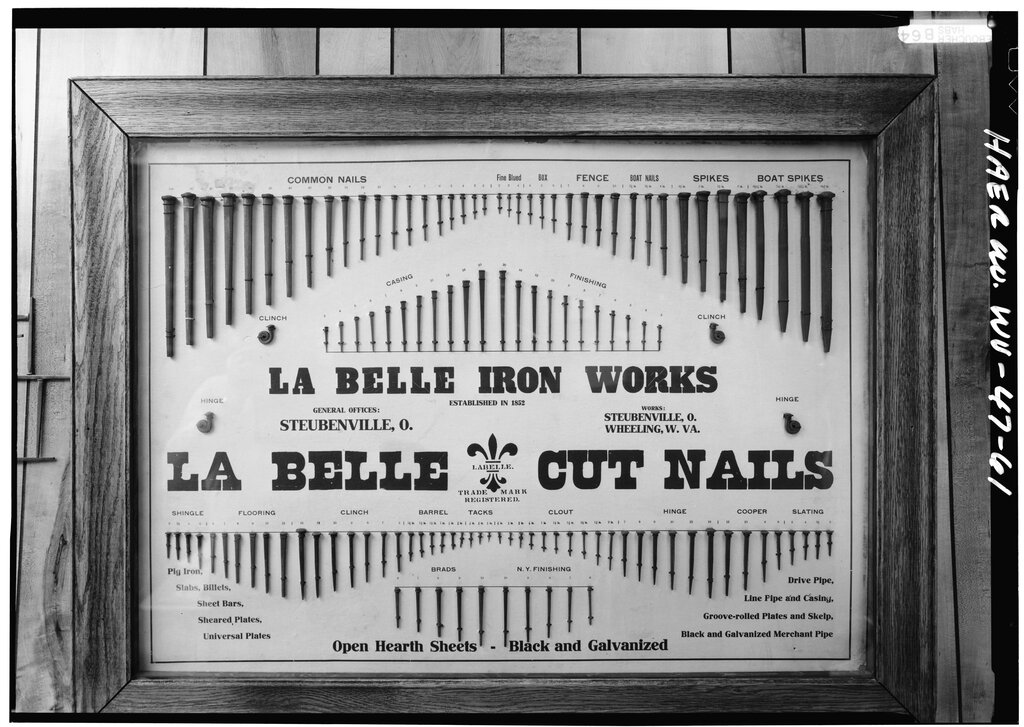
The material you're nailing into also matters. Softwoods like pine are forgiving, but hardwoods like oak are dense and can split easily. For hardwoods or when nailing near the edge of a board, drilling a pilot hole is essential. This small hole, slightly narrower than the nail's shank, gives the nail a path and prevents the wood from splitting under pressure.
Tools and Technique
For basic nailing, you only need a few essential tools. The most important is a good claw hammer. The flat face drives the nail, and the claw is used for pulling out misplaced ones. You'll also want safety glasses to protect your eyes from flying debris or a mis-hit nail.
When you're ready to drive a nail:
First, hold the nail in place with your non-dominant hand. Grip it between your thumb and forefinger, close to the head. Give the nail a few light taps with the hammer until it can stand on its own. This ensures it starts straight.
Once the nail is started, remove your holding hand. Now, you can swing the hammer with more force. Keep your eye on the nail head, not the hammer. Use smooth, firm strikes from your elbow and shoulder, not just your wrist. Drive the nail until its head is flush with the surface of the wood.
For finishing nails where you want to hide the head, use a nail set. This is a small metal punch. Place its tip on the nail head and tap it gently with the hammer to sink the head just below the wood's surface. The small hole can then be filled with wood putty for a seamless finish.
Always prioritize safety. Wear safety glasses, be aware of what's behind your workpiece, and ensure your hammer's head is secure on its handle.
Let's check your understanding of these core concepts.
Why is drilling a pilot hole particularly important when nailing into hardwoods or near the edge of a board?
What is the primary purpose of a nail set?
With these fundamentals, you're ready to tackle projects with confidence, knowing you can create strong, lasting joints.