N8n Workflow Automation Essentials
Introduction to n8n
Getting Started with n8n
Think about all the repetitive tasks you do every day. Maybe you get an email, download an attachment, and then upload it to a cloud storage folder. Or perhaps you get a new sale notification and have to manually add that customer's details to a spreadsheet and a mailing list. These small tasks add up, taking time and focus away from more important work.
This is where workflow automation comes in. It’s about creating a system that handles these multi-step tasks for you, automatically. And one of the most powerful tools for this is n8n (pronounced 'n-eight-n').
n8n is an open-source tool that lets you connect different applications and services to automate processes. Instead of writing complex code, you build workflows visually using a drag-and-drop interface. It’s like creating a digital assembly line where data moves from one app to another, getting processed along the way, all without your constant attention.
Nodes: The Building Blocks
The core concept in n8n is the node. Think of a node as a single step in your automated task. Each workflow is just a series of nodes connected together, telling n8n what to do and in what order. If you want to get data from an app, you use a node. If you want to filter that data, you use another node. If you want to send it somewhere else, that's another node.
Nodes generally fall into two main categories: Triggers and Actions.
Triggers are the starting point. They kick off your workflow. A trigger waits for a specific event to happen, like receiving a new email, a form being submitted, or a file being added to a folder. Every workflow must start with exactly one trigger node.
Once a trigger fires, the workflow begins, and the data from that trigger event is passed to the next nodes in the sequence.
Actions are the steps that follow the trigger. They perform a task with the data they receive. An action could be anything from sending a message on Slack, adding a row to a Google Sheet, creating a new task in a project management tool, or transforming the data into a different format.
You can chain many action nodes together to create complex and powerful automations. The data flows from the trigger, through each action, one step at a time, until the workflow is complete.
The n8n Interface
When you open n8n, you're greeted with the Workflow Canvas. This is your workspace where you'll build and visualize your automations. It’s a clean, open area where you can add, connect, and configure your nodes.
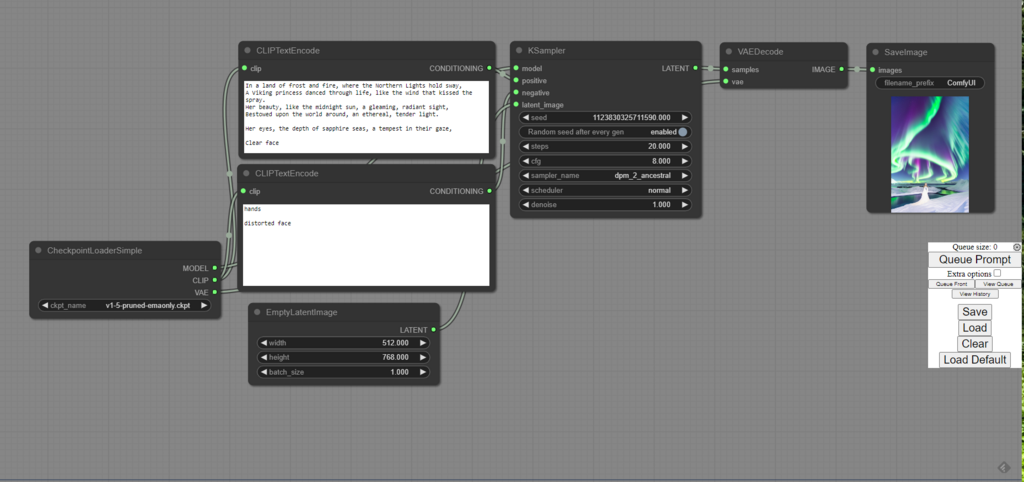
Here are the key parts of the interface:
- The Canvas: The main area where you place and connect nodes to design your workflow.
- Nodes Panel: A sidebar where you can search for and select the nodes you want to add to your canvas. There are hundreds of nodes for different apps and functions.
- Parameters Panel: When you select a node on the canvas, this panel opens. It's where you configure the settings for that specific node, like authenticating with an app or specifying what data to use.
- Execute Button: This is how you run your workflow to test it. n8n will execute the nodes in sequence and show you the data that passes through each step, making it easy to see what's happening and fix any issues.
By understanding these basic concepts—workflows as a series of connected nodes, starting with a trigger and followed by actions—you have the foundation needed to start automating your own tasks. The visual interface lets you see exactly how your process works, making automation accessible to everyone, not just developers.
Ready to check your understanding?
What is the primary purpose of n8n?
In n8n, the fundamental building block of any automated process is called a ____.
With these fundamentals, you're ready to start exploring what you can build.