N8n Workflow Automation
Introduction to n8n
What is n8n?
Think of all the repetitive tasks you do every day. Maybe you copy data from a spreadsheet to an email, or save attachments from your inbox to a specific folder. These small tasks add up. n8n is a tool that automates this kind of work for you. It acts as a bridge between different apps and services, letting them talk to each other and perform actions automatically.
The goal is to let you build custom solutions for your own problems without needing to write code. You can connect hundreds of applications, from Google Sheets to Slack, and tell them what to do and when.
n8n is a powerful workflow automation tool that connects your apps and services, allowing you to automate repetitive tasks without coding knowledge.
Workflows and Nodes
Automation in n8n is built around two core concepts: workflows and nodes. A workflow is the entire automated process, like a recipe. A node is a single step in that recipe, like "chop the onions" or "preheat the oven."
Workflow
noun
A sequence of connected nodes that automates a task or process.
Every workflow starts with a trigger node, which kicks off the process. This could be a set schedule (like every Monday at 9 AM), a new message in a chat, or a form submission. After the trigger, you add action nodes that perform specific tasks. You connect these nodes together to create a path for your data to follow.
Node
noun
An individual step in a workflow that performs a specific action, like reading data or sending an email.
Your First Workflow
Let's walk through creating a simple workflow. The n8n interface is visual, centered around a canvas where you'll build everything.
- Start with a Trigger: Every new workflow begins with a Start node. This is your trigger. For a first workflow, you can simply use the manual trigger, which lets you run the automation by clicking a button.
- Add Your First Action Node: Click the
+icon on the Start node. A menu will appear with hundreds of possible nodes. Let's choose a simple one. Search for the "Respond to Webhook" node. This is a basic node that can return a simple message. - Configure the Node: Click on the new node to open its settings panel. Here, you can customize what the node does. In the "Response Body" field, type a message like
{"message": "Hello, World!"}. This tells the node to send this simple JSON message as a response. - Execute the Workflow: Look for the "Test workflow" or "Execute workflow" button in the editor. Click it. n8n will run through your nodes in order. The Start node will trigger, and the Respond to Webhook node will prepare its message.
You've just built and run your first automation! While simple, this process of adding, connecting, and configuring nodes is the foundation for creating much more powerful and complex workflows.
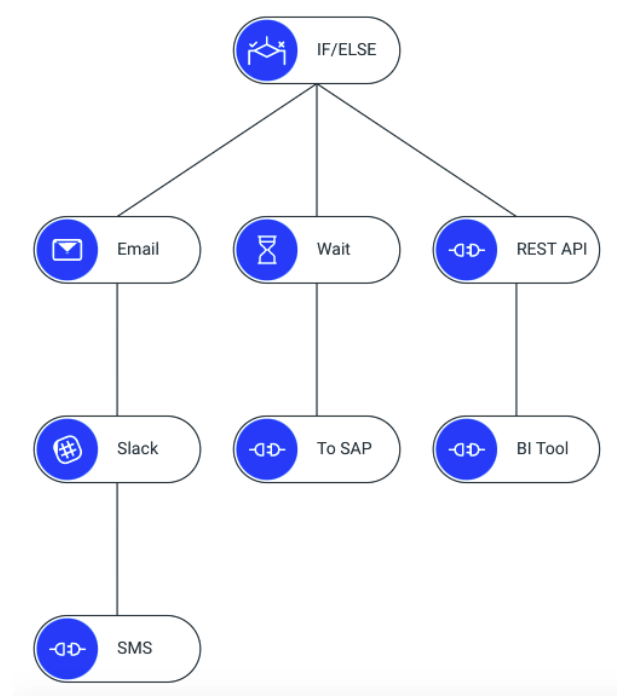
As you get more comfortable, you can replace that simple webhook response with nodes that send emails, update spreadsheets, post to social media, or interact with AI services. Each node is a building block, and you can combine them in countless ways to automate just about anything.
What is the primary purpose of n8n?
In n8n, the entire automated process is called a ______, and each individual step within it is called a ______.
That's a quick look at the basics of n8n. You now understand what it's for, the difference between a workflow and a node, and the fundamental steps to build a simple automation.