MySQL Database for User Management
MySQL Installation
Getting MySQL
First, you need to get the MySQL installer. We'll be using MySQL Community Server, which is free and perfect for learning. Head over to the official MySQL website and look for the downloads section. You'll find installers for Windows, macOS, and Linux.
For Windows, you'll see a few options. The best choice for beginners is the "MySQL Installer for Windows." It’s a larger file, but it bundles everything you need, including helpful tools. For macOS, you'll download a DMG file. For Linux, you can often use your distribution's package manager (like APT for Debian/Ubuntu or YUM for Fedora/CentOS) to install MySQL, which is usually simpler.
Running the Installer
Once the download is complete, run the installer. It will guide you through a setup wizard, similar to other software you've installed. You'll accept the license terms and then choose a setup type.
The "Developer Default" option is a great choice. It installs the database server itself plus useful tools like MySQL Workbench, which gives you a graphical interface for managing your databases.
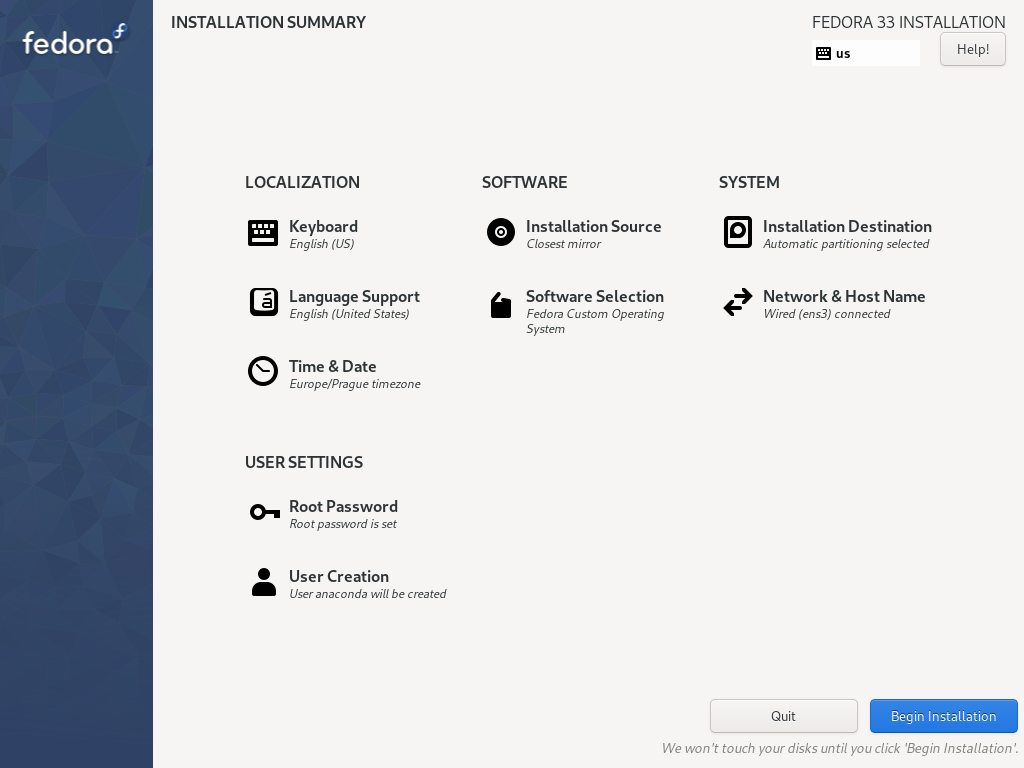
The installer will check for any required software and then install the selected packages. After the files are copied, the configuration begins. This is the most important part of the process.
Configuring Your Server
During configuration, you'll make some key decisions. You'll be asked about network settings, like the port number. The default is 3306, and it's best to leave it that way unless you know you have a conflict.
Next, and most importantly, you will set the password for the root user. The root user is the super-administrator for your MySQL server, with complete control over all databases. Choose a strong password and save it somewhere secure. You will need it to connect to your server.
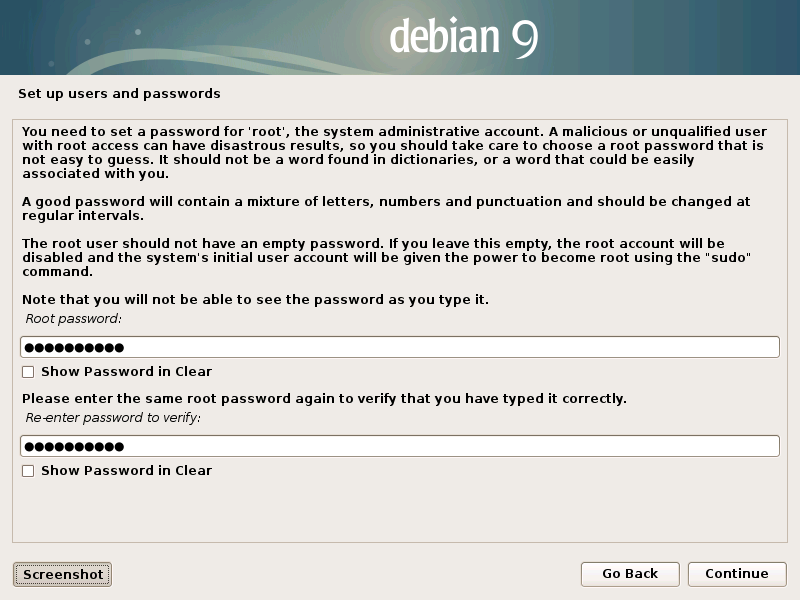
The installer may also give you the option to create additional user accounts. It's a good practice for security, but for now, just focus on setting the root password. On Windows, you'll likely be asked if you want to configure MySQL to run as a service. This is a good idea, as it means MySQL will start automatically whenever your computer boots up. Sticking with the default settings for the remaining steps is usually the safest bet.
Verifying the Installation
With the installation complete, it's time to make sure everything works. The easiest way is to connect to the server using the MySQL command-line client. This is a program that lets you type SQL commands directly.
Open your computer's terminal or command prompt. On Windows, you may need to navigate to the MySQL bin directory first. This is typically located at C:\Program Files\MySQL\MySQL Server X.X\bin. Once you're there, type the following command and press Enter:
mysql -u root -p
Let's break that down:
mysqlis the command to run the client.-u rootspecifies that you want to connect as therootuser.-ptells the client to prompt you for a password.
The system will ask for the root password you created during installation. Type it in and press Enter. Note that you won't see any characters appear as you type your password. This is a standard security feature.
If you see a welcome message and a mysql> prompt, congratulations! Your installation was successful. You are now connected to your MySQL server. To exit the client, simply type exit and press Enter.
What is the primary role of the root user in a new MySQL installation?
When installing MySQL on a Windows machine, configuring it to run as a service is recommended because it will start automatically when the computer boots up.
You've successfully set up your own database server. Now you're ready to start creating databases and tables.