Music Single Launch Mastery
Music Production Basics
Your Digital Studio
The heart of modern music production is the Digital Audio Workstation, or DAW. Think of it as a word processor, but for sound. It’s a software application that lets you record, edit, mix, and arrange audio. Everything you create, from the first drum beat to the final vocal harmony, will live inside your DAW.
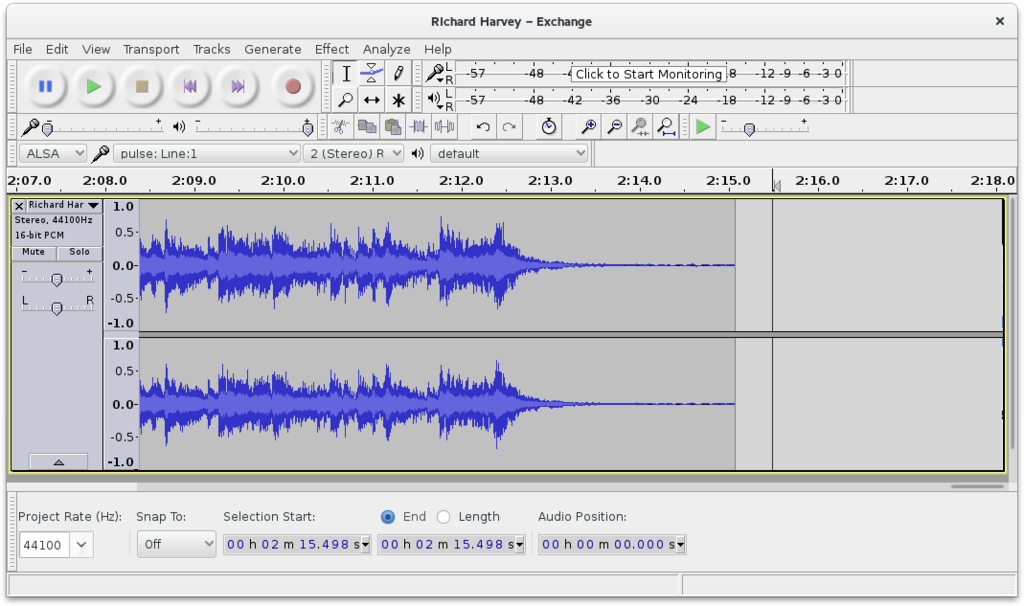
DAWs give you a visual representation of your music, usually as waveforms on a timeline. This allows you to see the structure of your song, cut and paste sections, and apply effects with precision.
There are many DAWs to choose from, each with its own strengths. Some popular options include:
- GarageBand (free on Apple devices)
- Audacity (free and open-source)
- Ableton Live
- Logic Pro X
- FL Studio
For beginners, starting with a free option like GarageBand or Audacity is a great way to learn the fundamentals without a financial commitment.
Capturing Your Sound
Before you can mix a track, you need to record it. While you can get started with just the microphone on your phone or computer, investing in a few key pieces of gear will dramatically improve your sound quality. The basic setup includes an audio interface, a microphone, and a good pair of headphones.
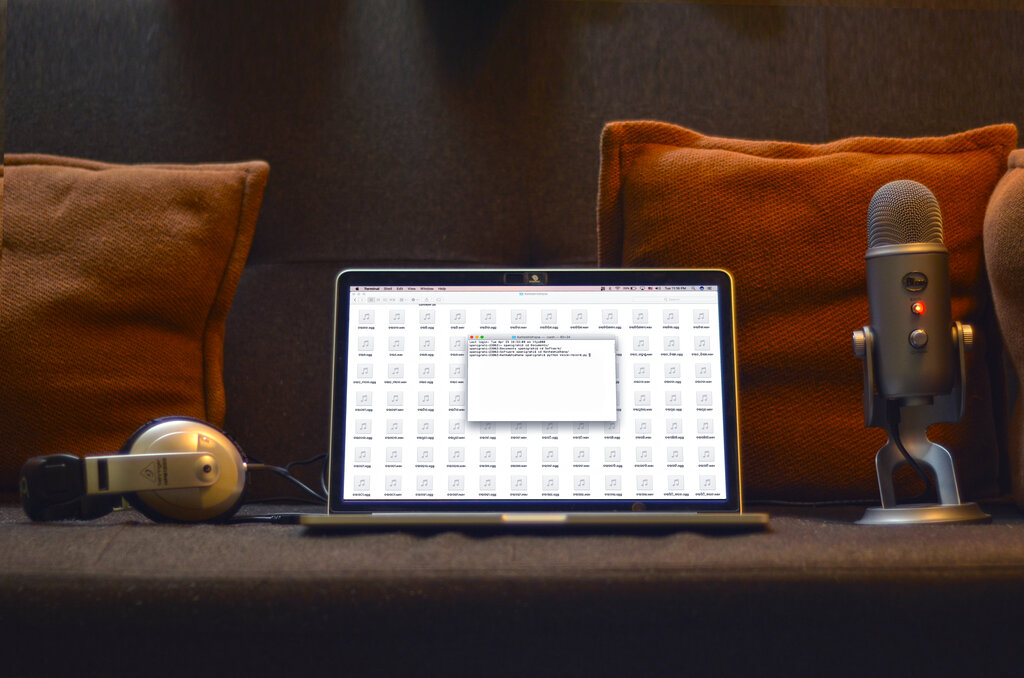
The audio interface is a small box that connects your microphone to your computer. It converts the analog signal from your mic into a digital signal that your DAW can understand. A microphone captures the sound waves from your voice or instrument. There are many types, but a simple USB microphone can be a great starting point. Finally, headphones are crucial for monitoring. They let you hear exactly what the microphone is picking up without the sound bleeding back into the recording, which can cause feedback.
Your ultimate goal is to get a good-quality recording the first time, to avoid a lot of damage control in the mix later.
A few simple techniques can make a big difference. First, record in a quiet space. Close doors and windows, and turn off fans or air conditioners. Soft surfaces like carpets, couches, and blankets can help absorb sound reflections and reduce echo. Second, pay attention to your recording levels. If the level is too high, it will cause “clipping,” a harsh distortion that can't be fixed later. Aim for a healthy level that isn't pushing into the red zone on your DAW's meter.
The Art of the Mix
Once you have all your parts recorded, it's time to mix. Mixing is the process of blending all the individual tracks together to create a cohesive, balanced, and clear song. The goal is to make sure every element can be heard and has its own space in the soundscape.
Think of it like cooking. Each track is an ingredient. Mixing is the process of combining those ingredients in the right proportions to create a delicious final dish.
There are three fundamental tools for mixing:
1. Volume Faders: The most basic tool. Adjusting the fader for each track determines how loud or quiet it is in the overall mix. This is the first step in creating a basic balance. A common practice is to start with the most important elements, like vocals and drums, and build the rest of the mix around them.
2. Pan Knobs: Panning places sound in the stereo field, from left to right. By panning different instruments to different positions, you can create a wider, more immersive sound and prevent tracks from masking each other. For example, you might keep the kick drum, bass, and lead vocal in the center, while panning guitars or keyboards slightly to the left and right.
3. Equalization (EQ): EQ allows you to adjust the tonal balance of a sound by boosting or cutting specific frequencies. Think of it as the bass and treble controls on a stereo, but much more precise. You can use EQ to remove unwanted frequencies (like a low rumble from an air conditioner) or to help an instrument cut through the mix (like boosting the high frequencies of a cymbal to make it shimmer).
Mastering these three tools is the foundation of a great mix. It’s about making small, intentional changes that serve the song as a whole.
File Formats and Quality
When you finish your mix, you'll export it from your DAW into a single audio file. The format you choose is important because it affects both file size and audio quality.
There are two main categories of audio files: lossless and lossy.
Lossless formats, like WAV and AIFF, contain all of the original audio information from the recording. They offer the highest possible quality but result in very large files. This is the standard for professional studio work and archiving.
Lossy formats, like MP3 and AAC, use compression to reduce the file size. This process removes some audio data that the human ear is least likely to notice. While the quality is slightly reduced, the smaller file size makes them perfect for streaming, downloading, and storing on portable devices.
| Format | Type | Best Use |
|---|---|---|
| WAV | Lossless | Professional recording, mixing, archiving |
| AIFF | Lossless | Same as WAV, common on Apple systems |
| MP3 | Lossy | Streaming, sharing, personal listening |
| AAC | Lossy | Streaming (common on Apple Music & YouTube) |
For your final master file, it’s always best to export a high-quality WAV file. From that master, you can then create compressed versions like an MP3 for sharing online.
What is the primary function of a Digital Audio Workstation (DAW)?
Which piece of equipment is essential for converting a microphone's analog signal into a digital signal that your computer can understand?
These are the building blocks of music production. Getting comfortable with your DAW, learning to capture clean recordings, and understanding the basics of mixing will put you on the right path to creating professional-sounding music.