Mobile Photography Essentials
Camera Basics
Your Camera's Controls
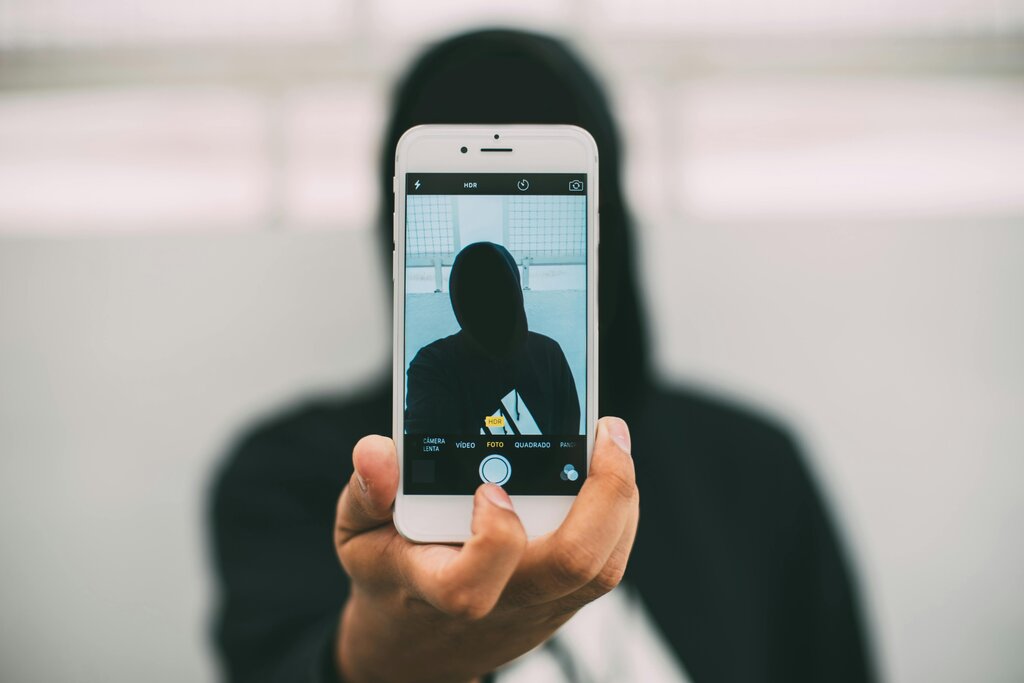
Your smartphone camera is powerful, but you need to know your way around the app to get the most out of it. When you first open your camera, you'll see a few key buttons. The most important one is the shutter button, which you tap to take a picture. You'll also see options to switch between the front and back cameras, and a gallery icon to view the photos you've already taken.
Most camera apps also have a row of shooting modes, usually near the shutter button. You can often swipe left or right to switch between modes like Photo, Video, Portrait, and Panorama. We'll explore some of these modes later on. For now, just get comfortable with the basic layout.
Frame Your Shot
A great photo starts with good composition, which is just the art of arranging things in your frame. The easiest way to improve your composition is to turn on your camera's grid lines. This feature overlays a 3x3 grid on your screen, and it’s a game-changer.
The grid helps you use a classic photography guideline called the Rule of Thirds. The idea is to place the most interesting parts of your scene along the grid lines or where they intersect. Instead of sticking your subject right in the center, try moving it to the left or right third of the frame. If you're taking a landscape photo, place the horizon on the top or bottom horizontal line instead of in the middle.
To help with composition, the first thing you should do is enable the grid lines on your smartphone's camera app.
Control Light and Focus
Your phone's camera is smart, but it doesn't always know what you want to focus on. To take control, simply tap on your subject on the screen. A square or circle will appear, confirming that your camera is now focused on that spot. Everything else might become slightly blurry, which helps your subject stand out.
When you tap to focus, you can also adjust the exposure, or the brightness of the photo. Usually, a small sun icon or a vertical slider will appear next to the focus box. Slide your finger up to make the image brighter or down to make it darker. This is incredibly useful for situations where the automatic setting makes a photo too dark or too washed out.
Tap your subject on the screen to focus, then slide your finger up or down to adjust the brightness before you take the shot.
Special Shooting Modes
Beyond the standard photo mode, your phone has special tools for tricky lighting situations. Two of the most common are HDR and Night Mode.
HDR (High Dynamic Range) is perfect for scenes with both very bright and very dark areas, like a landscape on a sunny day. The camera takes several pictures at different exposures and blends them together. This brings out details in the shadows and prevents the bright parts, like the sky, from being completely white. Many phones apply HDR automatically, but you can often turn it on manually.
Night Mode is for shooting in low-light conditions without a flash. When you use this mode, the camera keeps its shutter open for a few seconds to gather more light. The key is to hold your phone as steady as possible while it's capturing the image. The result is a brighter, clearer photo than you could get otherwise.
Now that you know the basics, it's time to test your knowledge.
What is the primary purpose of using grid lines on your phone's camera?
After you tap on the screen to focus on a subject, what should you typically do to adjust the photo's brightness?