Mobile App Development with Cursor
Introduction to Cursor IDE
Meet Your AI Coding Partner
Imagine a code editor that doesn't just check your syntax but actively helps you write, debug, and understand your code. That's Cursor. It's an Integrated Development Environment, or IDE, designed with artificial intelligence at its core.
At its core, Cursor is an AI-powered IDE (integrated development environment) – essentially a modified version of Visual Studio Code augmented with AI throughout.
If you've ever used Visual Studio Code (VS Code), one of the world's most popular code editors, Cursor will feel instantly familiar. That's because it's built on top of VS Code. You get the same layout, themes, extensions, and keyboard shortcuts you already know, but with powerful AI features woven directly into the experience. This lets you focus more on solving problems and less on writing boilerplate code.
Core AI Features
Cursor's AI isn't just a simple autocomplete. It's a suite of tools that can interact with your code in sophisticated ways. Let's look at the main features you'll be using.
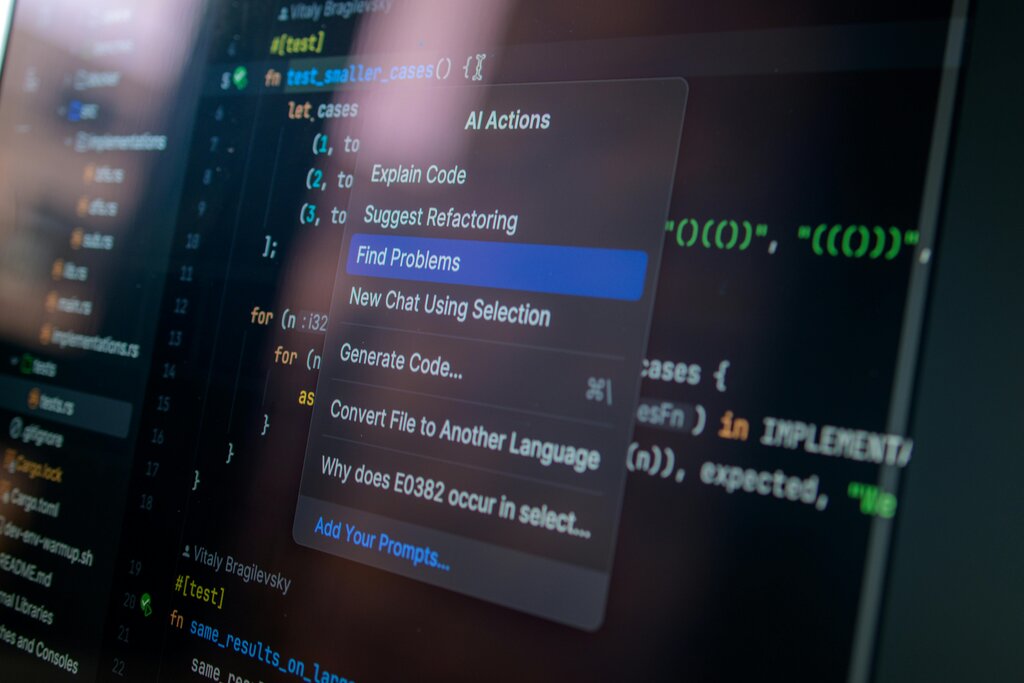
Chat with Your Code
Pressing Cmd+K on Mac or Ctrl+K on Windows opens an AI chat panel. This is your central hub for interacting with the AI. You can ask it to:
- Generate new code: Prompt it to write a function, a class, or even a whole file from scratch.
- Explain existing code: Highlight a confusing snippet and ask, "What does this do?"
- Find bugs: Describe an issue you're having, and the AI can scan your code for potential errors.
Inline Editing and Generation
For more targeted changes, you can use inline commands. Highlight a block of code and press Cmd+L (Mac) or Ctrl+L (Windows) to open a prompt right there. You can ask the AI to refactor the selected code, add comments, translate it to another language, or fix a specific problem.
Codebase Awareness
One of Cursor's most powerful features is its ability to understand the context of your entire project. When you ask a question or request a change, you can tell the AI to reference specific files or folders by typing @ followed by the file or folder name. This allows it to provide much more accurate and relevant suggestions, as it's not just looking at a single file in isolation.
Installation and Setup
Getting Cursor running on your machine is straightforward. Since it's a desktop application, the process is similar for Windows, macOS, and Linux.
- Download: Head to the official Cursor website and download the installer for your operating system.
- Install: Run the installer and follow the on-screen prompts. On macOS, you'll drag the app to your Applications folder. On Windows, you'll run through a standard installation wizard.
- Launch: Open Cursor. You'll be greeted with a welcome screen. Since it's based on VS Code, you can immediately start opening folders and creating files.
A key first step is to log in with your account. This connects the editor to the language models that power its AI features. You can also configure which models to use (like OpenAI's GPT-4 or Anthropic's Claude) in the settings.
You can also configure keyboard shortcuts to your liking. Go to File > Preferences > Keyboard Shortcuts to see the default keybindings and change them if you wish. For optimal performance, especially on large projects, ensure you have a stable internet connection, as Cursor's AI features rely on cloud-based models.
What is the relationship between the Cursor IDE and Visual Studio Code (VS Code)?
Which keyboard shortcut is used to open the primary AI chat panel in Cursor?
Now you have a solid foundation for what Cursor is and how it works. You're ready to start using its AI capabilities to build things faster and more efficiently.